安卓学习笔记32:实现补间动画

【摘要】
文章目录
零、学习目标一、安卓实现动画的三种方式1、补间动画(tween animation)2、帧式动画(frame animation)3、属性动画(property animation)
...
文章目录
零、学习目标
- 了解安卓实现动画的三种方式
- 掌握如何实现四种类型的补间动画
一、安卓实现动画的三种方式
1、补间动画(tween animation)
针对同一张图片进行各种变换,比如平移、旋转、缩放、深浅等等。
2、帧式动画(frame animation)
事先准备好动画所需要的每一帧图片,然后利用线程每隔一段时间切换图片,这样来实现的动画效果。
3、属性动画(property animation)
通过动画的方式改变对象的属性。
二、补间动画类型
- 透明度动画(alpha animation)
- 缩放动画(scale animation)
- 平移动画(translate animation)
- 旋转动画(rotate animation)
三、补间动画案例 - 透明度动画
- 透明度动画可以通过Java代码实现,也可以通过xml配置文件实现。
(一)运行效果
(二)实现步骤
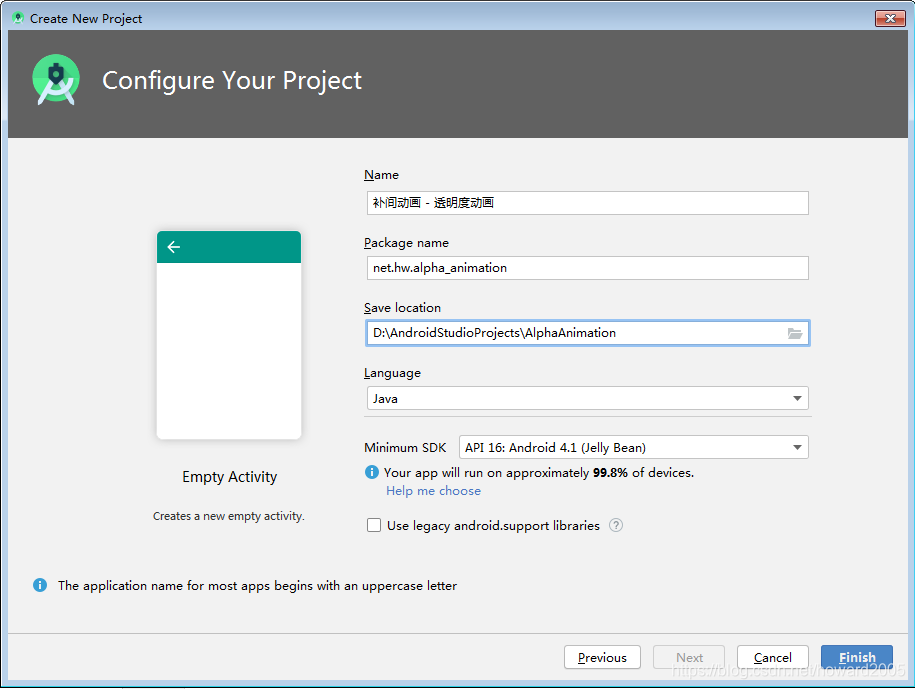
1、创建安卓应用【AlphaAnimation】
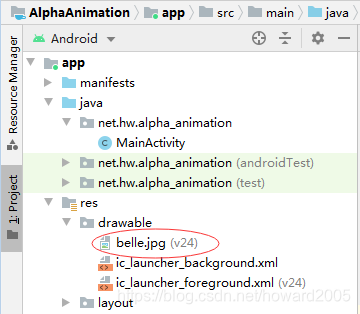
2、将图片素材拷贝到drawable目录
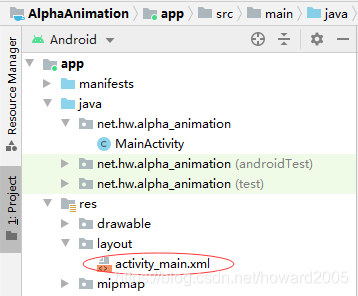
3、主布局资源文件activity_main.xml
<?xml version="1.0" encoding="utf-8"?>
<LinearLayout xmlns:android="http://schemas.android.com/apk/res/android"
    xmlns:tools="http://schemas.android.com/tools"
    android:layout_width="match_parent"
    android:layout_height="match_parent"
    android:orientation="vertical"
    android:padding="10dp"
    tools:context=".MainActivity">

    <ImageView
        android:id="@+id/ivBelle"
        android:layout_width="match_parent"
        android:layout_height="0dp"
        android:layout_marginBottom="20dp"
        android:layout_weight="7"
        android:src="@drawable/belle" />

    <LinearLayout
        android:layout_width="match_parent"
        android:layout_height="0dp"
        android:layout_weight="1"
        android:gravity="center"
        android:orientation="horizontal">

        <Button
            android:id="@+id/btnAnimationByCode"
            android:layout_width="wrap_content"
            android:layout_height="wrap_content"
            android:onClick="doAnimationByCode"
            android:text="@string/animation_by_code" />

        <Button
            android:id="@+id/btnAnimationByXML"
            android:layout_width="wrap_content"
            android:layout_height="wrap_content"
            android:onClick="doAnimationByXML"
            android:text="@string/animation_by_xml" />
    </LinearLayout>
</LinearLayout>
- 1
- 2
- 3
- 4
- 5
- 6
- 7
- 8
- 9
- 10
- 11
- 12
- 13
- 14
- 15
- 16
- 17
- 18
- 19
- 20
- 21
- 22
- 23
- 24
- 25
- 26
- 27
- 28
- 29
- 30
- 31
- 32
- 33
- 34
- 35
- 36
- 37
- 38
- 39
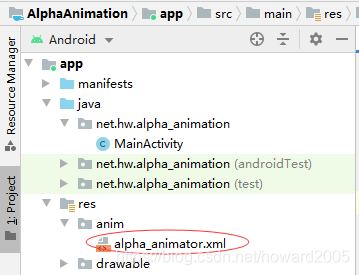
4、创建透明度动画配置文件
- 在res目录里创建anim目录,在anim里创建alpha_animator.xml

<?xml version="1.0" encoding="utf-8"?>
<alpha xmlns:android="http://schemas.android.com/apk/res/android"
    android:duration="3000"
    android:fromAlpha="1"
    android:repeatCount="1"
    android:repeatMode="reverse"
    android:toAlpha="0" />
- 1
- 2
- 3
- 4
- 5
- 6
- 7
- duration —— 持续时间(单位:毫秒)
- fromAlpha —— 起始透明度(0~1)
- toAlpha —— 终止透明度(0~1)
- repeatMode —— 重复模式(restart,reverse)
- repeatCount —— 重复次数(1、2、3、……、infinite)
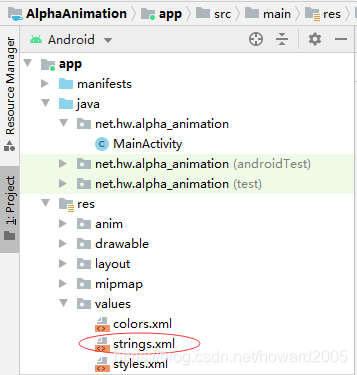
5、字符串资源文件strings.xml
<resources>
    <string name="app_name">补间动画 - 透明度动画</string>
    <string name="animation_by_code">通过Java代码实现动画</string>
    <string name="animation_by_xml">通过xml配置实现动画</string>
</resources>
- 1
- 2
- 3
- 4
- 5
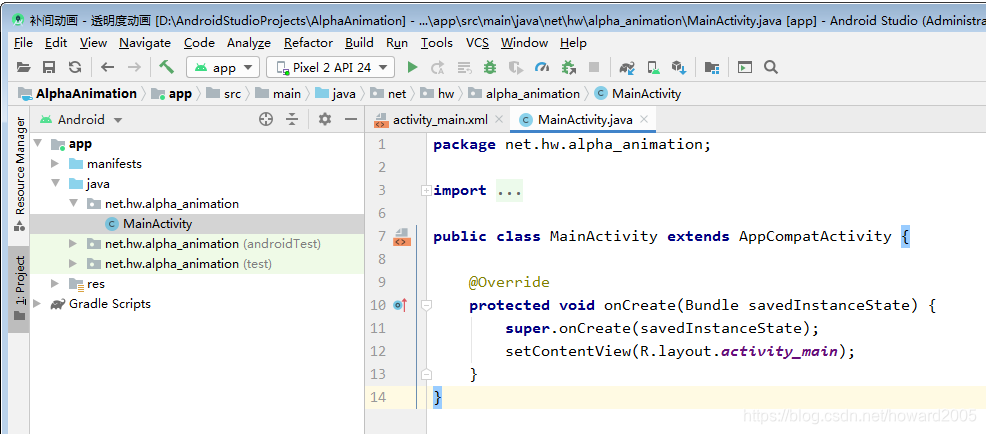
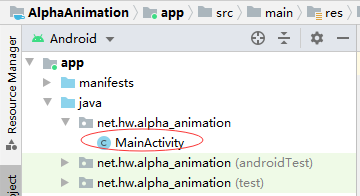
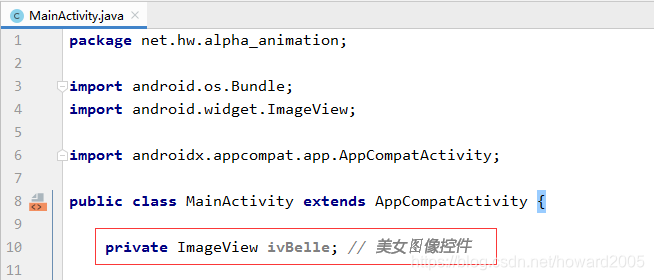
6、主界面类 - MainActivity
- 声明变量
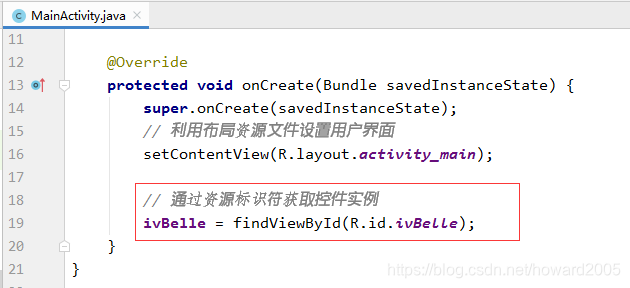
- 通过资源标识符获取控件实例
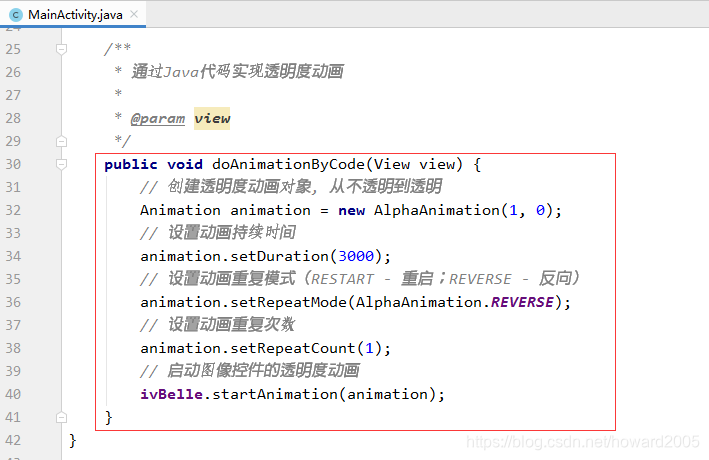
- 通过Java代码实现透明度动画
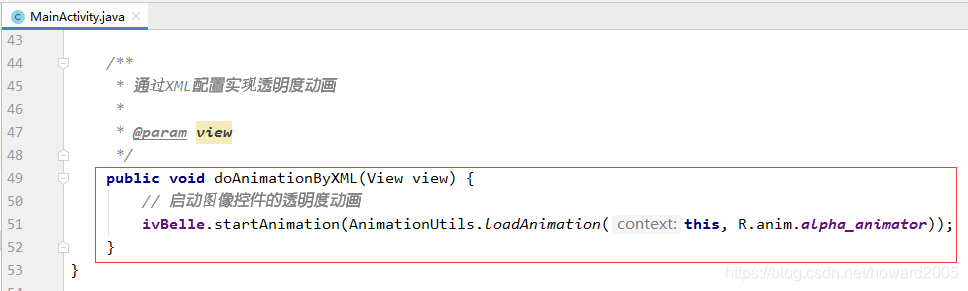
- 通过XML配置实现透明度动画
- 查看主界面完整源代码
package net.hw.alpha_animation;

import android.os.Bundle;
import android.view.View;
import android.view.animation.AlphaAnimation;
import android.view.animation.Animation;
import android.view.animation.AnimationUtils;
import android.widget.ImageView;

import androidx.appcompat.app.AppCompatActivity;

public class MainActivity extends AppCompatActivity {

    private ImageView ivBelle; // 美女图像控件

    @Override
    protected void onCreate(Bundle savedInstanceState) {
        super.onCreate(savedInstanceState);
        // 利用布局资源文件设置用户界面
        setContentView(R.layout.activity_main);

        // 通过资源标识符获取控件实例
        ivBelle = findViewById(R.id.ivBelle);
    }

    /**
     * 通过Java代码实现透明度动画
     *
     * @param view
     */
    public void doAnimationByCode(View view) {
        // 创建透明度动画对象, 从不透明到透明
        Animation animation = new AlphaAnimation(1, 0);
        // 设置动画持续时间
        animation.setDuration(3000);
        // 设置动画重复模式(RESTART - 重启;REVERSE - 反向)
        animation.setRepeatMode(AlphaAnimation.REVERSE);
        // 设置动画重复次数
        animation.setRepeatCount(1);
        // 启动图像控件的透明度动画
        ivBelle.startAnimation(animation);
    }

    /**
     * 通过XML配置实现透明度动画
     *
     * @param view
     */
    public void doAnimationByXML(View view) {
        // 启动图像控件的透明度动画
        ivBelle.startAnimation(AnimationUtils.loadAnimation(this, R.anim.alpha_animator));
    }
}
- 1
- 2
- 3
- 4
- 5
- 6
- 7
- 8
- 9
- 10
- 11
- 12
- 13
- 14
- 15
- 16
- 17
- 18
- 19
- 20
- 21
- 22
- 23
- 24
- 25
- 26
- 27
- 28
- 29
- 30
- 31
- 32
- 33
- 34
- 35
- 36
- 37
- 38
- 39
- 40
- 41
- 42
- 43
- 44
- 45
- 46
- 47
- 48
- 49
- 50
- 51
- 52
- 53
7、启动应用,查看效果
四、补间动画案例 - 缩放动画
- 缩放动画可以通过Java代码实现,也可以通过xml配置文件实现。
(一)运行效果
(二)实现步骤
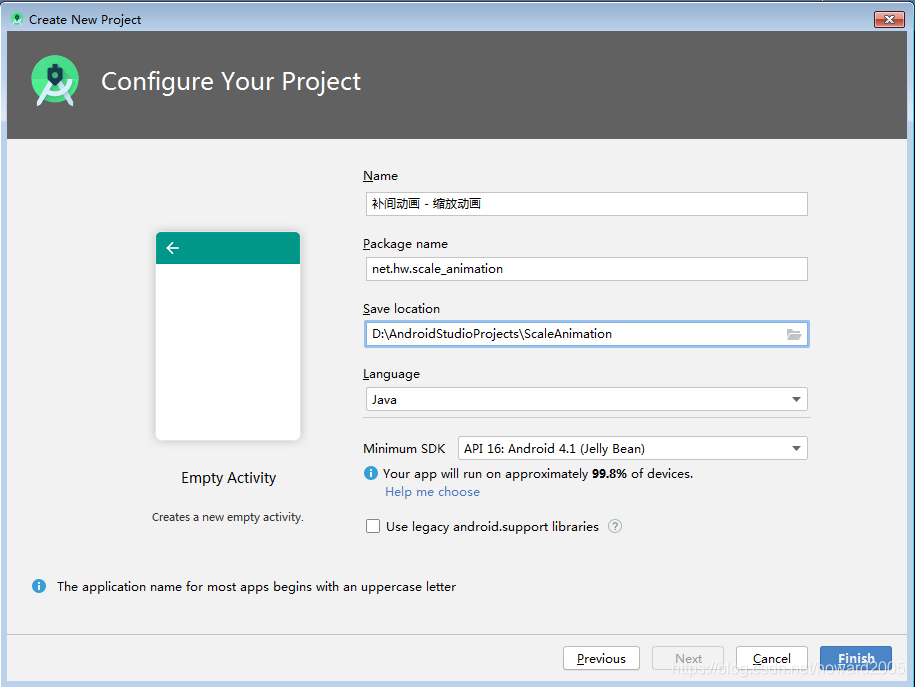
1、创建安卓应用【ScaleAnimation】
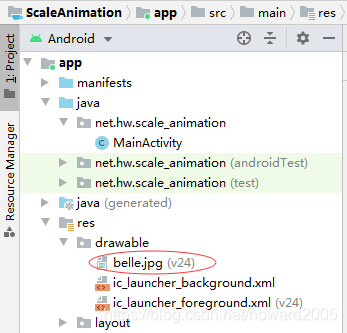
2、将图片素材拷贝到drawable目录
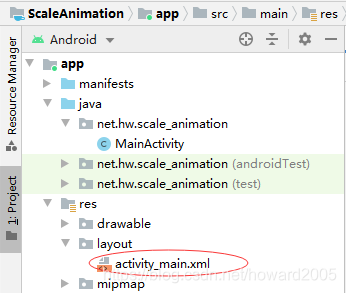
3、主布局资源文件activity_main.xml
<?xml version="1.0" encoding="utf-8"?>
<LinearLayout xmlns:android="http://schemas.android.com/apk/res/android"
    xmlns:tools="http://schemas.android.com/tools"
    android:layout_width="match_parent"
    android:layout_height="match_parent"
    android:orientation="vertical"
    android:padding="10dp"
    tools:context=".MainActivity">

    <ImageView
        android:id="@+id/ivBelle"
        android:layout_width="match_parent"
        android:layout_height="0dp"
        android:layout_marginBottom="20dp"
        android:layout_weight="7"
        android:src="@drawable/belle" />

    <LinearLayout
        android:layout_width="match_parent"
        android:layout_height="0dp"
        android:layout_weight="1"
        android:gravity="center"
        android:orientation="horizontal">

        <Button
            android:id="@+id/btnAnimationByCode"
            android:layout_width="wrap_content"
            android:layout_height="wrap_content"
            android:onClick="doAnimationByCode"
            android:text="@string/animation_by_code" />

        <Button
            android:id="@+id/btnAnimationByXML"
            android:layout_width="wrap_content"
            android:layout_height="wrap_content"
            android:onClick="doAnimationByXML"
            android:text="@string/animation_by_xml" />
    </LinearLayout>
</LinearLayout>
- 1
- 2
- 3
- 4
- 5
- 6
- 7
- 8
- 9
- 10
- 11
- 12
- 13
- 14
- 15
- 16
- 17
- 18
- 19
- 20
- 21
- 22
- 23
- 24
- 25
- 26
- 27
- 28
- 29
- 30
- 31
- 32
- 33
- 34
- 35
- 36
- 37
- 38
- 39
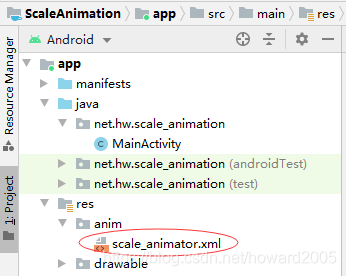
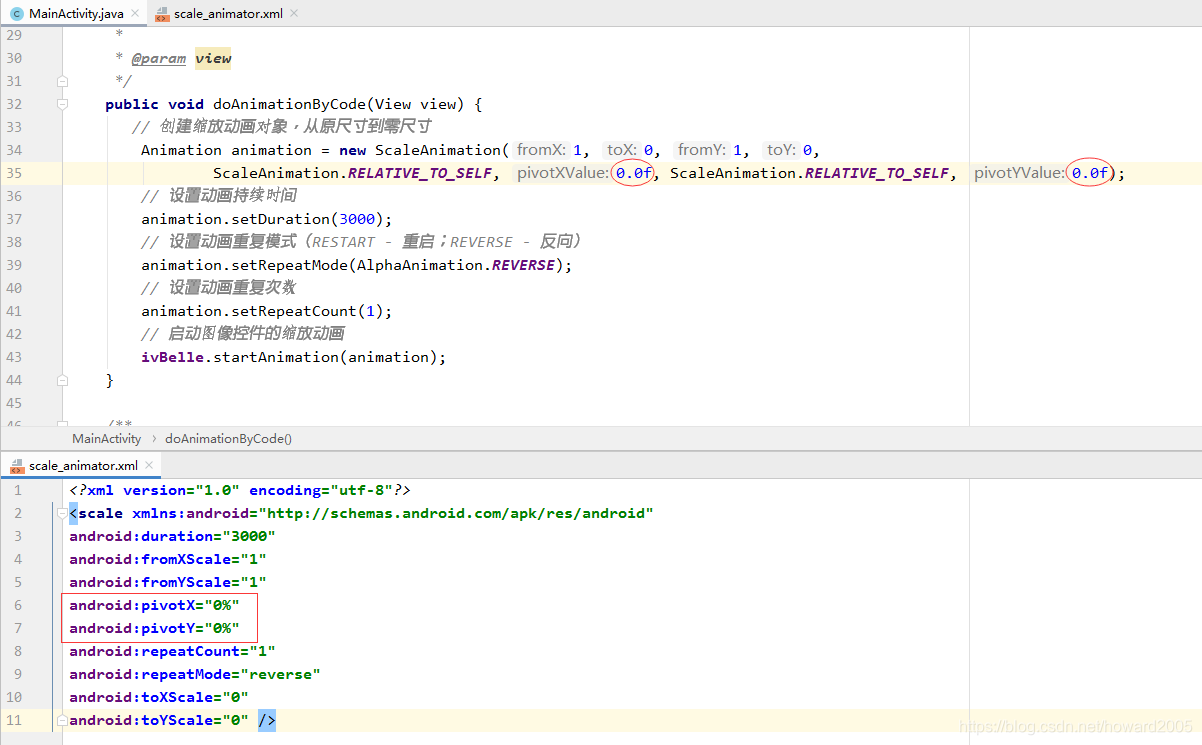
4、创建缩放动画配置文件
- 在res目录里创建anim目录,在anim目录里创建scale_animator.xml
<?xml version="1.0" encoding="utf-8"?>
<scale xmlns:android="http://schemas.android.com/apk/res/android"
    android:duration="3000"
    android:fromXScale="1"
    android:fromYScale="1"
    android:pivotX="50%"
    android:pivotY="50%"
    android:repeatCount="1"
    android:repeatMode="reverse"
    android:toXScale="0"
    android:toYScale="0" />
- 1
- 2
- 3
- 4
- 5
- 6
- 7
- 8
- 9
- 10
- 11
- fromXScale —— 起始横向比例(1表示原图大小)
- fromYScale —— 起始纵向比例(1表示原图大小)
- toXScale —— 终止横向比例(0表示缩小到无)
- toYScale —— 终止纵向比例(0表示缩小到无)
- pivotX —— 缩放中心横向比例(50% - 水平居中位置)
- pivotY —— 缩放中心纵向比例(50% - 垂直居中位置)
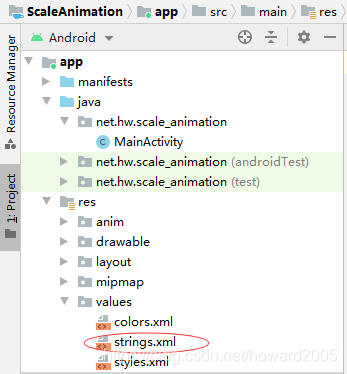
5、字符串资源文件strings.xml
<resources>
    <string name="app_name">补间动画 - 缩放动画</string>
    <string name="animation_by_code">通过Java代码实现动画</string>
    <string name="animation_by_xml">通过xml配置实现动画</string>
</resources>
- 1
- 2
- 3
- 4
- 5
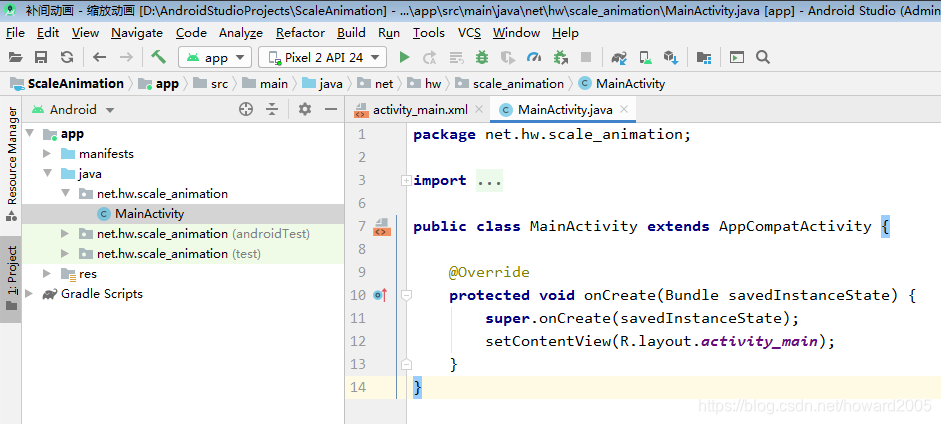
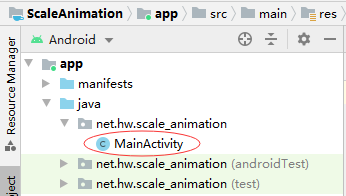
6、主界面类 - MainActivity
- 声明变量
- 通过资源标识符获取控件实例
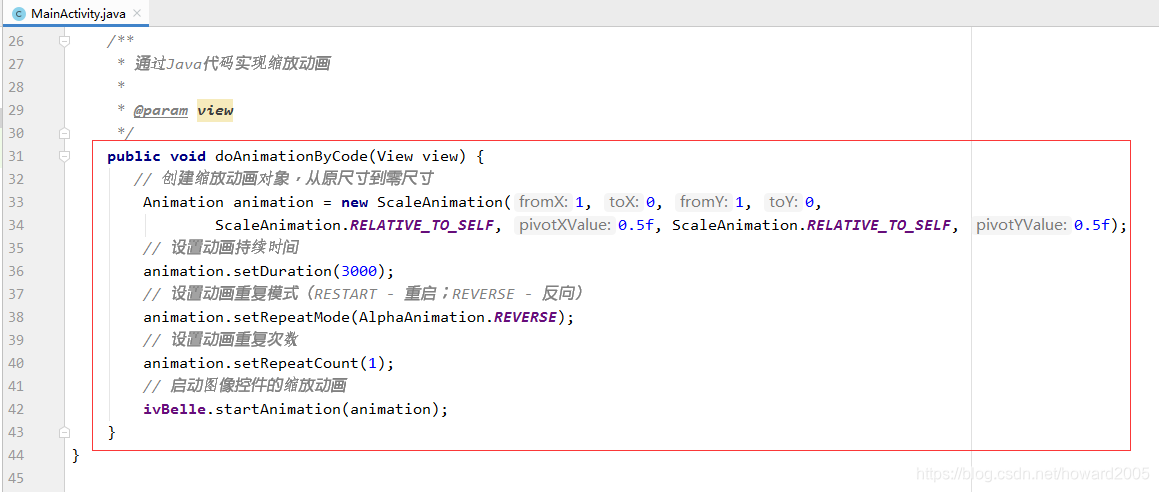
- 通过Java代码实现缩放动画
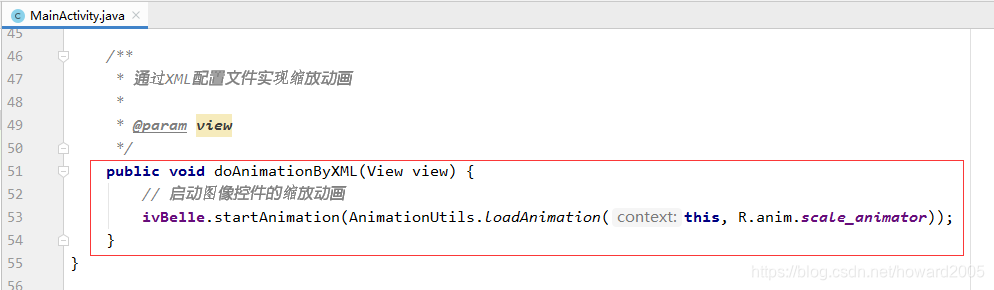
- 通过XML配置文件实现缩放动画
- 查看主界面类完整源代码
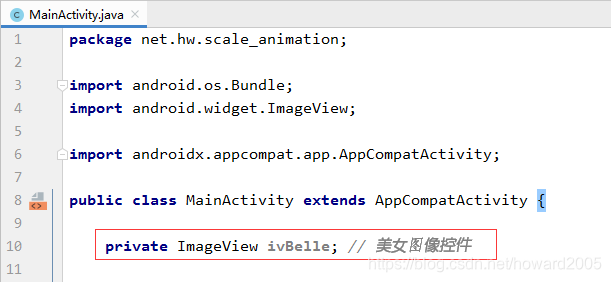
package net.hw.scale_animation;
import android.os.Bundle;
import android.view.View;
import android.view.animation.AlphaAnimation;
import android.view.animation.Animation;
import android.view.animation.AnimationUtils;
import android.view.animation.ScaleAnimation;
import android.widget.ImageView;
import androidx.appcompat.app.AppCompatActivity;
public class MainActivity extends AppCompatActivity {
private ImageView ivBelle; // 美女图像控件
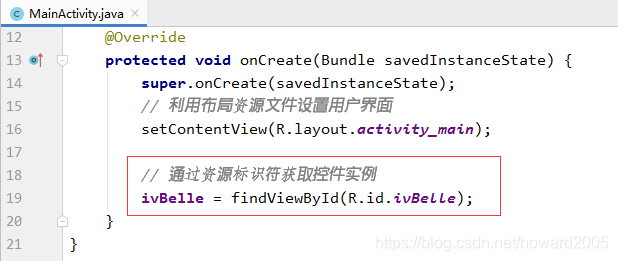
@Override
protected void onCreate(Bundle savedInstanceState) {
super.onCreate(savedInstanceState);
// 利用布局资源文件设置用户界面
setContentView(R.layout.activity_main);
// 通过资源标识符获取控件实例
ivBelle = findViewById(R.id.ivBelle);
}
/**
* 通过Java代码实现缩放动画
*
* @param view
*/
public void doAnimationByCode(View view) {
// 创建缩放动画对象,从原尺寸到零尺寸
Animation animation = new ScaleAnimation(1, 0, 1, 0,
ScaleAnimation.RELATIVE_TO_SELF, 0.5f, ScaleAnimation.RELATIVE_TO_SELF, 0.5f);
// 设置动画持续时间
animation.setDuration(3000);
// 设置动画重复模式(RESTART - 重启;REVERSE - 反向)
animation.setRepeatMode(AlphaAnimation.REVERSE);
// 设置动画重复次数
animation.setRepeatCount(1);
// 启动图像控件的缩放动画
ivBelle.startAnimation(animation);
}
/**
* 通过XML配置文件实现缩放动画
*
* @param view
*/
public void doAnimationByXML(View view) {
// 启动图像控件的缩放动画
ivBelle.startAnimation(AnimationUtils.loadAnimation(this, R.anim.scale_animator));
}
}
- 1
- 2
- 3
- 4
- 5
- 6
- 7
- 8
- 9
- 10
- 11
- 12
- 13
- 14
- 15
- 16
- 17
- 18
- 19
- 20
- 21
- 22
- 23
- 24
- 25
- 26
- 27
- 28
- 29
- 30
- 31
- 32
- 33
- 34
- 35
- 36
- 37
- 38
- 39
- 40
- 41
- 42
- 43
- 44
- 45
- 46
- 47
- 48
- 49
- 50
- 51
- 52
- 53
- 54
- 55
7、启动应用,查看效果
8、改变缩放基准点位置
- 将图像控件左上角作为缩放基准点
- 启动应用,查看效果
五、补间动画案例 - 平移动画
(一)运行效果
(二)实现步骤
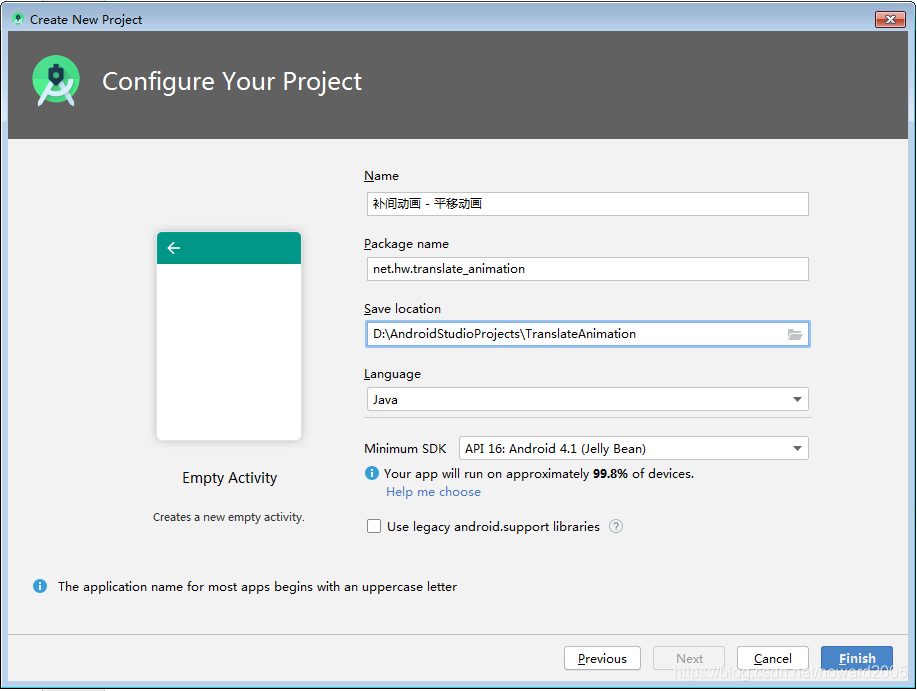
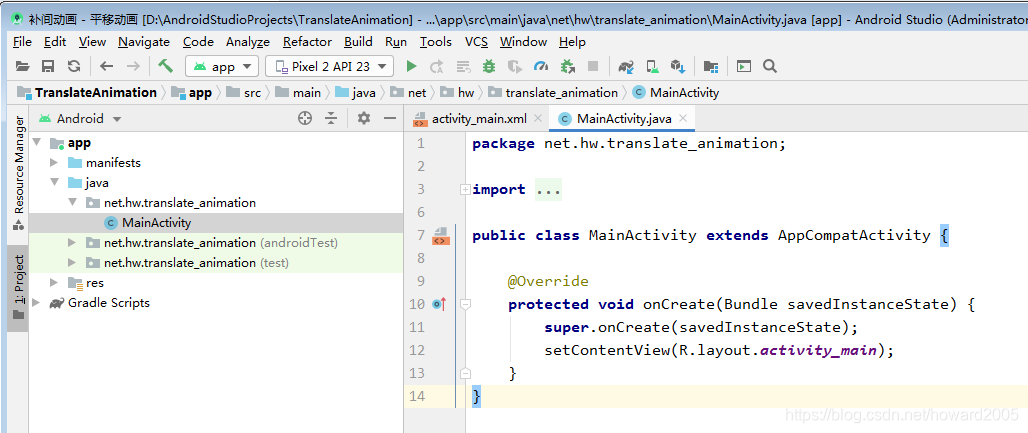
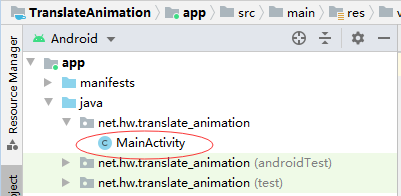
1、创建安卓应用【TranslateAnimation】
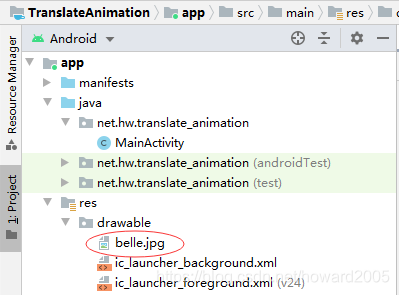
2、将图片素材拷贝到drawable目录
3、主布局资源文件activity_main.xml
<?xml version="1.0" encoding="utf-8"?>
<LinearLayout xmlns:android="http://schemas.android.com/apk/res/android"
    xmlns:tools="http://schemas.android.com/tools"
    android:layout_width="match_parent"
    android:layout_height="match_parent"
    android:orientation="vertical"
    android:padding="10dp"
    tools:context=".MainActivity">

    <ImageView
        android:id="@+id/ivBelle"
        android:layout_width="match_parent"
        android:layout_height="0dp"
        android:layout_marginBottom="20dp"
        android:layout_weight="7"
        android:src="@drawable/belle" />

    <LinearLayout
        android:layout_width="match_parent"
        android:layout_height="0dp"
        android:layout_weight="1"
        android:gravity="center"
        android:orientation="horizontal">

        <Button
            android:id="@+id/btnAnimationByCode"
            android:layout_width="wrap_content"
            android:layout_height="wrap_content"
            android:onClick="doAnimationByCode"
            android:text="@string/animation_by_code" />

        <Button
            android:id="@+id/btnAnimationByXML"
            android:layout_width="wrap_content"
            android:layout_height="wrap_content"
            android:onClick="doAnimationByXML"
            android:text="@string/animation_by_xml" />
    </LinearLayout>
</LinearLayout>
- 1
- 2
- 3
- 4
- 5
- 6
- 7
- 8
- 9
- 10
- 11
- 12
- 13
- 14
- 15
- 16
- 17
- 18
- 19
- 20
- 21
- 22
- 23
- 24
- 25
- 26
- 27
- 28
- 29
- 30
- 31
- 32
- 33
- 34
- 35
- 36
- 37
- 38
- 39
4、创建平移动画配置文件
- 在res目录里创建anim目录,在anim目录里创建translate_animator.xml

<?xml version="1.0" encoding="utf-8"?>
<translate xmlns:android="http://schemas.android.com/apk/res/android"
    android:duration="3000"
    android:fromXDelta="-100%"
    android:fromYDelta="0%"
    android:repeatCount="1"
    android:repeatMode="reverse"
    android:toXDelta="100%"
    android:toYDelta="0%" />
- 1
- 2
- 3
- 4
- 5
- 6
- 7
- 8
- 9
5、字符串资源文件strings.xml
<resources>
    <string name="app_name">补间动画 - 平移动画</string>
    <string name="animation_by_code">通过Java代码实现动画</string>
    <string name="animation_by_xml">通过xml配置实现动画</string>
</resources>
- 1
- 2
- 3
- 4
- 5
5、主界面类 - MainActivity
- 声明变量
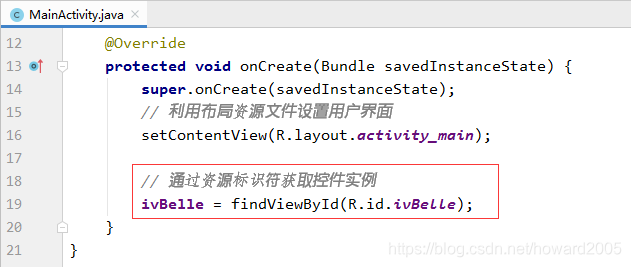
- 通过资源标识符获取控件实例
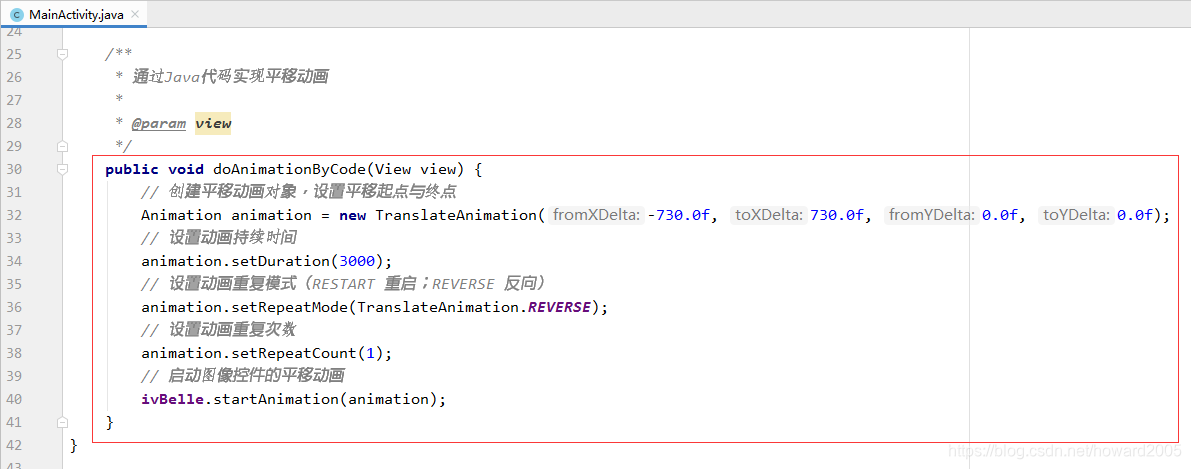
- 通过Java代码实现平移动画
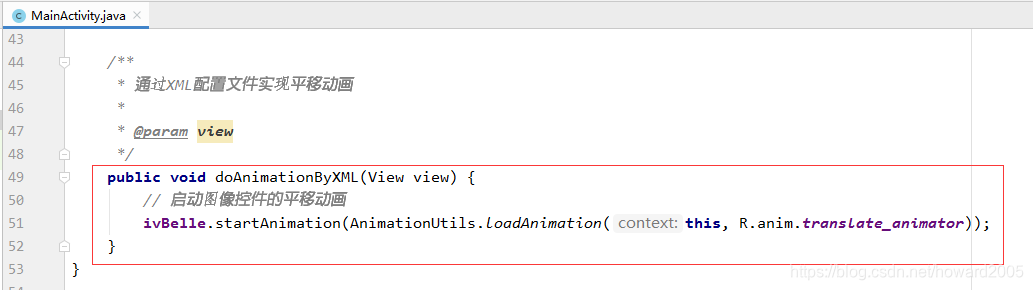
- 通过XML动画配置文件实现平移动画
- 查看主界面完整源代码
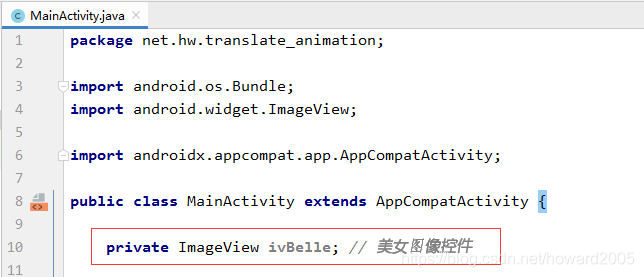
package net.hw.translate_animation;

import android.os.Bundle;
import android.view.View;
import android.view.animation.Animation;
import android.view.animation.AnimationUtils;
import android.view.animation.TranslateAnimation;
import android.widget.ImageView;

import androidx.appcompat.app.AppCompatActivity;

public class MainActivity extends AppCompatActivity {

    private ImageView ivBelle; // 美女图像控件

    @Override
    protected void onCreate(Bundle savedInstanceState) {
        super.onCreate(savedInstanceState);
        // 利用布局资源文件设置用户界面
        setContentView(R.layout.activity_main);

        // 通过资源标识符获取控件实例
        ivBelle = findViewById(R.id.ivBelle);
    }

    /**
     * 通过Java代码实现平移动画
     *
     * @param view
     */
    public void doAnimationByCode(View view) {
        // 创建平移动画对象,设置平移起点与终点
        Animation animation = new TranslateAnimation(-730.0f, 730.0f, 0.0f, 0.0f);
        // 设置动画持续时间
        animation.setDuration(3000);
        // 设置动画重复模式(RESTART 重启;REVERSE 反向)
        animation.setRepeatMode(TranslateAnimation.REVERSE);
        // 设置动画重复次数
        animation.setRepeatCount(1);
        // 启动图像控件的平移动画
        ivBelle.startAnimation(animation);
    }

    /**
     * 通过XML配置文件实现平移动画
     *
     * @param view
     */
    public void doAnimationByXML(View view) {
        // 启动图像控件的平移动画
        ivBelle.startAnimation(AnimationUtils.loadAnimation(this, R.anim.translate_animator));
    }
}
- 1
- 2
- 3
- 4
- 5
- 6
- 7
- 8
- 9
- 10
- 11
- 12
- 13
- 14
- 15
- 16
- 17
- 18
- 19
- 20
- 21
- 22
- 23
- 24
- 25
- 26
- 27
- 28
- 29
- 30
- 31
- 32
- 33
- 34
- 35
- 36
- 37
- 38
- 39
- 40
- 41
- 42
- 43
- 44
- 45
- 46
- 47
- 48
- 49
- 50
- 51
- 52
- 53
6、启动应用,查看效果
课堂练习:完成从左上角移到右下角的平移动画
六、补间动画 - 旋转动画
(一)运行效果
(二)实现步骤
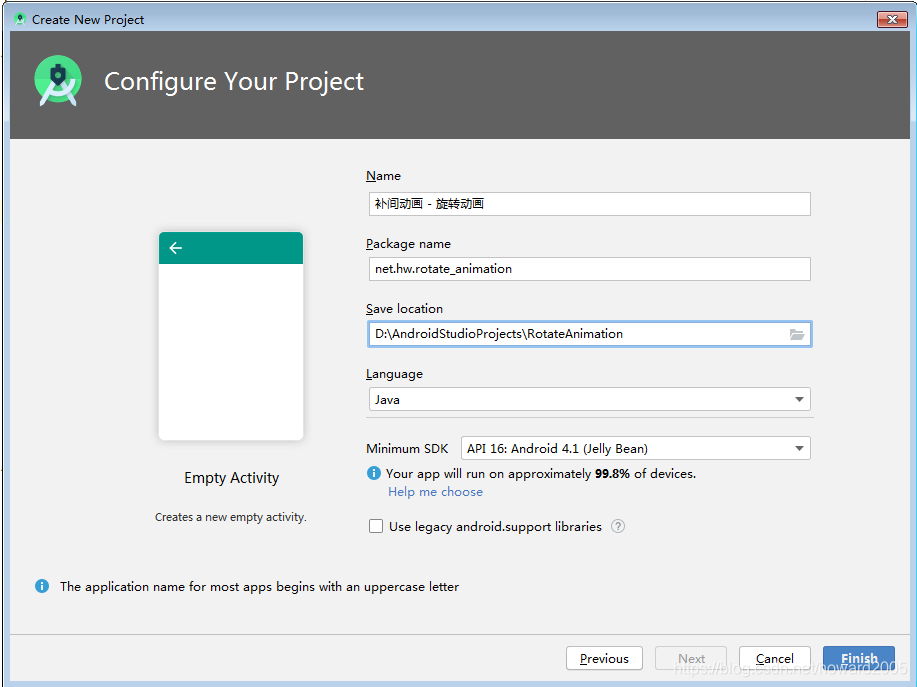
1、创建安卓应用【RotateAnimation】

2、将图片素材拷贝到drawable目录
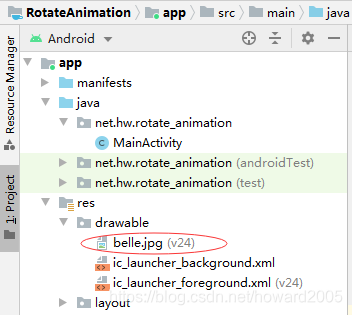
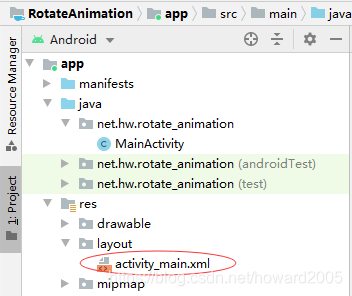
3、主布局资源文件activity_main.xml
<?xml version="1.0" encoding="utf-8"?>
<LinearLayout xmlns:android="http://schemas.android.com/apk/res/android"
    xmlns:tools="http://schemas.android.com/tools"
    android:layout_width="match_parent"
    android:layout_height="match_parent"
    android:orientation="vertical"
    android:padding="10dp"
    tools:context=".MainActivity">

    <ImageView
        android:id="@+id/ivBelle"
        android:layout_width="match_parent"
        android:layout_height="0dp"
        android:layout_marginBottom="20dp"
        android:layout_weight="7"
        android:src="@drawable/belle" />

    <LinearLayout
        android:layout_width="match_parent"
        android:layout_height="0dp"
        android:layout_weight="1"
        android:gravity="center"
        android:orientation="horizontal">

        <Button
            android:id="@+id/btnAnimationByCode"
            android:layout_width="wrap_content"
            android:layout_height="wrap_content"
            android:onClick="doAnimationByCode"
            android:text="@string/animation_by_code" />

        <Button
            android:id="@+id/btnAnimationByXML"
            android:layout_width="wrap_content"
            android:layout_height="wrap_content"
            android:onClick="doAnimationByXML"
            android:text="@string/animation_by_xml" />
    </LinearLayout>
</LinearLayout>
- 1
- 2
- 3
- 4
- 5
- 6
- 7
- 8
- 9
- 10
- 11
- 12
- 13
- 14
- 15
- 16
- 17
- 18
- 19
- 20
- 21
- 22
- 23
- 24
- 25
- 26
- 27
- 28
- 29
- 30
- 31
- 32
- 33
- 34
- 35
- 36
- 37
- 38
- 39
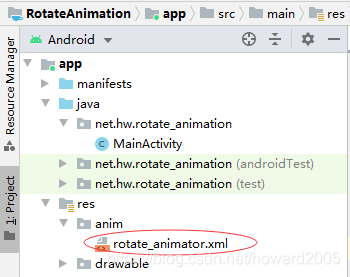
4、创建旋转动画配置文件
- 在res目录里创建anim目录,在anim目录里创建rotate_animator.xml
<?xml version="1.0" encoding="utf-8"?>
<rotate xmlns:android="http://schemas.android.com/apk/res/android"
    android:duration="3000"
    android:fromDegrees="-60"
    android:pivotX="50%"
    android:pivotY="0%"
    android:repeatCount="3"
    android:repeatMode="reverse"
    android:toDegrees="60" />
- 1
- 2
- 3
- 4
- 5
- 6
- 7
- 8
- 9
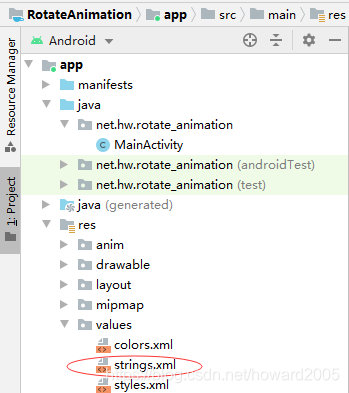
5、字符串资源文件strings.xml
<resources>
    <string name="app_name">补间动画 - 旋转动画</string>
    <string name="animation_by_code">通过Java代码实现动画</string>
    <string name="animation_by_xml">通过xml配置实现动画</string>
</resources>
- 1
- 2
- 3
- 4
- 5
6、主界面类 - MainActivity
-
声明变量
-
通过资源标识符获取控件实例
-
通过Java代码实现旋转动画
-
通过XML配置文件实现旋转动画
-
查看主界面完整源代码
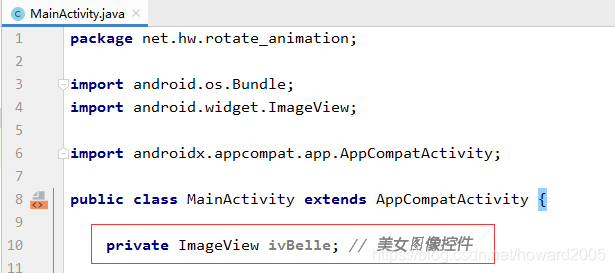
package net.hw.rotate_animation;
import android.os.Bundle;
import android.view.View;
import android.view.animation.Animation;
import android.view.animation.AnimationUtils;
import android.view.animation.RotateAnimation;
import android.view.animation.TranslateAnimation;
import android.widget.ImageView;
import androidx.appcompat.app.AppCompatActivity;
public class MainActivity extends AppCompatActivity {
private ImageView ivBelle; // 美女图像控件
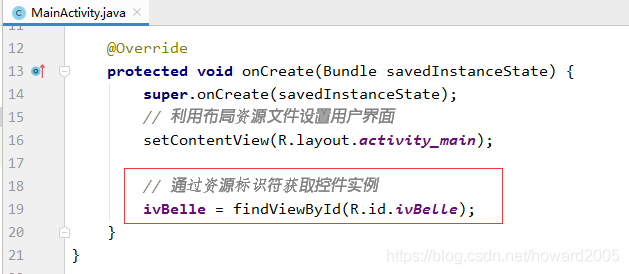
@Override
protected void onCreate(Bundle savedInstanceState) {
super.onCreate(savedInstanceState);
// 利用布局资源文件设置用户界面
setContentView(R.layout.activity_main);
// 通过资源标识符获取控件实例
ivBelle = findViewById(R.id.ivBelle);
}
/**
* 通过Java代码实现旋转动画
*
* @param view
*/
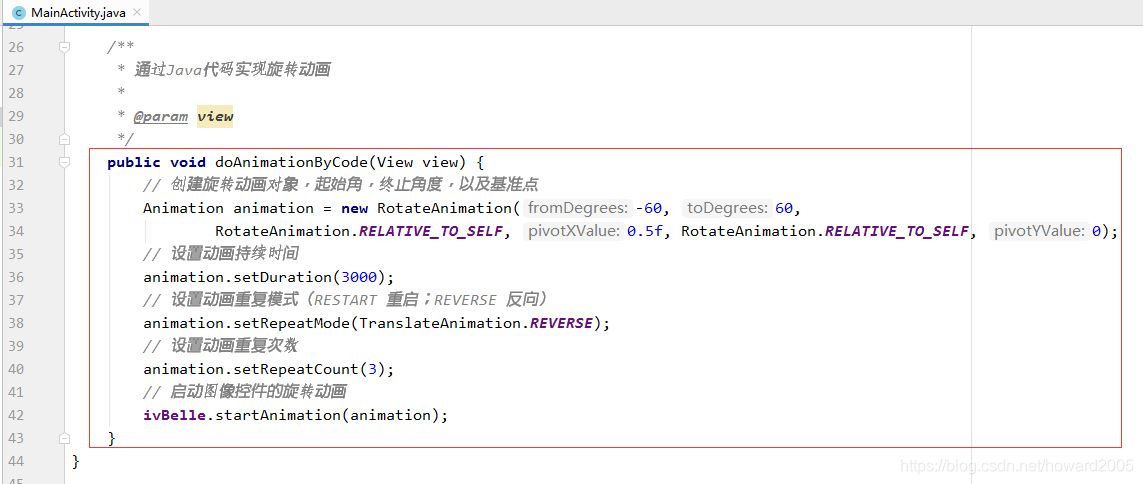
public void doAnimationByCode(View view) {
// 创建旋转动画对象,起始角,终止角度,以及基准点
Animation animation = new RotateAnimation(-60, 60,
RotateAnimation.RELATIVE_TO_SELF, 0.5f, RotateAnimation.RELATIVE_TO_SELF, 0);
// 设置动画持续时间
animation.setDuration(3000);
// 设置动画重复模式(RESTART 重启;REVERSE 反向)
animation.setRepeatMode(TranslateAnimation.REVERSE);
// 设置动画重复次数
animation.setRepeatCount(3);
// 启动图像控件的旋转动画
ivBelle.startAnimation(animation);
}
/**
* 通过XML配置文件实现旋转动画
*
* @param view
*/
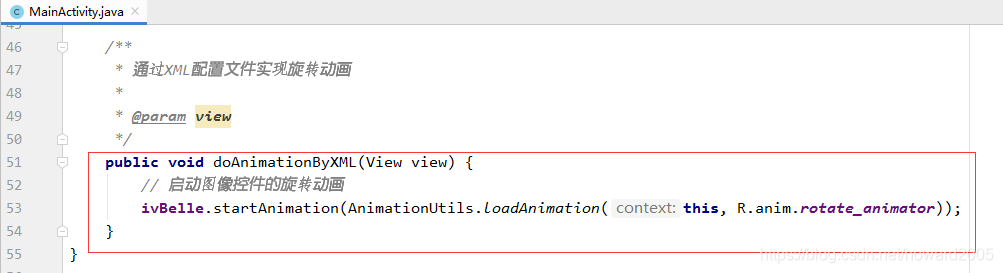
public void doAnimationByXML(View view) {
// 启动图像控件的旋转动画
ivBelle.startAnimation(AnimationUtils.loadAnimation(this, R.anim.rotate_animator));
}
}
- 1
- 2
- 3
- 4
- 5
- 6
- 7
- 8
- 9
- 10
- 11
- 12
- 13
- 14
- 15
- 16
- 17
- 18
- 19
- 20
- 21
- 22
- 23
- 24
- 25
- 26
- 27
- 28
- 29
- 30
- 31
- 32
- 33
- 34
- 35
- 36
- 37
- 38
- 39
- 40
- 41
- 42
- 43
- 44
- 45
- 46
- 47
- 48
- 49
- 50
- 51
- 52
- 53
- 54
- 55
7、启动应用,查看效果
课堂练习:让图像控件绕着自身中心顺时针旋转无限次
七、课后作业
任务:利用动画配置文件实现组合补间动画
文章来源: howard2005.blog.csdn.net,作者:howard2005,版权归原作者所有,如需转载,请联系作者。
原文链接:howard2005.blog.csdn.net/article/details/111380931

【版权声明】本文为华为云社区用户转载文章,如果您发现本社区中有涉嫌抄袭的内容,欢迎发送邮件进行举报,并提供相关证据,一经查实,本社区将立刻删除涉嫌侵权内容,举报邮箱:
cloudbbs@huaweicloud.com
- 点赞
- 收藏
- 关注作者
评论(0)