【Unity3D日常开发】(二十二)Unity3D进行截图
【摘要】 推荐阅读CSDN主页GitHub开源地址Unity3D插件分享简书地址我的个人博客QQ群:1040082875 一、前言来看一下怎么截图的吧 二、效果 三、代码using UnityEngine;public class Screenshot : MonoBehaviour{ //截图相机 Camera capCamera; //保存图片 Texture2D scre...
推荐阅读
一、前言
来看一下怎么截图的吧
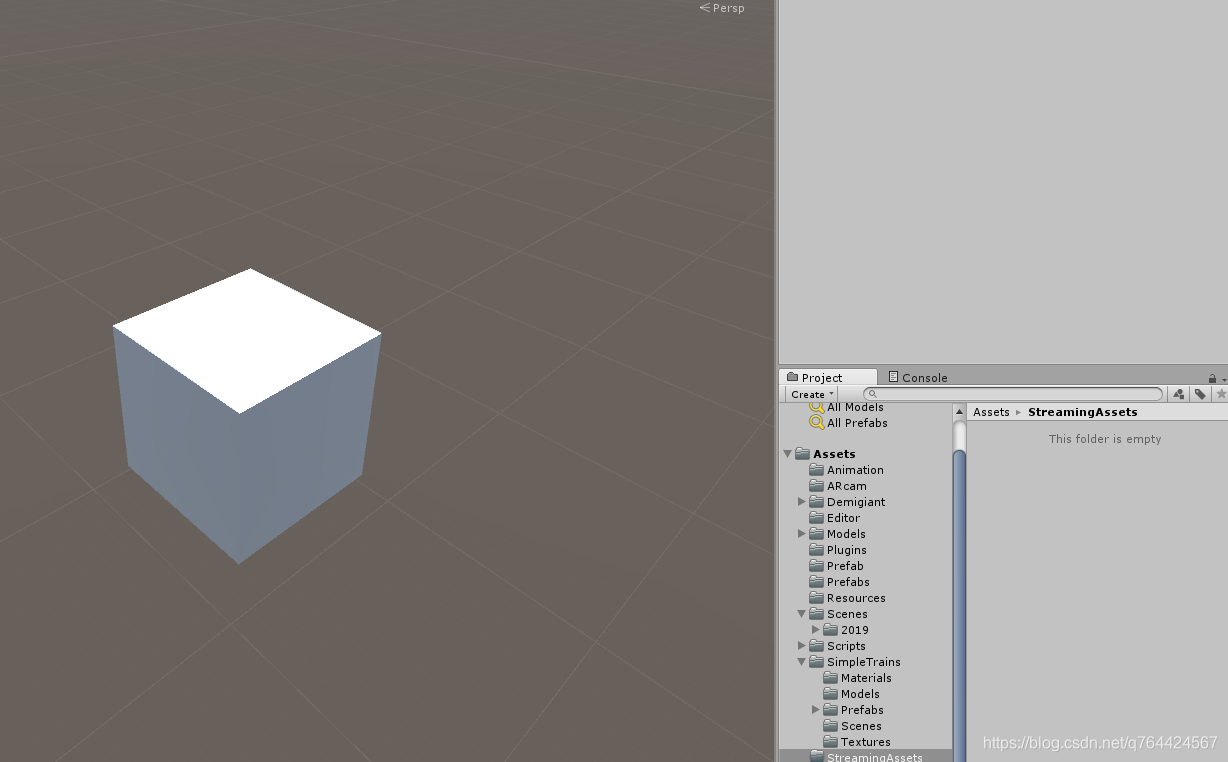
二、效果


三、代码
using UnityEngine;

public class Screenshot : MonoBehaviour
{
    //截图相机
    Camera capCamera;
    //保存图片
    Texture2D screenShot;

    void Start()
    {
        capCamera = GameObject.Find("Main Camera").GetComponent<Camera>();
    }

    void OnGUI()
    {
        if (GUILayout.Button("Show"))
        {
            CaptureCamera();
        }
    }

    void CaptureCamera()
    {
        Rect rect = new Rect(Screen.width * 0f, Screen.height * 0f, Screen.width * 1f, Screen.height * 1f);
        // 创建一个RenderTexture对象
        RenderTexture rt = new RenderTexture((int)rect.width, (int)rect.height, 0);
        // 临时设置相关相机的targetTexture为rt, 并手动渲染相关相机
        capCamera.targetTexture = rt;
        capCamera.Render();
        // 激活这个rt, 并从中中读取像素。
        RenderTexture.active = rt;
        screenShot = new Texture2D((int)rect.width, (int)rect.height, TextureFormat.RGB24, false);
        //从RenderTexture.active中读取像素
        screenShot.ReadPixels(rect, 0, 0);
        screenShot.Apply();

        // 重置相关参数,以使用camera继续在屏幕上显示
        capCamera.targetTexture = null;
        //避免重复添加的错误
        RenderTexture.active = null;

        //销毁这个对象
        Destroy(rt);

        //保存图片
        byte[] bytes = screenShot.EncodeToPNG();
        string filename = Application.streamingAssetsPath + "/2.png";
        System.IO.File.WriteAllBytes(filename, bytes);
    }
}
【声明】本内容来自华为云开发者社区博主,不代表华为云及华为云开发者社区的观点和立场。转载时必须标注文章的来源(华为云社区)、文章链接、文章作者等基本信息,否则作者和本社区有权追究责任。如果您发现本社区中有涉嫌抄袭的内容,欢迎发送邮件进行举报,并提供相关证据,一经查实,本社区将立刻删除涉嫌侵权内容,举报邮箱:
cloudbbs@huaweicloud.com
- 点赞
- 收藏
- 关注作者


评论(0)