Python编程:py2neo操作neo4j图数据库
【摘要】 py2neo文档: https://py2neo.org/v4/index.html
安装:
pip install py2neo
1
本文用的版本是: py2neo 4.1.3
代码示例
# -*- coding: utf-8 -*-
from py2neo import Graph, Node, Relationship, NodeMatcher
fro...
py2neo文档: https://py2neo.org/v4/index.html
安装:
pip install py2neo
- 1
本文用的版本是:
py2neo 4.1.3
代码示例
# -*- coding: utf-8 -*-

from py2neo import Graph, Node, Relationship, NodeMatcher
from py2neo.matching import RelationshipMatcher

# 连接数据库
graph = Graph("http://localhost:7474", username="neo4j", password='123456')

# 创建节点
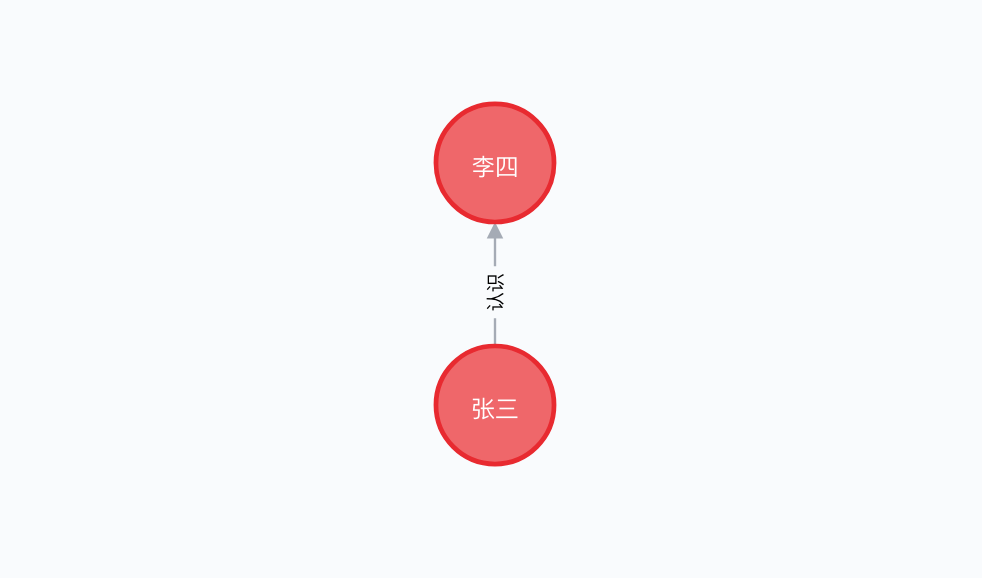
p1 = Node("Person", name="张三")
p2 = Node("Person", name="李四")
graph.create(p1)
graph.create(p2)

# 创建关系
r = Relationship(p1, "认识", p2)
graph.create(r)

# 节点查询
mather = NodeMatcher(graph)
result = mather.match("Person", name="张三").first()
print(result)
# (_0:Person {name: '\u5f20\u4e09'})


# 查询关系
relation_matcher = RelationshipMatcher(graph)
ret = relation_matcher.match((result,), r_type="认识").first()
print(ret)
# (张三)-[:认识 {}]->(李四)

# 直接运行cypher语句
ret = graph.run('match(p:Person{name:"李四"}) return p').data()
print(ret)
# [{'p': (_3:Person {name: '\u674e\u56db'})}]
- 1
- 2
- 3
- 4
- 5
- 6
- 7
- 8
- 9
- 10
- 11
- 12
- 13
- 14
- 15
- 16
- 17
- 18
- 19
- 20
- 21
- 22
- 23
- 24
- 25
- 26
- 27
- 28
- 29
- 30
- 31
- 32
- 33
- 34
- 35
- 36

文章来源: pengshiyu.blog.csdn.net,作者:彭世瑜,版权归原作者所有,如需转载,请联系作者。
原文链接:pengshiyu.blog.csdn.net/article/details/86594612
【版权声明】本文为华为云社区用户转载文章,如果您发现本社区中有涉嫌抄袭的内容,欢迎发送邮件进行举报,并提供相关证据,一经查实,本社区将立刻删除涉嫌侵权内容,举报邮箱:
cloudbbs@huaweicloud.com
- 点赞
- 收藏
- 关注作者


评论(0)