QT Desinger设计窗体应用程序框架

目录
前言
QT Desinger这个工具让我们可以想C#一样通过拖动组件来开发GUI应用程序。对于新手或敏捷开发而言都是一大利器,但是如果希望深入的学习QT底层代码实现的话,这当然不是一个好的选择。
系统软件
- 系统
- Win 10
- 软件
- PyCharm 5
- Python 3.4.3
- PyQt 4
QT Designer
官方手册,点这里
摘要:
Qt Designer is the Qt tool for designing and building graphical user interfaces (GUIs) with Qt Widgets. You can compose and customize your windows or dialogs in a what-you-see-is-what-you-get (WYSIWYG) manner, and test them using different styles and resolutions.
Widgets and forms created with Qt Designer integrate seamlessly with programmed code, using Qt’s signals and slots mechanism, so that you can easily assign behavior to graphical elements. All properties set in Qt Designer can be changed dynamically within the code. Furthermore, features like widget promotion and custom plugins allow you to use your own components with Qt Designer.
QT Designer 是构建和设计图形用户界面(gui)的Qt工具。可以以所见即所得(what-you-see-is-what-you-get)的方式来组合和定制你的窗口或者对话框,并且可以使用不同的风格和解决方案来测试。
使用QT Designer创建的部件和表单,你可以无缝的将这些部件的信号和槽集成到程序代码中,所以你能够很容易的去指定图形组件的动作。在QT Designer中设定的属性值在代码中可以动态的更改,而且QT Designer允许你使用自己拥有的部件和自定义插件。
Using QT Designer
使用QT Designer的几个步骤:
1)创建窗体并在窗体中放置各种控件。
2)对窗体进行布局设计。
3)设置各控件的标签顺序。
4)创建信号和槽。
5)连接信号和槽。
Open QTDesigner Tool
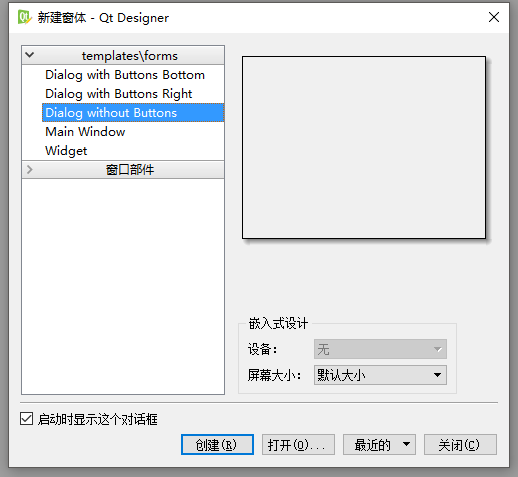
启动QT Designer后,提供了5种表单样式
1)底部带”确定”,”取消”按钮的对话框窗体。
2)右侧带”确定”,”取消”按钮的对话框窗体。
3)不带按钮的对话框窗体。
4)Main Window类型窗体。
5)通用窗体。
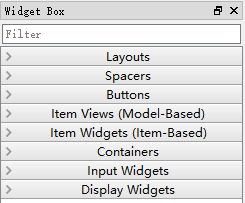
Widget Box
QT Designer的控件栏
左边是控件栏,提供了很多控件类,可以像Visual studio那样直接将控件拖放QWidget中看到效果,Ctrl+R可以预览效果。
QT Designer的布局
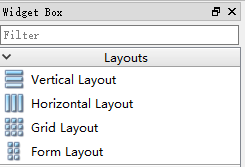
Qt Designer Widget Box 中的Layouts控件提供了四种布局方法:
Vertical Layout 纵向布局
Horizontal Layout 横向布局
Grid Layout 栅格布局
Form Layout 在窗体布局中布局
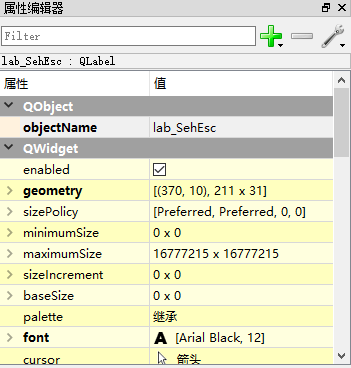
属性栏
右边是对窗口及控件的调整、设置、动作 、添加资源(列如:图片)。还可以直接编辑Qt的信号槽(signal和slot)。
通过信号槽机制,QT使对象间的通信变得非常简单,Example:
对象A声明信号(signal),对象B实现与A参数相匹配的槽(slot),通过调用connect()进行连接,合适的时机对象A使用emit把带上参数的信号发射出去,对象B的槽会就接收到响应,并做出动作。
信号与槽作为QT的核心机制,在QT程序中广泛应用,以后再专门介绍。
示例
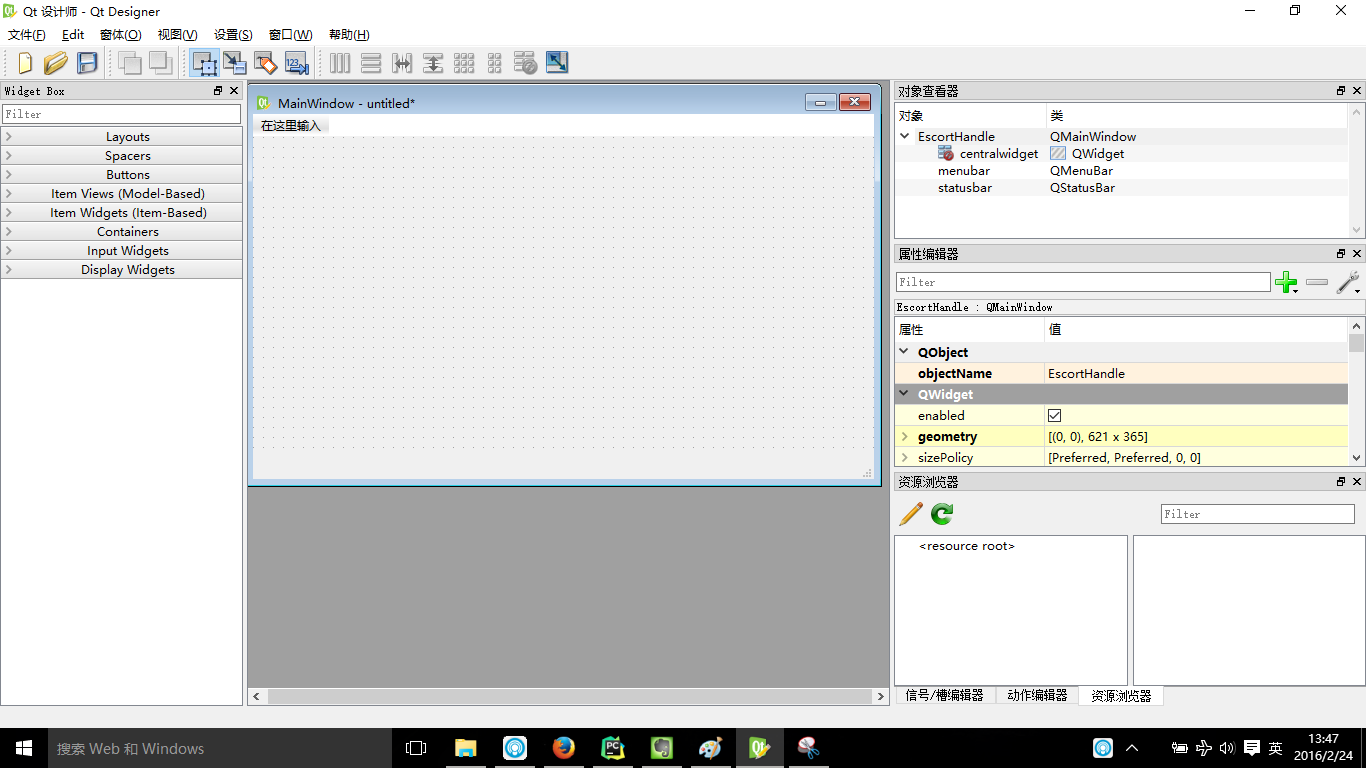
i. 我们选择Main Window
MainWindows默认添加了菜单栏(menubar)、工具栏和状态栏(statusbar)等
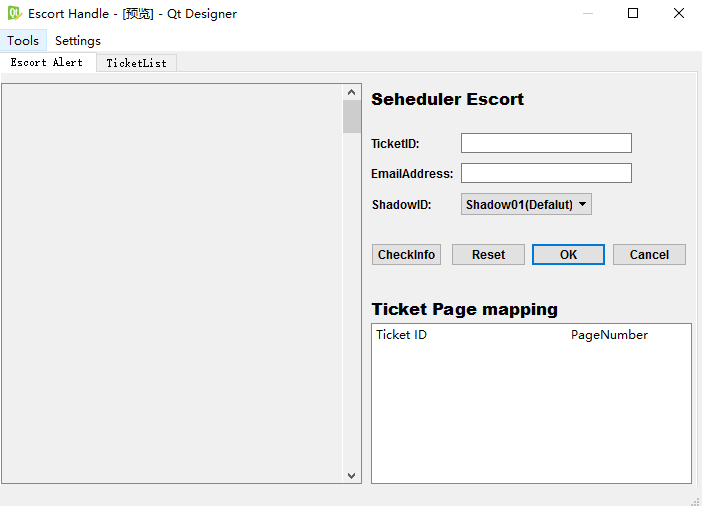
ii. 拖动控件设计你喜欢的窗体框架
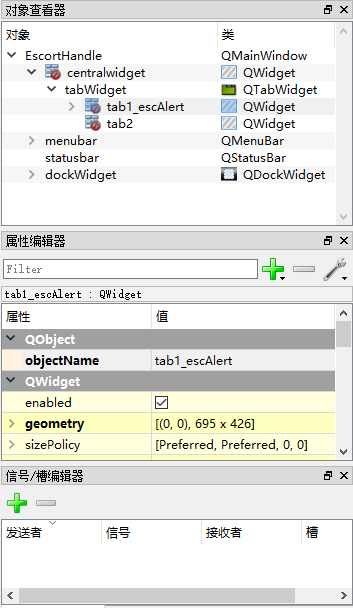
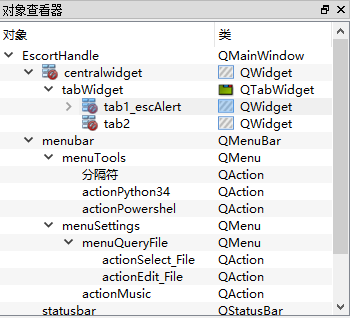
在设计窗体框架的时候需要注意层次之间的关系,这个可以在对象查看器中得到体现
还可以在属性编辑器中对每一个部件的属性进行设计
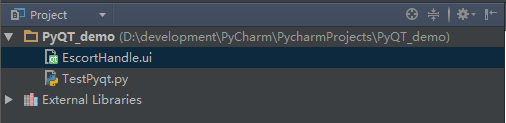
iii. 保存.ui文件
默认保存到PyCharm当前项目的workspace中。
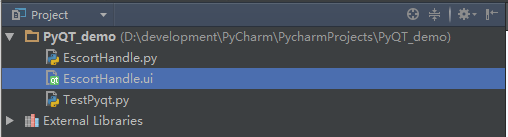
iiii. 将.ui文件转换为.py文件
使用pyuic4.bat
D:\>D:\development\\Python34\Lib\site-packages\PyQt4\pyuic4.bat d:\development\PyCharm\PycharmProjects\PyQT_demo\EscortHandle.ui -o d:\development\PyCharm\PycharmProjects\PyQT_demo\escortHandle.py
- 1
Command line pyuic4:
The pyuic4 utility is a command line interface to the uic module. The command has the following syntax:
pyuic4 [options] .ui-file
- 1
The full set of command line options is:
-h, –help
–version
-i <Number>, –indent <N> 指定Python code的缩进格式
-o <FILE>, –output <FILE> 指定转换成.py文件的文件名
-p, –preview 预览
-w, –pyqt3-wrapper 封装器,兼容PyQt3
-x, –execute The generated Python code includes a small amount of additional code that creates and displays the GUI when it is executes as a standalone application.
–from-imports Resource modules are imported using from . import rather than a simple import.
–resource-suffix <SUFFIX> The suffix <SUFFIX> is appended to the basename of any resource file specified in the .ui file to create the name of the Python module generated from the resource file by pyrcc4. The default is _rc. For example if the .ui file specified a resource file called foo.qrc then the corresponding Python module is foo_rc. 当使用资源的时候需要注意
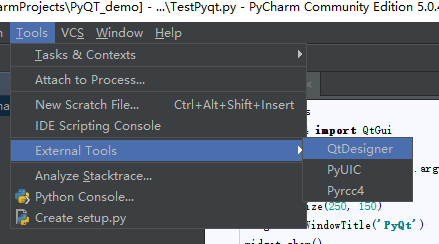
使用PyCharm External Tools
在之前介绍个将pyuic4工具扩展到PyCharm中,传送门

OK! 在获得了.py文件之后你就可以继续之后的逻辑层程序的编写了。
Done
文章来源: is-cloud.blog.csdn.net,作者:范桂飓,版权归原作者所有,如需转载,请联系作者。
原文链接:is-cloud.blog.csdn.net/article/details/50734882

- 点赞
- 收藏
- 关注作者
评论(0)