spring-Cloud-netflix-快速入门(二)-Zuul+Eureka-服务注册发现

环境准备
引入cloud 依赖
在父pom的 标签里添加如下依赖:注意cloud的版本号和springboot版本号是有对应关系的如下所示
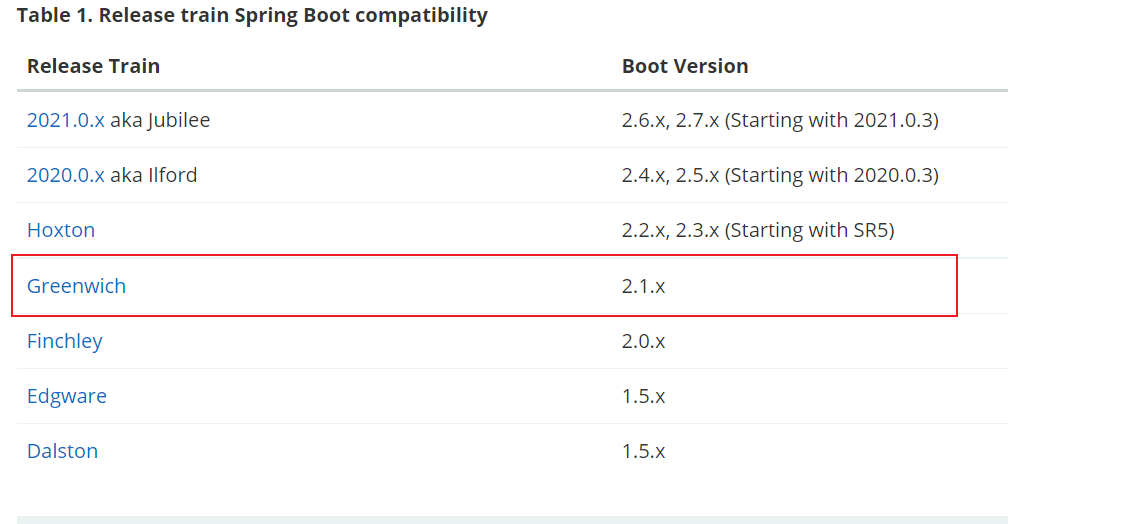
划红线的就是本次cloud版本和boot版本的对应关系,最新版本对应关系请参考官网:Spring Cloud
springcloud依赖
           <!--cloud-->
            <dependency>
                <groupId>org.springframework.cloud</groupId>
                <artifactId>spring-cloud-dependencies</artifactId>
                <version>Greenwich.SR1</version>
                <type>pom</type>
                <scope>import</scope>
            </dependency>
- 1
- 2
- 3
- 4
- 5
- 6
- 7
- 8

Eureka
单体
新建Eureka模块7001(创建单体)
新建Model
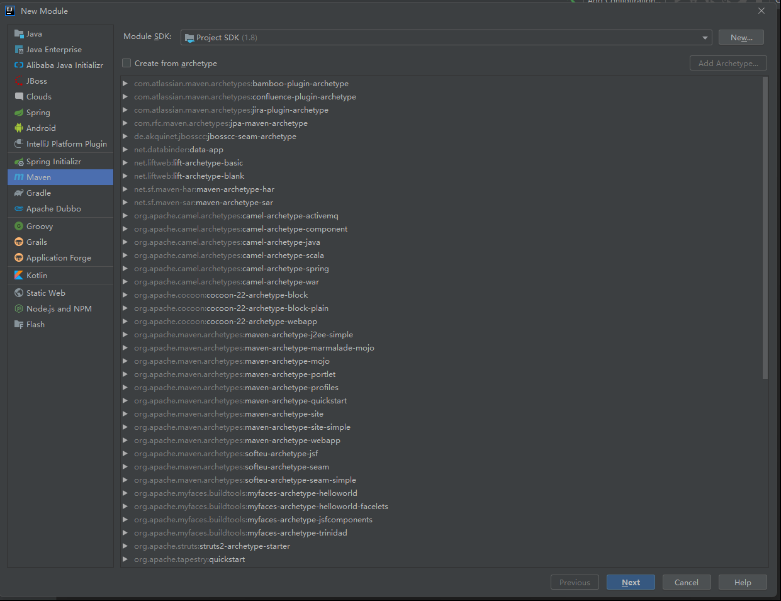
设置artifacid
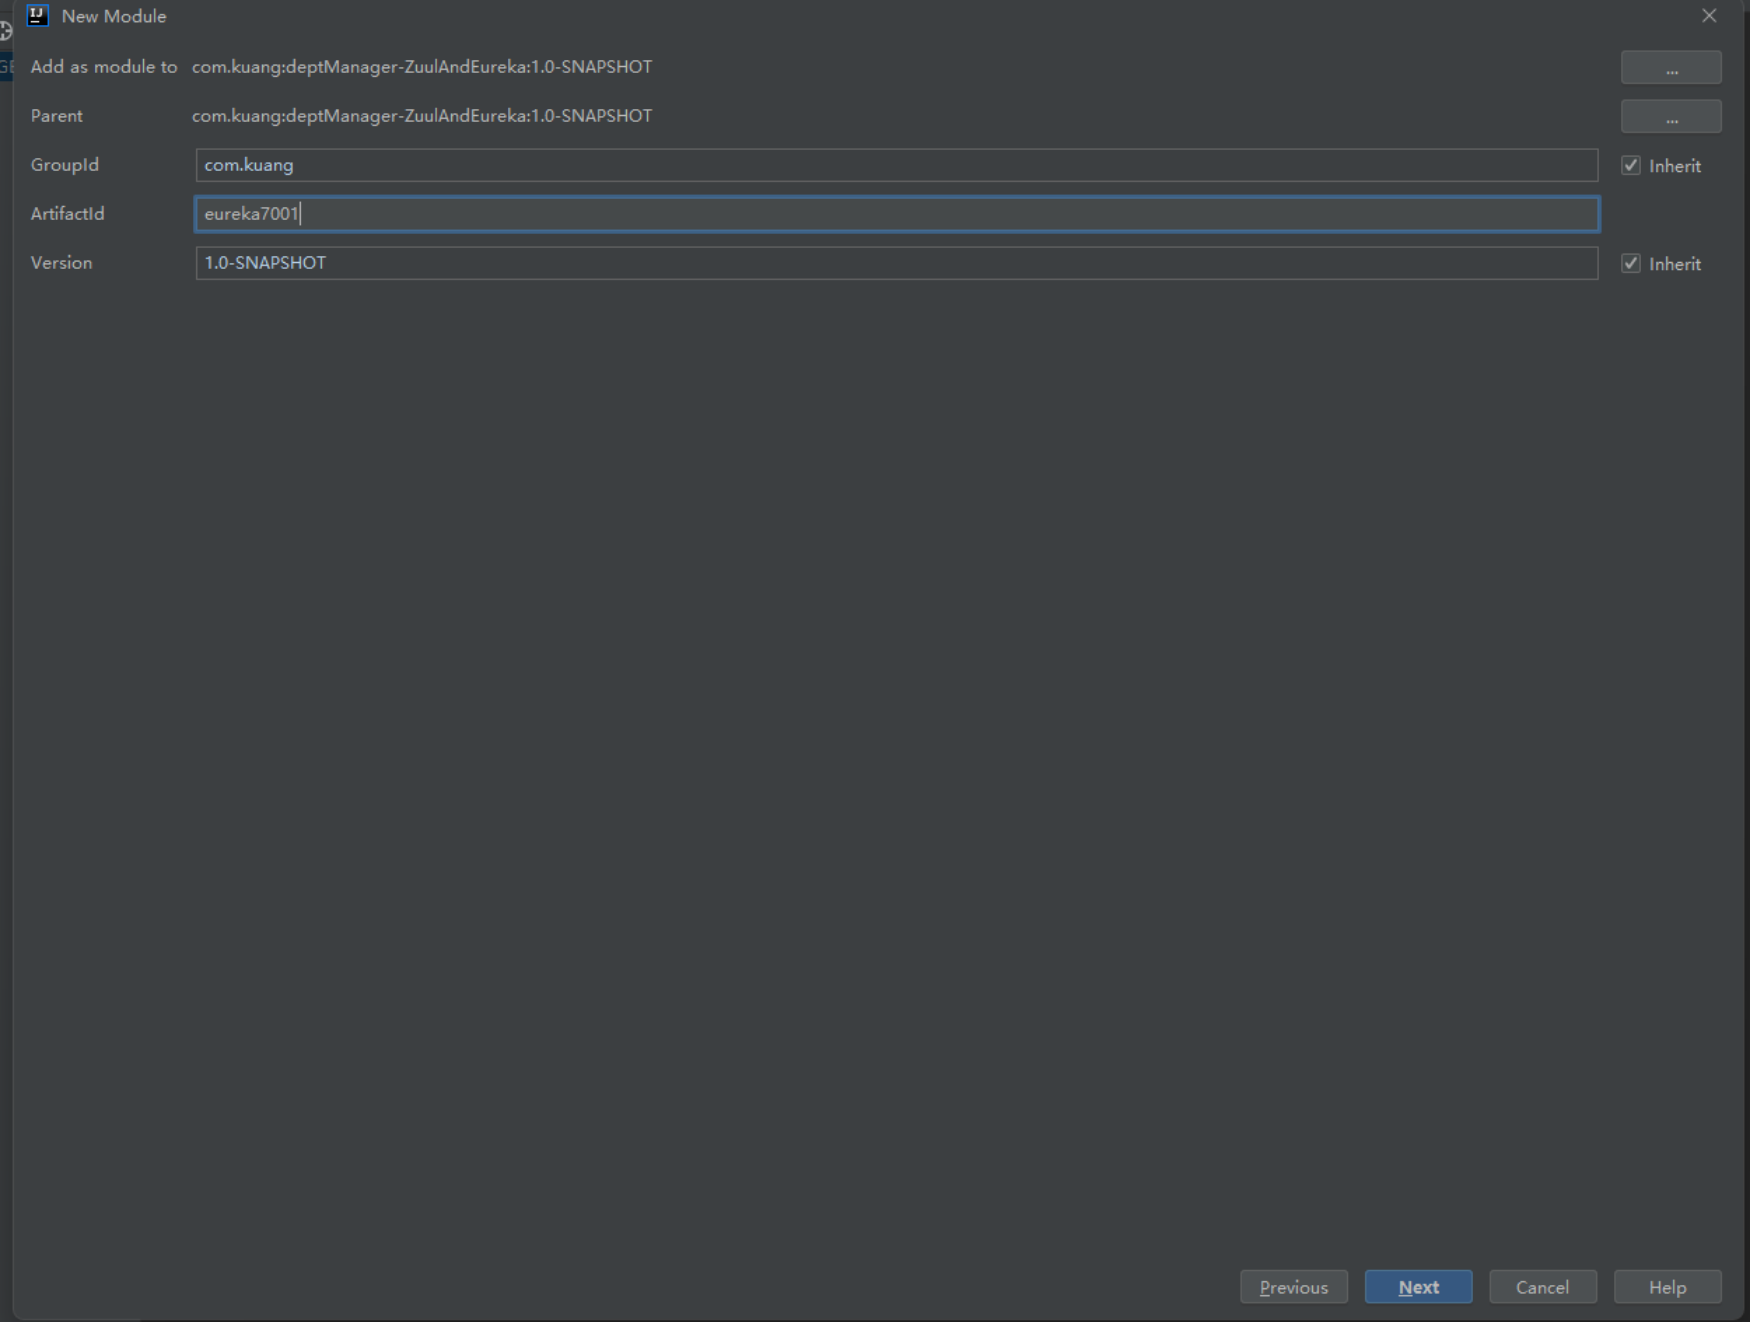
设置保存位置

pom
  <dependencies>
        <dependency>
            <groupId>org.springframework.boot</groupId>
            <artifactId>spring-boot-starter-web</artifactId>
        </dependency>
        <dependency>
            <groupId>org.springframework.cloud</groupId>
            <artifactId>spring-cloud-starter-eureka-server</artifactId>
            <version>1.4.6.RELEASE</version>
        </dependency>
    </dependencies>
- 1
- 2
- 3
- 4
- 5
- 6
- 7
- 8
- 9
- 10
- 11
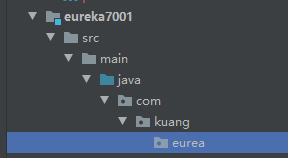
新建包
yml
bootstrap.yml
spring:
  application:
    name: eureka-server#应用名称(集群下相同)
server:
  port: 7001
# eureka配置
eureka:
  instance:
    hostname: localhost
    prefer-ip-address: true # 开启ip地址注册
  client:
    register-with-eureka: false
    fetch-registry: false
    service-url:
      defaultZone: http://localhost:7001/eureka/
- 1
- 2
- 3
- 4
- 5
- 6
- 7
- 8
- 9
- 10
- 11
- 12
- 13
- 14
- 15
启动类
EurekaServer7001
package com.kuang.eurea;

import org.springframework.boot.SpringApplication;
import org.springframework.boot.autoconfigure.SpringBootApplication;
import org.springframework.cloud.netflix.eureka.server.EnableEurekaServer;

/**
 * @Description 注册中心启动类
 * @ClassName EurekaServer7001
 * @Author 康世行
 * @Date 16:02 2022/7/17
 * @Version 1.0
 **/
@SpringBootApplication
@EnableEurekaServer
public class EurekaServer7001 {
    public static void main(String[] args) {
        SpringApplication.run(EurekaServer7001.class,args);
    }
}
- 1
- 2
- 3
- 4
- 5
- 6
- 7
- 8
- 9
- 10
- 11
- 12
- 13
- 14
- 15
- 16
- 17
- 18
- 19
- 20
- 21
注解解释
@SpringBootApplication springboot //启动注解
@EnableEurekaServer //开启注册服务注解
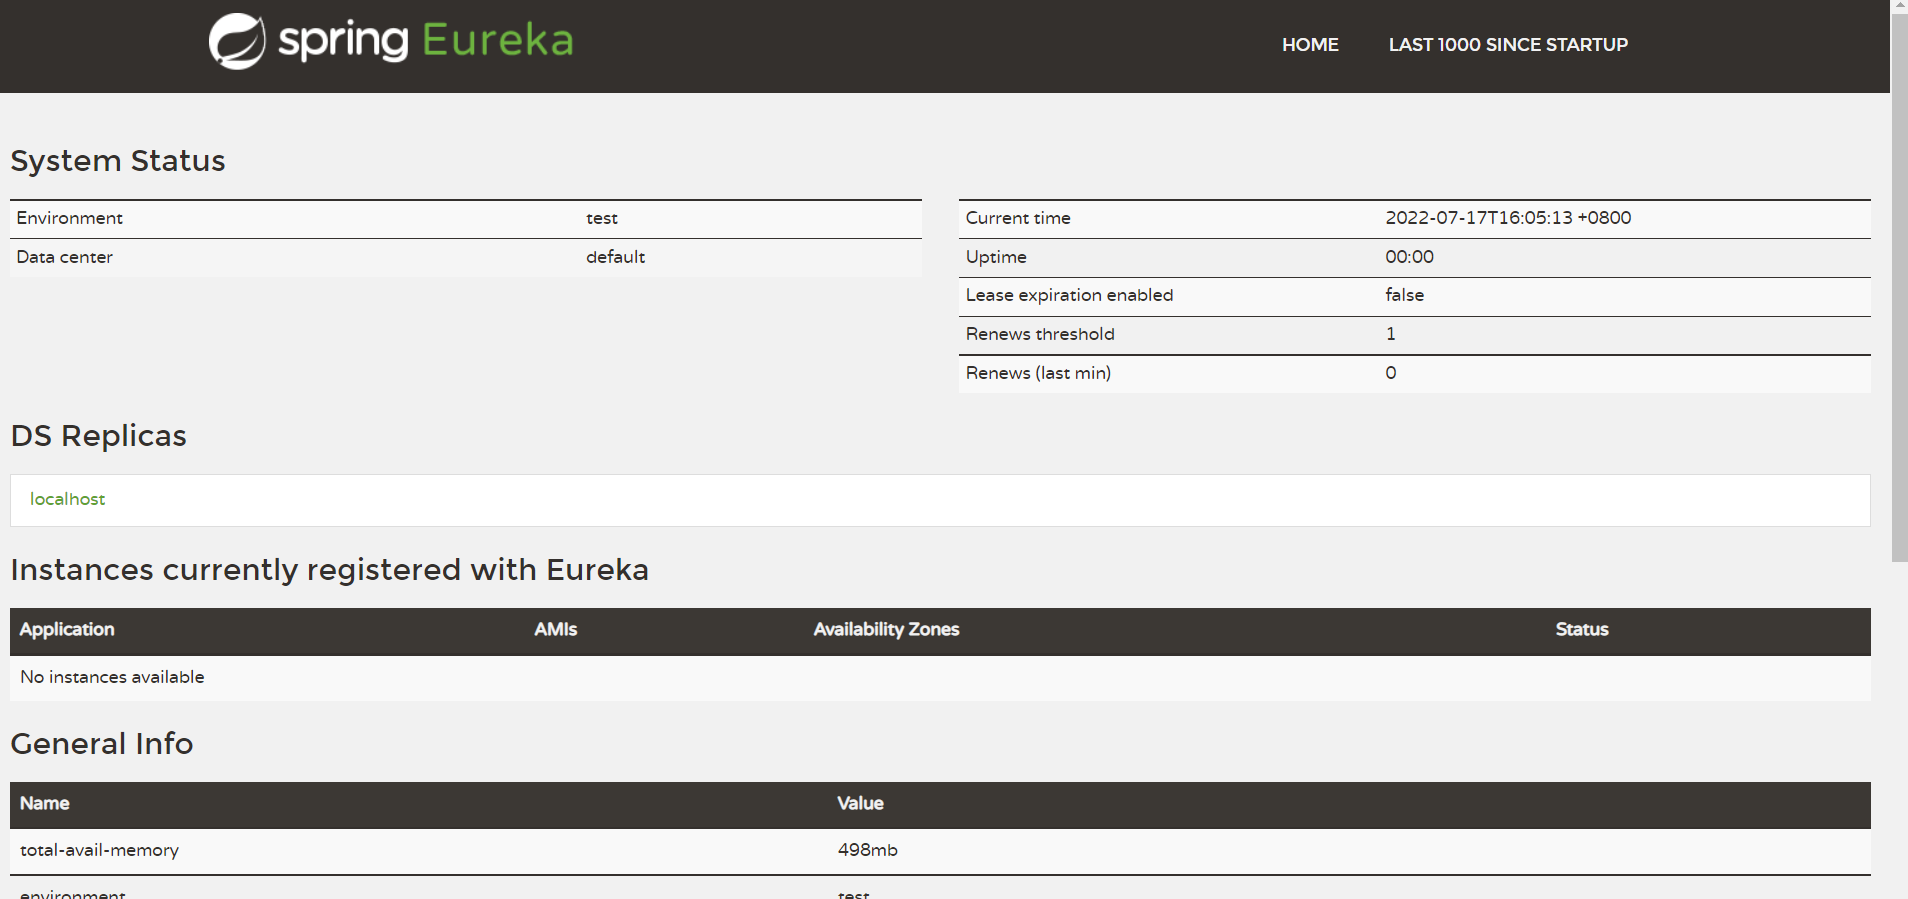
测试-注册中心可视化界面
地址:Eureka
向注册中心注册服务
生产者
pom
        <dependency>
            <groupId>org.springframework.cloud</groupId>
            <artifactId>spring-cloud-starter-eureka</artifactId>
            <version>1.4.6.RELEASE</version>
        </dependency>
- 1
- 2
- 3
- 4
- 5
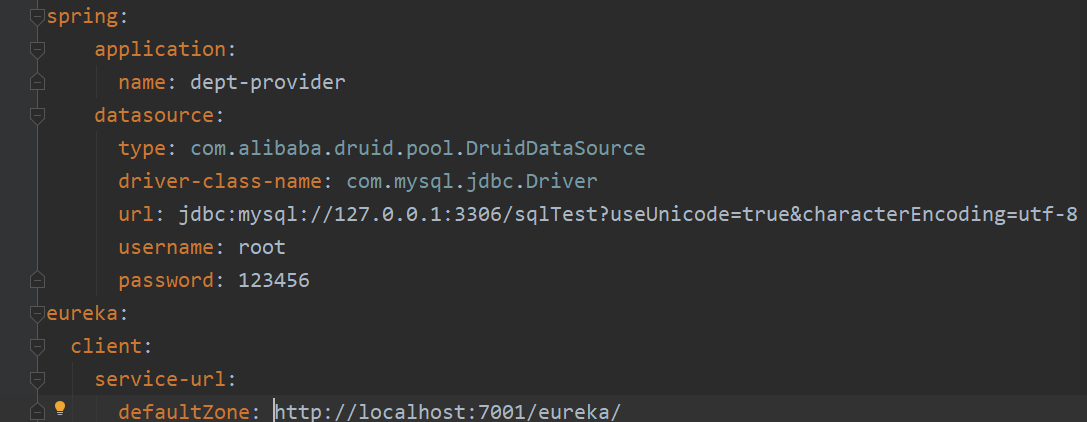
yml
application.yml添加如下配置
eureka:
  client:
    service-url:
      defaultZone: http://localhost:7001/eureka/
- 1
- 2
- 3
- 4
- 5
成功注册到Eureka

消费者
pom
      <dependency>
            <groupId>org.springframework.cloud</groupId>
            <artifactId>spring-cloud-starter-eureka</artifactId>
            <version>1.4.6.RELEASE</version>
        </dependency>
- 1
- 2
- 3
- 4
- 5
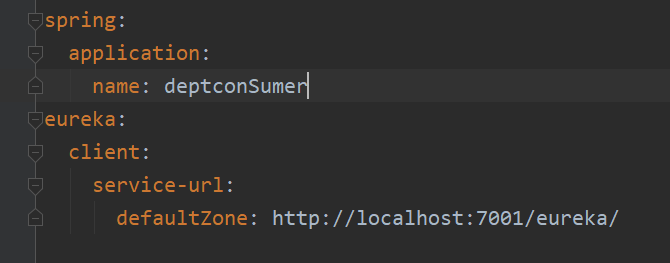
yml
application.yml添加如下配置
eureka:
  client:
    service-url:
      defaultZone: http://localhost:7001/eureka/
- 1
- 2
- 3
- 4
- 5
成功注册到Eureka

集群
集群和单体的操作步骤一致,就是按照单体的步骤在新建两个模块7002,7003,一共三个模块7001,7002,7003。只是7001,7002,7003的配置文件需要从新修改

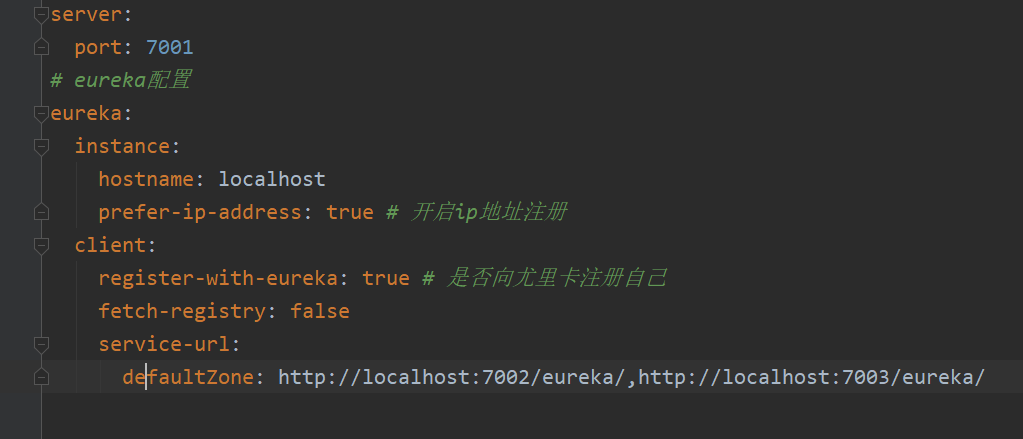
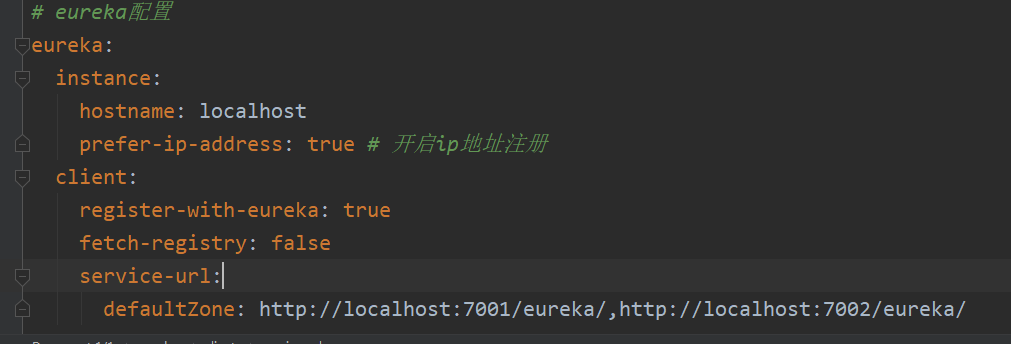
7001yml
# eureka配置
eureka:
  instance:
    hostname: localhost
    prefer-ip-address: true # 开启ip地址注册
  client:
    register-with-eureka: true # 是否向尤里卡注册自己
    fetch-registry: false
    service-url:
      defaultZone: http://localhost:7002/eureka/,http://localhost:7003/eureka/
- 1
- 2
- 3
- 4
- 5
- 6
- 7
- 8
- 9
- 10
7002yml
 # eureka配置
eureka:
  instance:
    hostname: localhost
    prefer-ip-address: true # 开启ip地址注册
  client:
    register-with-eureka: true
    fetch-registry: false
    service-url:
      defaultZone: http://localhost:7001/eureka/,http://localhost:7003/eureka/
- 1
- 2
- 3
- 4
- 5
- 6
- 7
- 8
- 9
- 10

7003yml
# eureka配置
eureka:
  instance:
    hostname: localhost
    prefer-ip-address: true # 开启ip地址注册
  client:
    register-with-eureka: true
    fetch-registry: false
    service-url:
      defaultZone: http://localhost:7001/eureka/,http://localhost:7002/eureka/
- 1
- 2
- 3
- 4
- 5
- 6
- 7
- 8
- 9
- 10
启动效果
7001
7002

7003
三个注册中心全部启动

服务注册效果
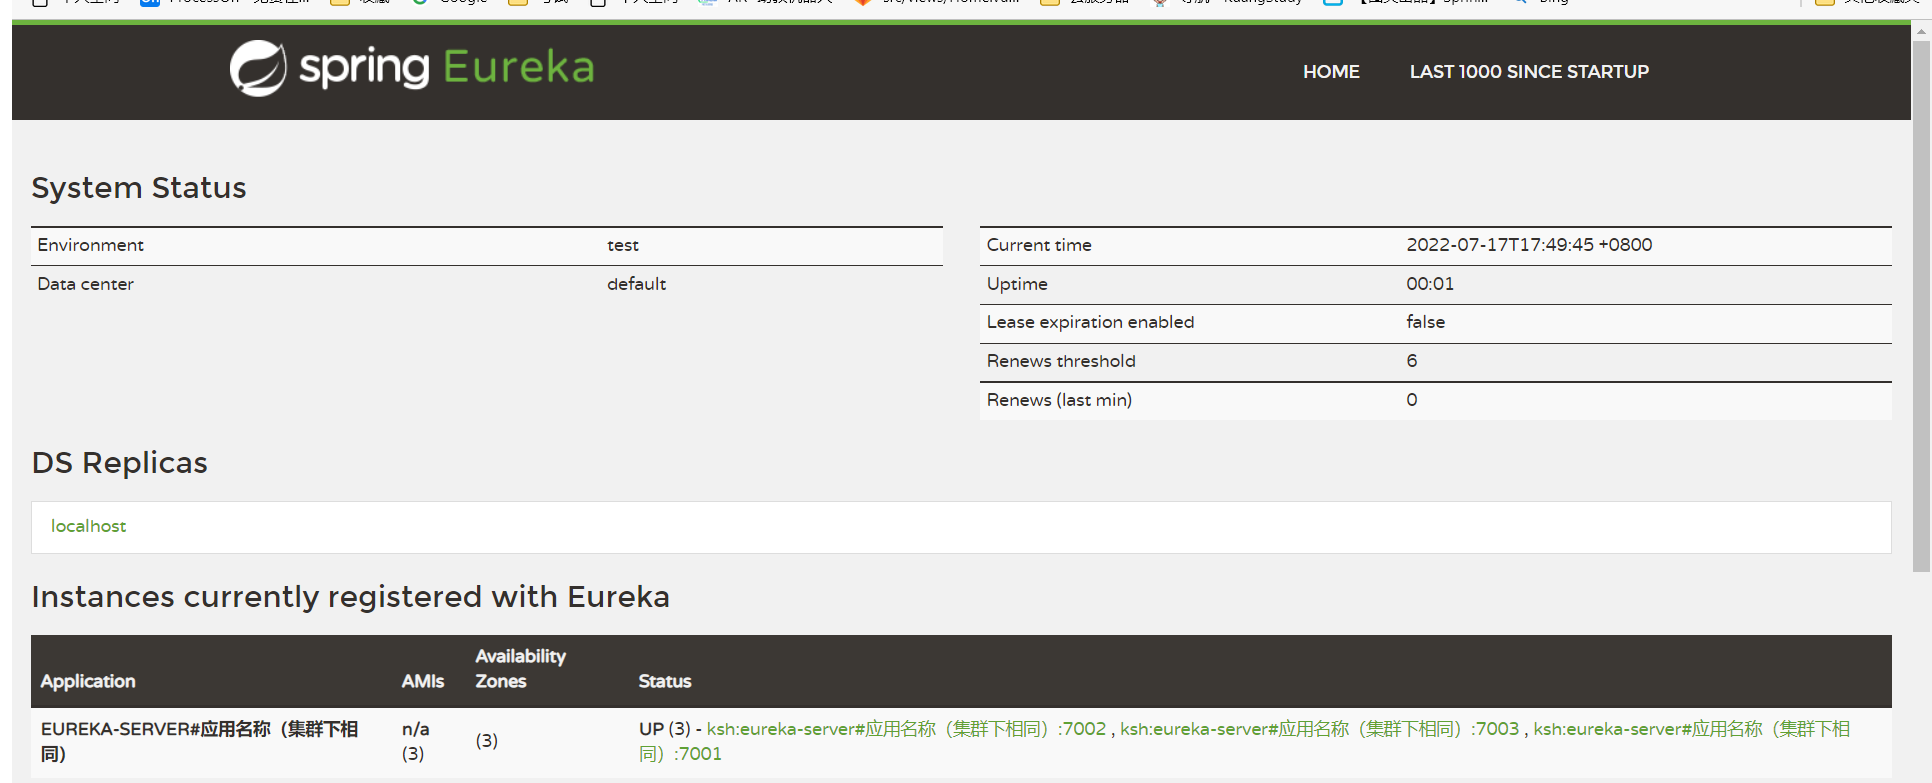
7001

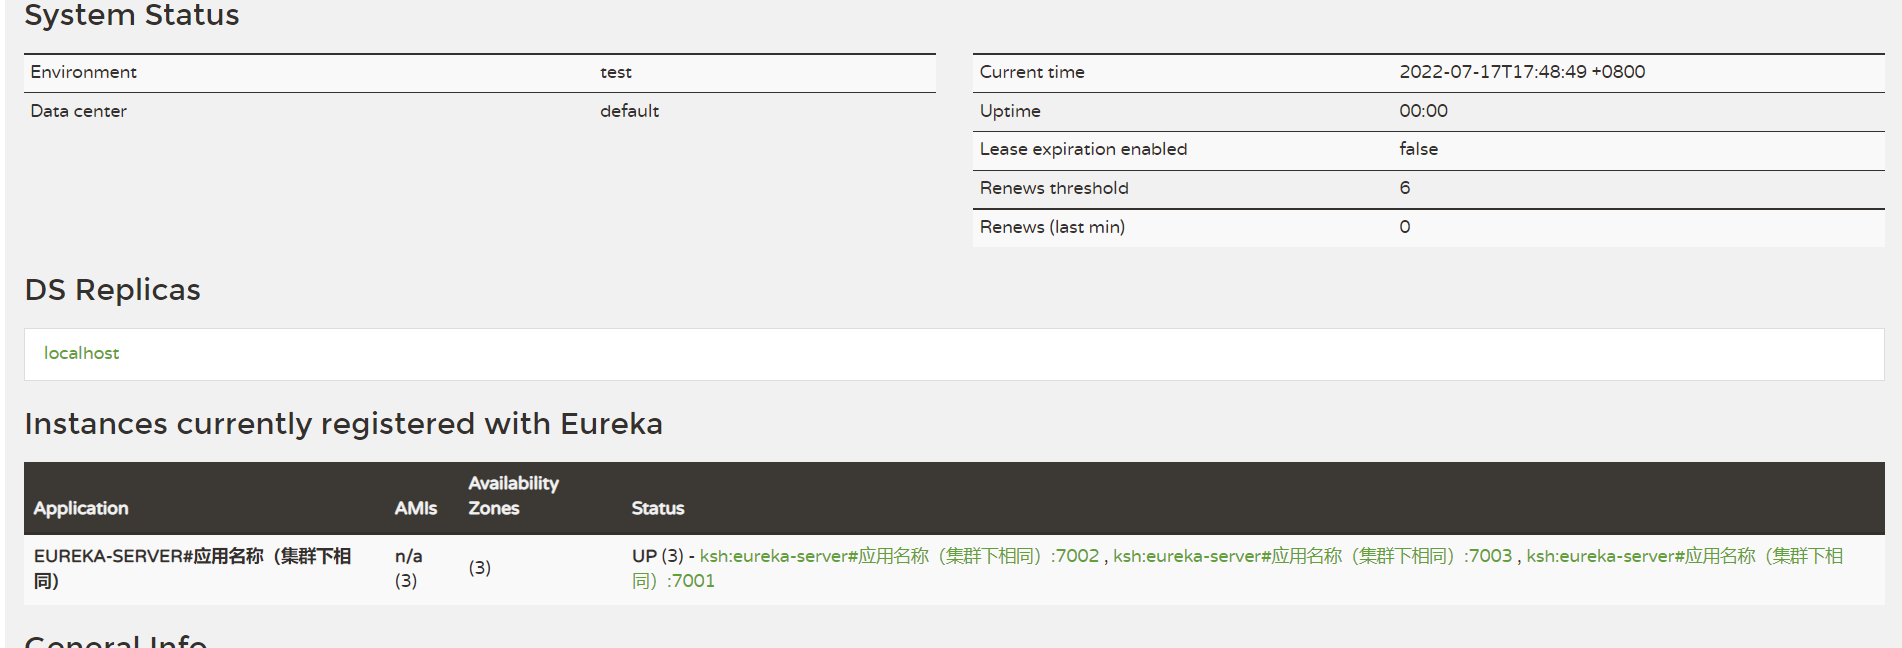
7002

从上面两张注册后的截图中可以看到-客户端只是向7001 注册了,但是客户端的实例会出现在7002上和7003上。7003 上是否有客户端的实例,大家可以自己验证下。图我这就不贴出来了!
服务间调用
restTemplate
既然已经把注册中心搭建好了,并且生产者和消费者都已经成功注册上去了。下一步就是把之前使用ip地址调用生产者的地方改成使用服务名称调用。
controller
/**
 * @Description TODO
 * @ClassName DeptConsumer
 * @Author 康世行
 * @Date 17:10 2022/5/22
 * @Version 1.0
 **/
@RestController
@RequestMapping("/deptConsumer")
@Api( "部门管理-消费者")
public class DeptConsumer {

    @Autowired
    private RestTemplate restTemplate;

    //通过 服务名获取对应地址
    private static final String REST_URL_PREFIX="http://DEPT-PROVIDER";

    @GetMapping("/addDeptConsumer/{deptName}")
    @ApiOperation("添加部门")
    public FrontResult addDeptConsumer( @PathVariable("deptName") String deptName){
        FrontResult forObject = restTemplate.getForObject(REST_URL_PREFIX+"/dept/addDept/" + deptName, FrontResult.class);
       return  forObject;
    }

    @GetMapping("/queryDeptConsumer/{deptno}")
    @ApiOperation("查询部门")
    public FrontResult queryDeptConsumer( @PathVariable("deptno") String deptno){
         FrontResult forObject = restTemplate.getForObject(REST_URL_PREFIX+"/dept/queryDept/" + deptno, FrontResult.class);
        return forObject;
    }
}
- 1
- 2
- 3
- 4
- 5
- 6
- 7
- 8
- 9
- 10
- 11
- 12
- 13
- 14
- 15
- 16
- 17
- 18
- 19
- 20
- 21
- 22
- 23
- 24
- 25
- 26
- 27
- 28
- 29
- 30
- 31
- 32
- 33
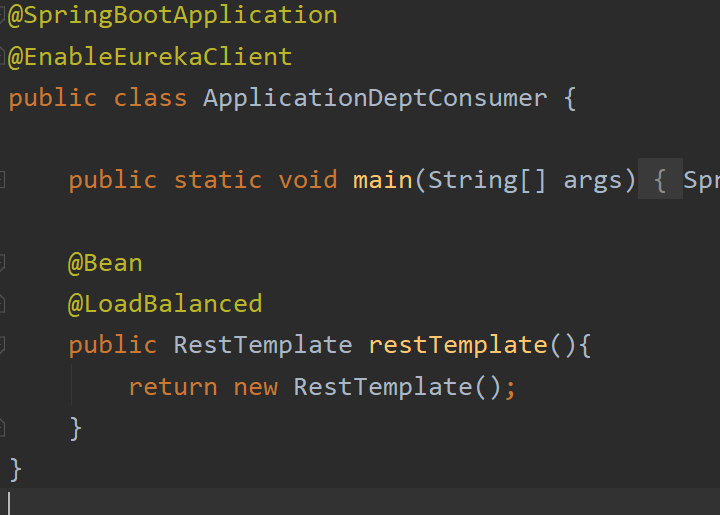
restTemplate
    //在启动项里注入-在原本的基础上添加  @LoadBalanced 负载均衡注解,用于根据服务名动态获取实例ip地址和接口。
    @Bean
    @LoadBalanced
    public RestTemplate restTemplate(){
        return new RestTemplate();
    }
- 1
- 2
- 3
- 4
- 5
- 6
启动项添加如下注解(本人亲测这个注解加不加都行,没有影响!)
@EnableEurekaClient
- 1
接口测试
地址
http://localhost:9001/swagger-ui.html
- 1
结果
查询部门
http://localhost:9001/deptConsumer/queryDeptConsumer/3
- 1

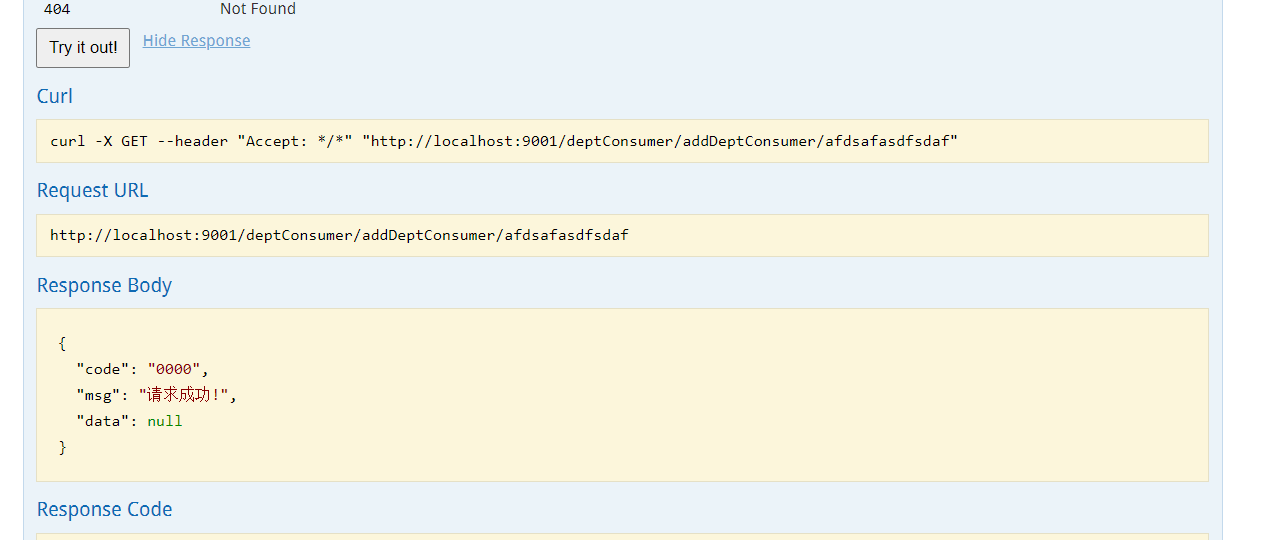
添加部门
Zuul
路由在微服务体系结构的一个组成部分。
例如,/可以映射到您的Web应用程序,/api/users映射到用户服务,/api/shop映射到商店服务。
Zuul是Netflix基于JVM的路由器和服务器端负载均衡器。
动态路由
类型
path
cookie
path类型示例
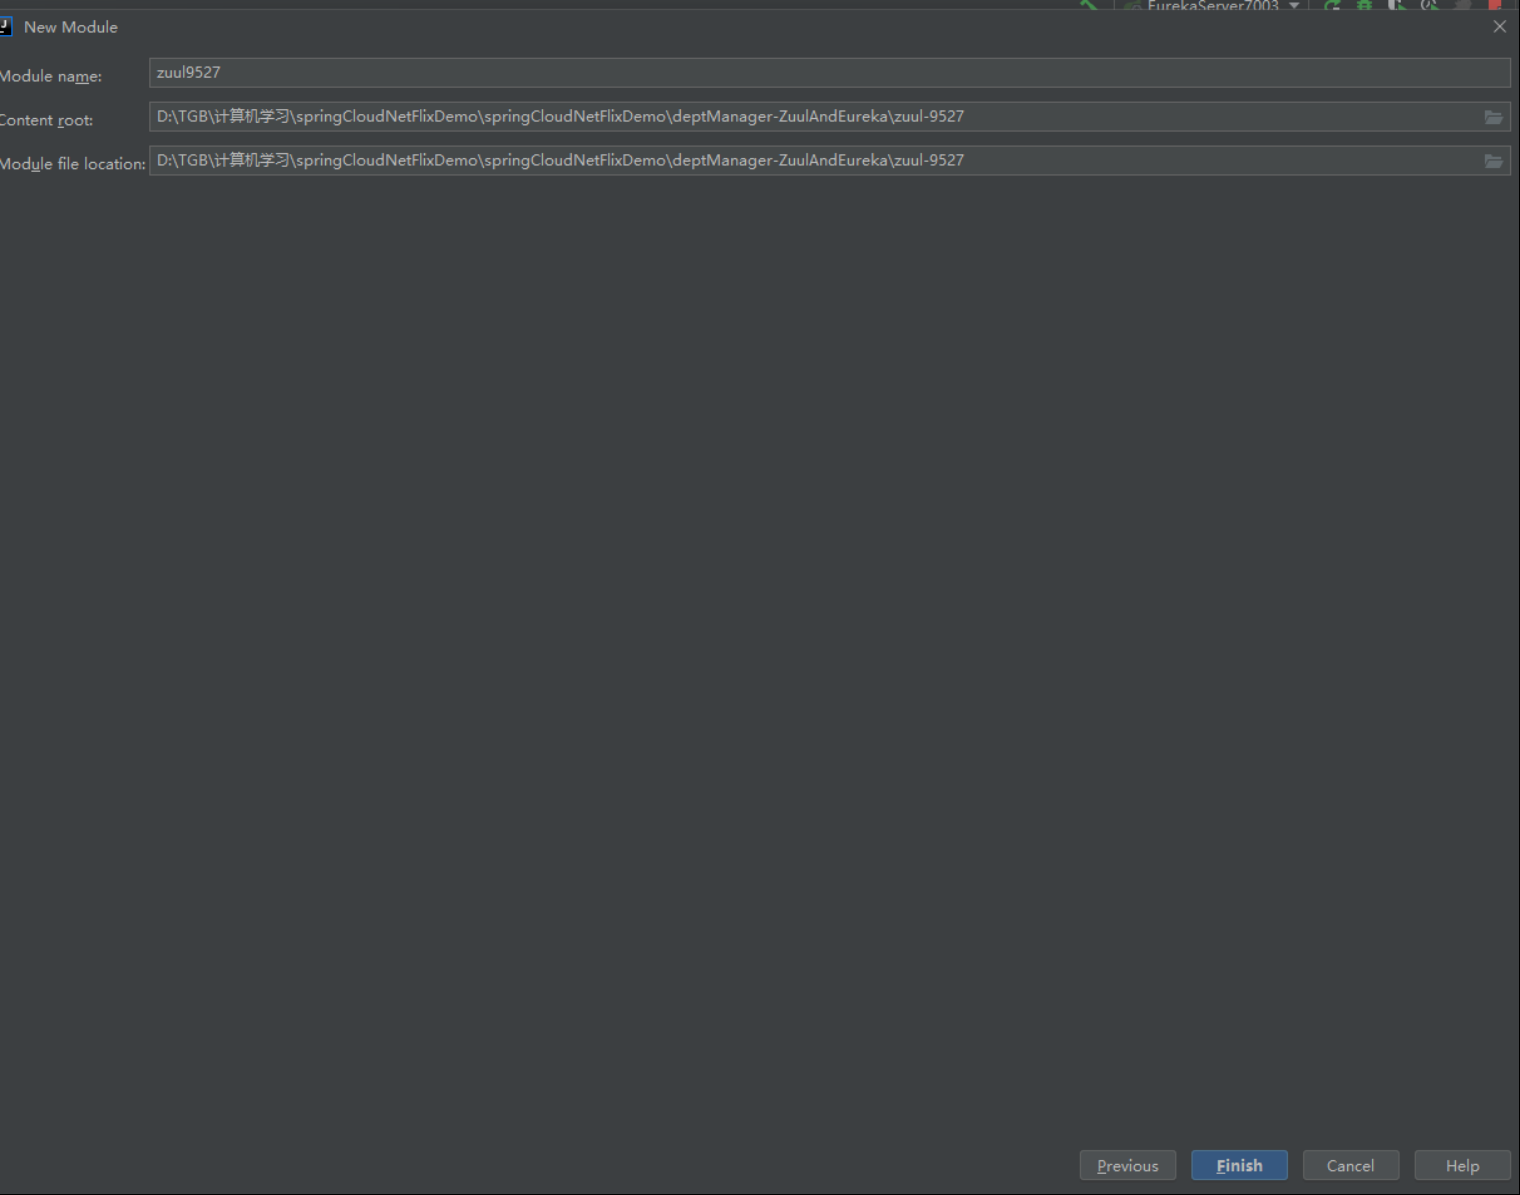
新建Zuul模块

指定保存位置
pom
 <dependencies>

        <!--zuul-->
        <dependency>
            <groupId>org.springframework.cloud</groupId>
            <artifactId>spring-cloud-starter-zuul</artifactId>
            <version>1.4.7.RELEASE</version>
        </dependency>
        <dependency>
            <groupId>org.springframework.boot</groupId>
            <artifactId>spring-boot-starter-web</artifactId>
        </dependency>
        <dependency>
            <groupId>org.springframework.cloud</groupId>
            <artifactId>spring-cloud-starter-eureka</artifactId>
            <version>1.4.6.RELEASE</version>
        </dependency>
        <!--热部署-->
        <dependency>
            <groupId>org.springframework.boot</groupId>
            <artifactId>spring-boot-devtools</artifactId>
        </dependency>
    </dependencies>
- 1
- 2
- 3
- 4
- 5
- 6
- 7
- 8
- 9
- 10
- 11
- 12
- 13
- 14
- 15
- 16
- 17
- 18
- 19
- 20
- 21
- 22
- 23
application.yml
server:
  port: 9527
spring:
  application:
    name: zuul
eureka:
  client:
    service-url:
      defaultZone: http://localhost:7001/eureka/,http://localhost:7002/eureka/,http://localhost:7003/eureka/
zuul:
  routes:
    mydeptProvider.serviceId: dept-provider
    mydeptProvider.path: /mydeptProvider/**
    mydeptconsumer.serviceId: deptconSumer
    mydeptconsumer.path: /mydeptConsumer/**
  ignored-services: "*" # 忽略,隐藏全部默认服务名称
- 1
- 2
- 3
- 4
- 5
- 6
- 7
- 8
- 9
- 10
- 11
- 12
- 13
- 14
- 15
- 16
启动类
/**
 * @Description 网关启动类
 * @ClassName ApplicationZuul
 * @Author 康世行
 * @Date 20:52 2022/7/17
 * @Version 1.0
 **/
@SpringBootApplication
@EnableZuulProxy
@EnableSwagger2Doc
public class ApplicationZuul {
    public static void main(String[] args) {
        SpringApplication.run(ApplicationZuul.class,args);
    }

    //具体生产者服务和消费者服务的swagger地址
    @Component
    @Primary
    class DocumentationConfig implements SwaggerResourcesProvider {
        @Override
        public List<SwaggerResource> get() {
            List resources = new ArrayList<>();
                                             //服务名          服务名          “v2/api-docs这部分是固定的”
            resources.add(swaggerResource("mydeptProvider", "/mydeptProvider/v2/api-docs", "2.0"));
            resources.add(swaggerResource("mydeptConsumer", "/mydeptConsumer/v2/api-docs", "2.0"));
            return resources;
        }
        //定义swaggerResource的构造函数
        private SwaggerResource swaggerResource(String name, String location, String version) {
            SwaggerResource swaggerResource = new SwaggerResource();
            swaggerResource.setName(name);
            swaggerResource.setLocation(location);
            swaggerResource.setSwaggerVersion(version);
            return swaggerResource;
        }

    }
}
- 1
- 2
- 3
- 4
- 5
- 6
- 7
- 8
- 9
- 10
- 11
- 12
- 13
- 14
- 15
- 16
- 17
- 18
- 19
- 20
- 21
- 22
- 23
- 24
- 25
- 26
- 27
- 28
- 29
- 30
- 31
- 32
- 33
- 34
- 35
- 36
- 37
- 38
- 39
测试-浏览器访问
swagger接口地址
服务跨域问题解决方案-生产者和消费者跨域配置类(每个服务都需要配置此类)
package com.kuang.zuul.config;

import org.springframework.context.annotation.Bean;
import org.springframework.context.annotation.Configuration;
import org.springframework.web.cors.CorsConfiguration;
import org.springframework.web.cors.UrlBasedCorsConfigurationSource;
import org.springframework.web.filter.CorsFilter;

/**
 * @Description 全局跨域配置
 * @ClassName GlobalCorsConfiguration
 * @Author 康世行
 * @Date 8:37 2022/7/18
 * @Version 1.0
 **/
@Configuration
public class GlobalCorsConfiguration {

    @Bean
    public CorsFilter corsFilter() {
        CorsConfiguration corsConfiguration = new CorsConfiguration();
        corsConfiguration.setAllowCredentials(true);
        corsConfiguration.addAllowedOrigin("*");
        corsConfiguration.addAllowedHeader("*");
        corsConfiguration.addAllowedMethod("*");
//        corsConfiguration.addExposedHeader("head1");
        //corsConfiguration.addExposedHeader("Location");
        UrlBasedCorsConfigurationSource urlBasedCorsConfigurationSource = new UrlBasedCorsConfigurationSource();
        urlBasedCorsConfigurationSource.registerCorsConfiguration("/**", corsConfiguration);
        return new CorsFilter(urlBasedCorsConfigurationSource);
    }
}
- 1
- 2
- 3
- 4
- 5
- 6
- 7
- 8
- 9
- 10
- 11
- 12
- 13
- 14
- 15
- 16
- 17
- 18
- 19
- 20
- 21
- 22
- 23
- 24
- 25
- 26
- 27
- 28
- 29
- 30
- 31
- 32
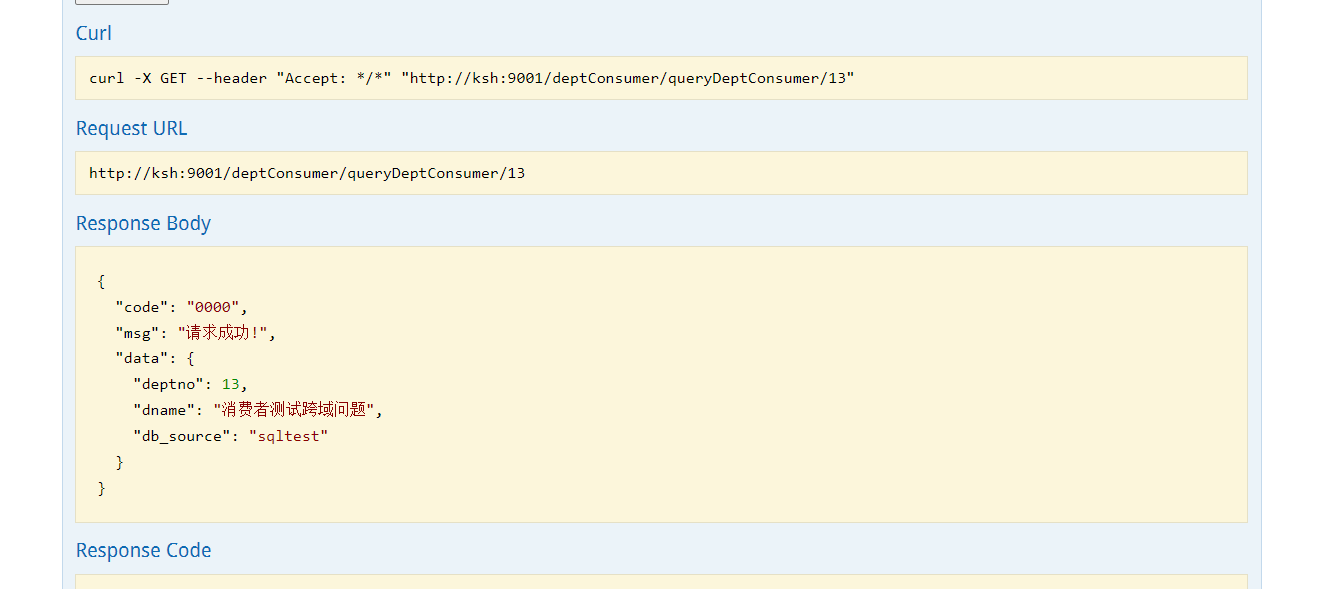
访问消费者-查询部门
访问消费者-添加部门

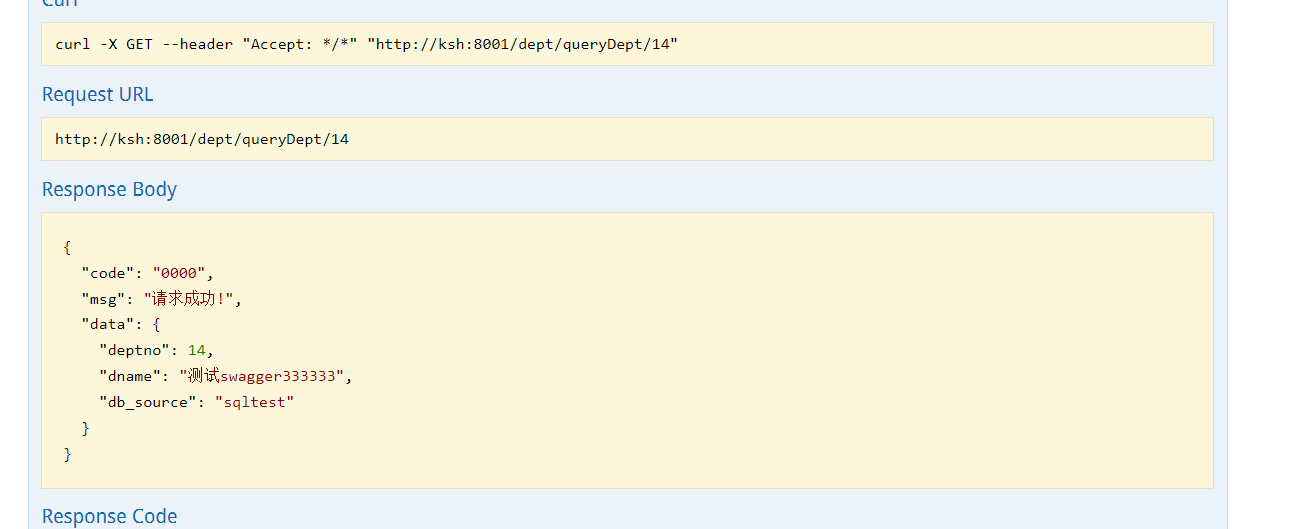
访问生产者-查询部门
访问生产者-添加部门
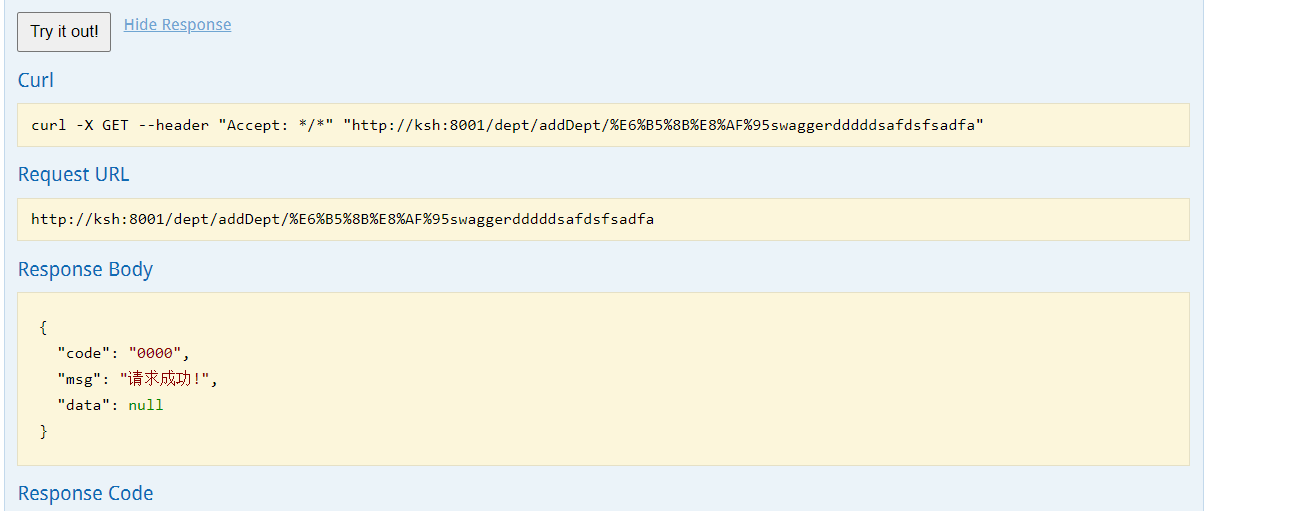
关于zuul(网关)暂时先分享-动态路由的-路径转发,稍后更新网关的其他具体使用敬请期待!
zuul聚合swagger-统一服务的swagger
消费者接口

生产者接口

源码下载地址
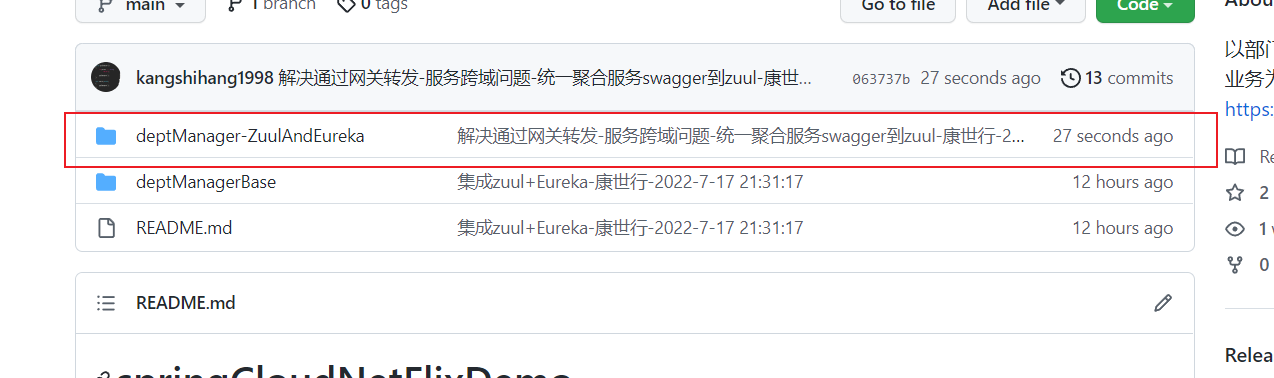
划红线的模块是本次集成完zuul和Eureka的模块,下面那个是基础模块!
文章来源: kangshihang.blog.csdn.net,作者:康世行,版权归原作者所有,如需转载,请联系作者。
原文链接:kangshihang.blog.csdn.net/article/details/125841428

- 点赞
- 收藏
- 关注作者
评论(0)