python【系列教程】之网络爬虫

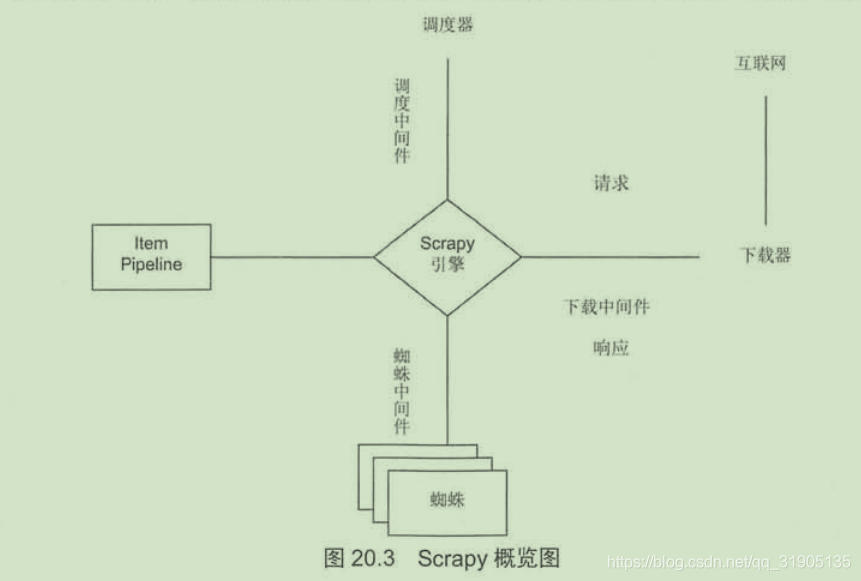
一、Scrapy简介
爬虫的应用方面:
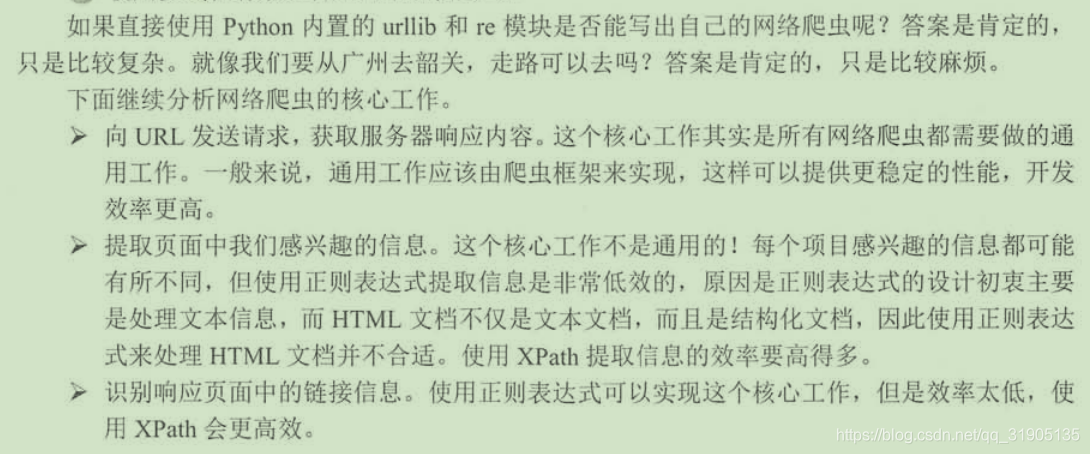
- 通过网络技术向指定的url发送请求,获取服务器响应内容
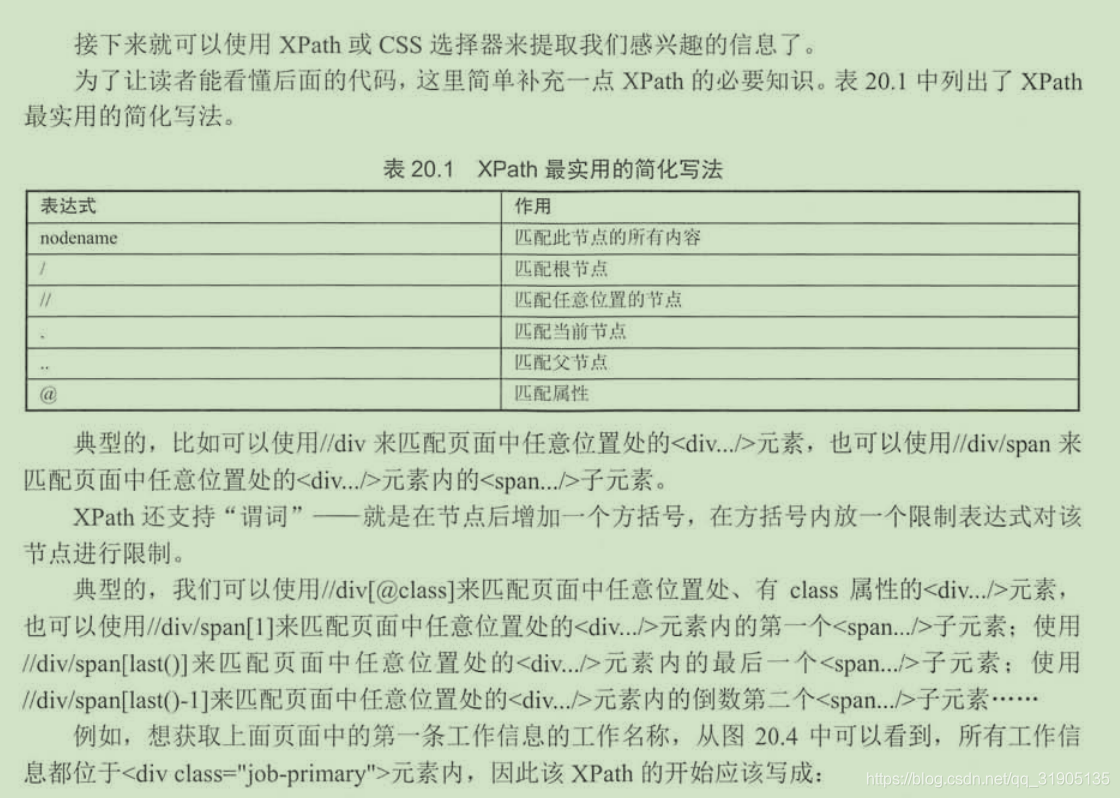
- 使用某种技术(如正则表达式,XPath等)提取页面中我们感兴趣的信息
- 高效的识别响应页面中的链接信息,顺着这些链接递归
安装scrapy
pip install scrapy
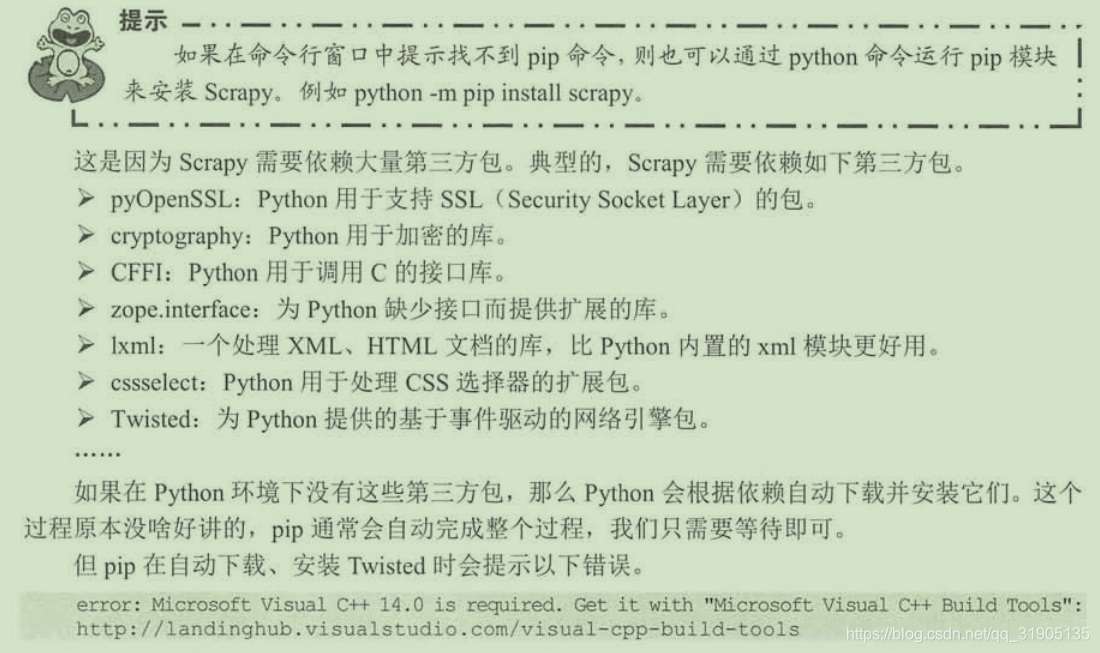
本人在安装的时候并没有报以上错误
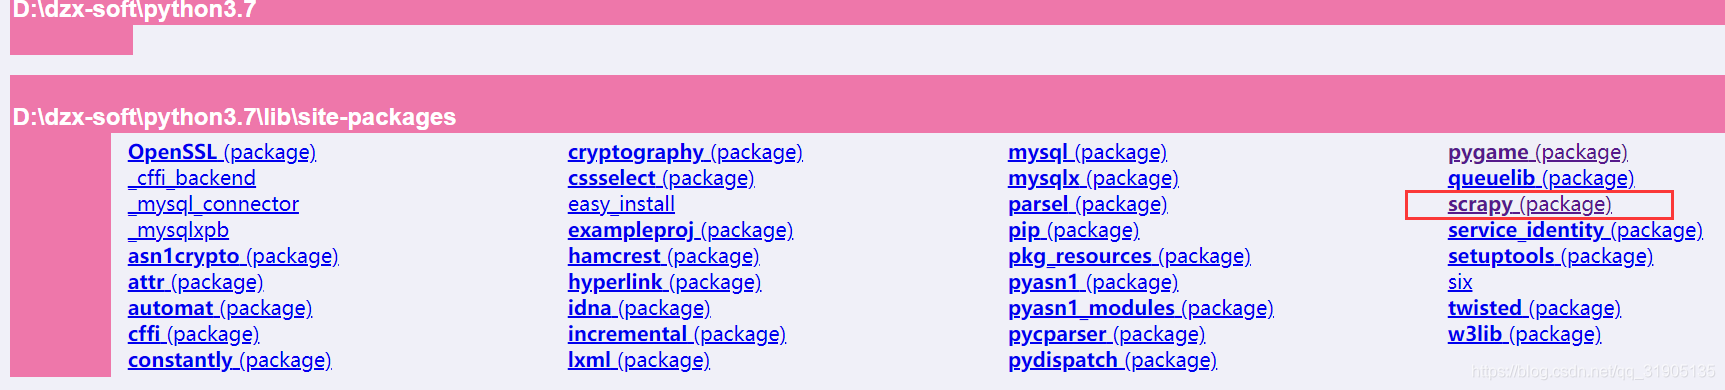
成功安装scrapy之后,可以通过doc来查看scrapy的文档 。
python -m pydoc -p 8899
打开浏览器查看localhost:8899的页面,可以在python安装目录的lib\site-packages下看到scrapy的文档
二、使用爬虫爬取、分析招聘信息
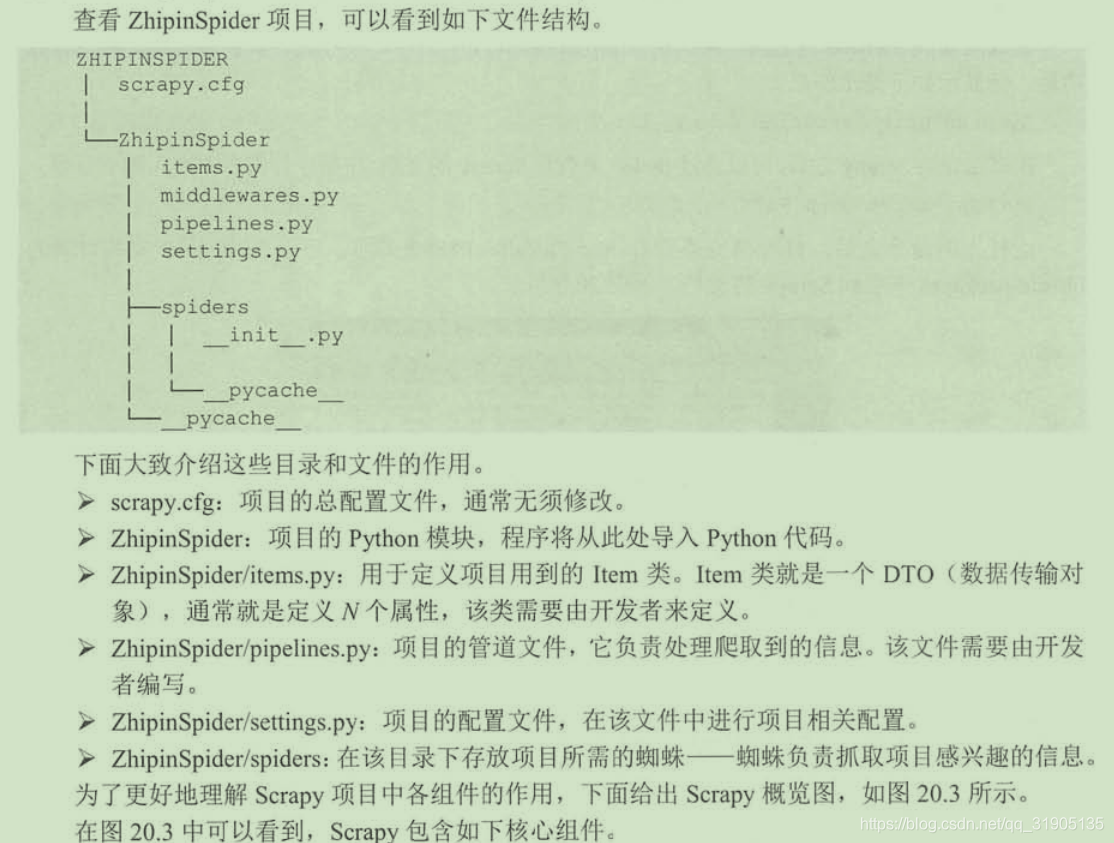
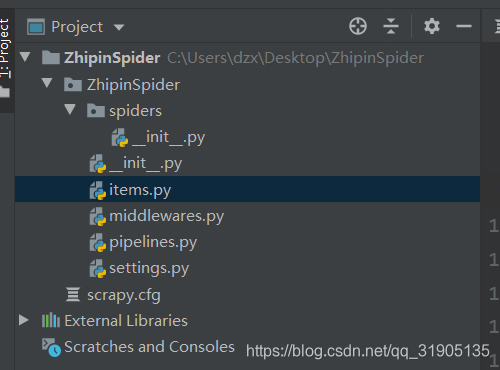
创建scrapy 项目
scrapy startproject ZhipinSpider


下面我们来爬去boss直聘 广州地区的招聘信息https://www.zhipin.com/c101280100/h_101280100
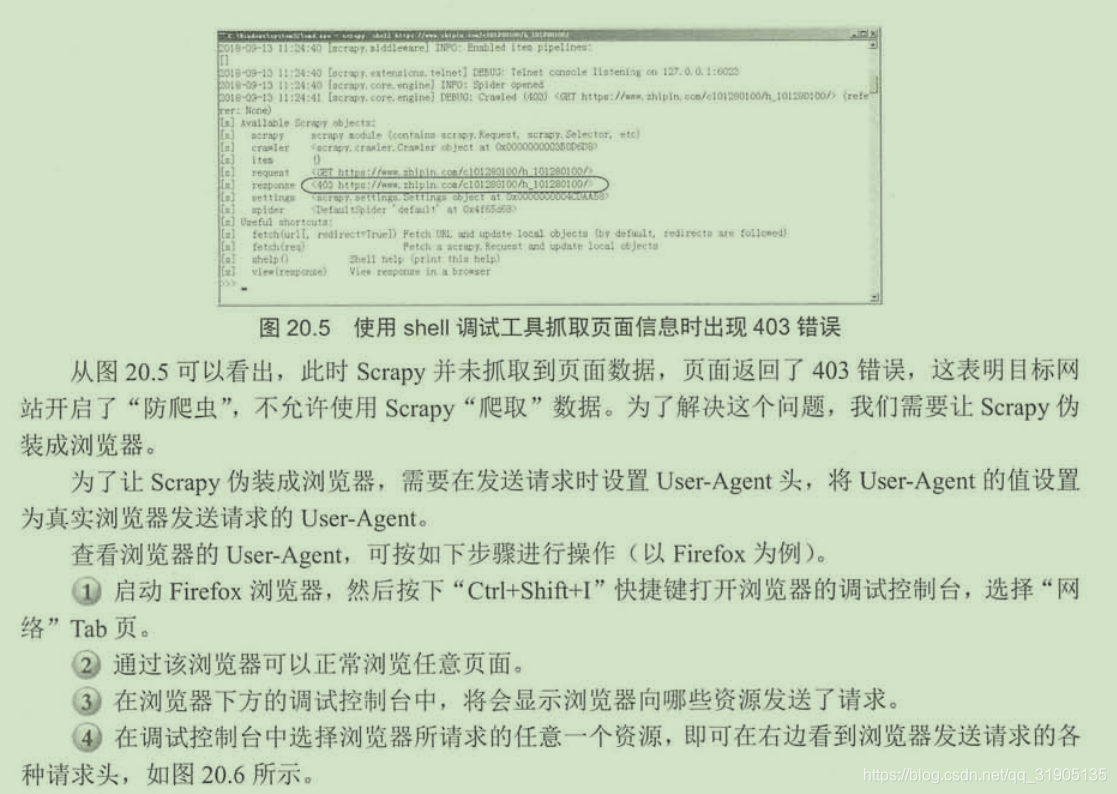
使用scrapy提供的shell调试工具来抓取该页面中的信息,使用如下命令来开启shell调试
scrapy shell https://www.zhipin.com/c101280100/h_101280100
运行上面命令,将会看到如果所示的提示信息
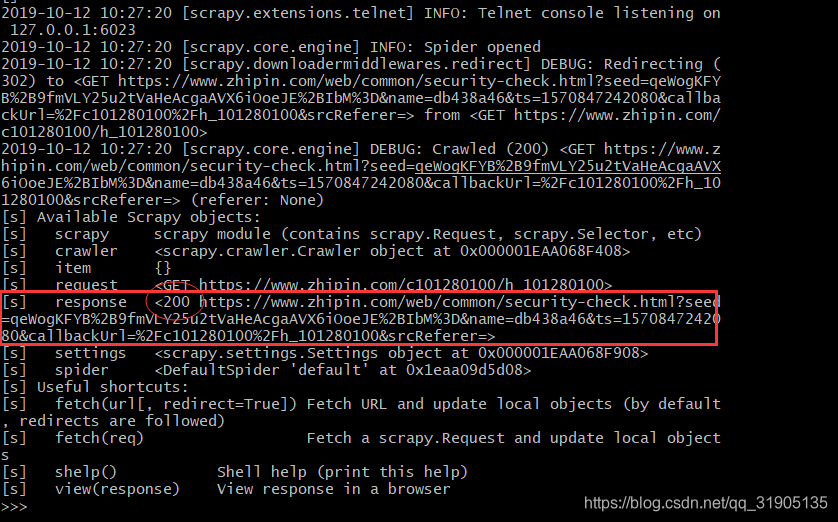
scrapy shell -s USER_AGENT='Mozilla/5.0' https://www.zhipin.com/c101280100/h_101280100
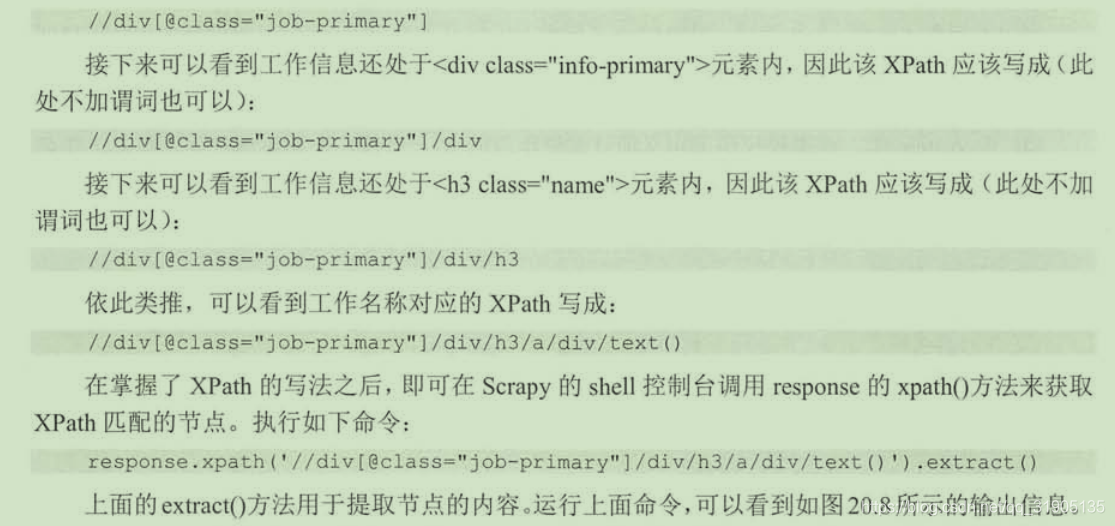
response.xpath('//div[@class="job-primary"]/div/h3/a/div/text()').extract()

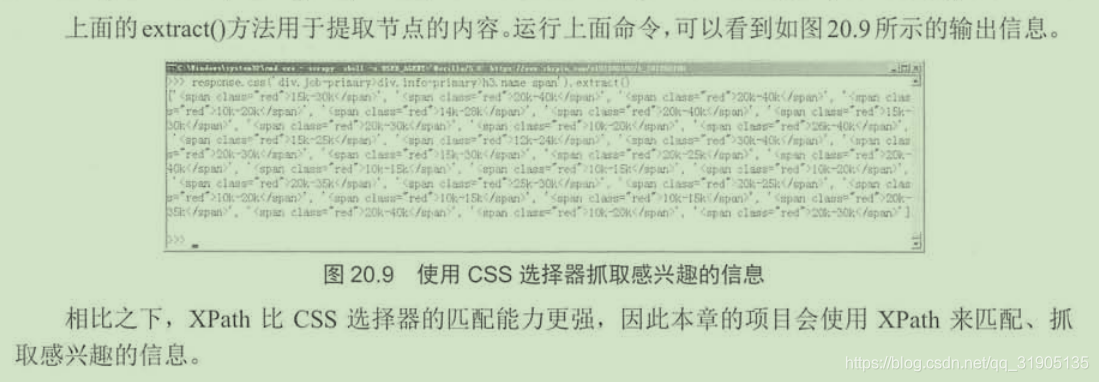
response.css('div.job-primary>div.info-primary>h3.name span').extract()
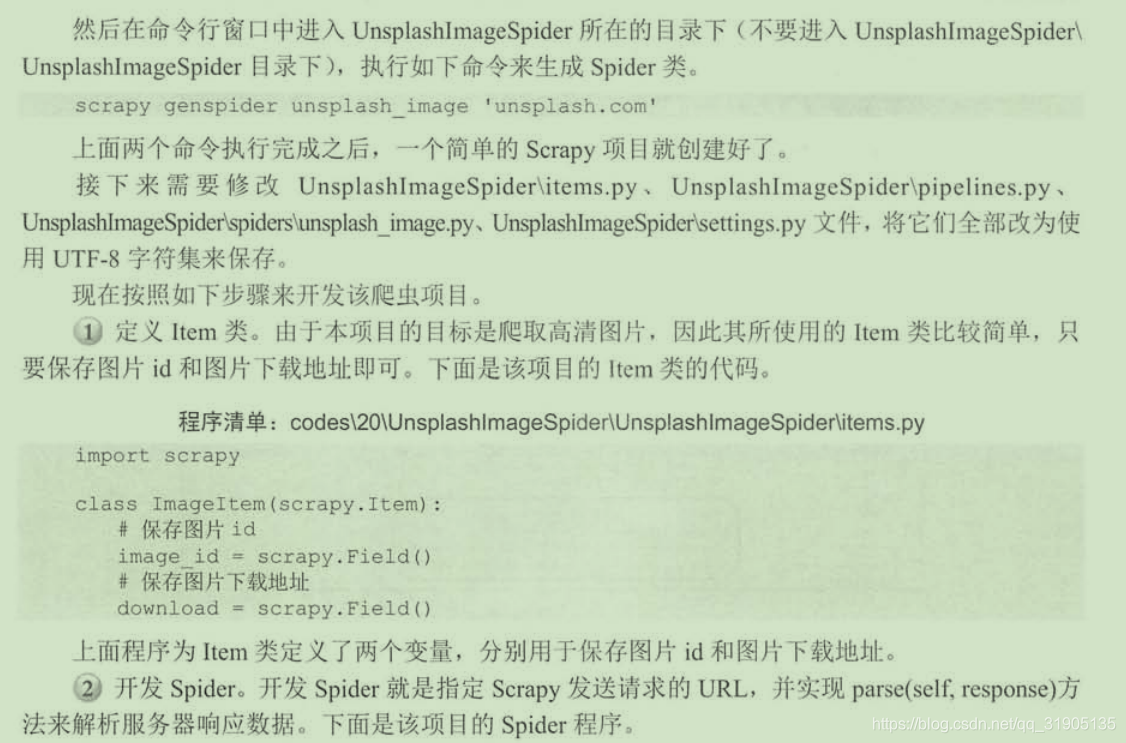
(1)编写items.py文件
-
# -*- coding: utf-8 -*-
-
-
# Define here the models for your scraped items
-
#
-
# See documentation in:
-
# https://docs.scrapy.org/en/latest/topics/items.html
-
-
import scrapy
-
-
class ZhipinspiderItem(scrapy.Item):
-
# define the fields for your item here like:
-
# name = scrapy.Field()
-
#工作名称
-
title = scrapy.Field()
-
#工资
-
salary = scrapy.Field()
-
#招聘公司
-
conpany = scrapy.Field()
-
#工作详细链接
-
url = scrapy.Field()
-
#工作地点
-
work_addr = scrapy.Field()
-
#行业
-
industry = scrapy.Field()
-
#公司规模
-
company_size = scrapy.Field()
-
#招聘人
-
recruiter = scrapy.Field()
-
#发布时间
-
publish_date = scrapy.Field()
-
pass
(2)
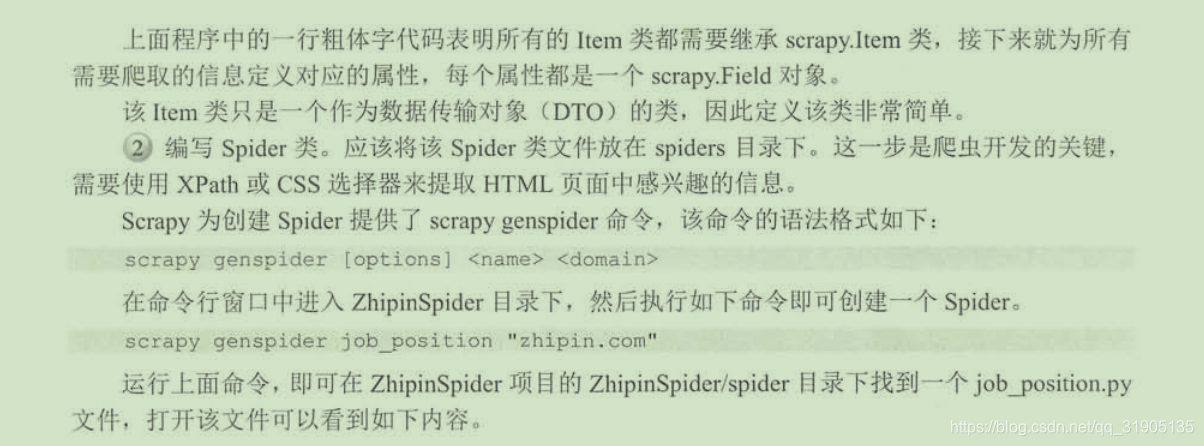
scrapy genspider job_position "zhipin.com"
-
# -*- coding: utf-8 -*-
-
import scrapy
-
-
-
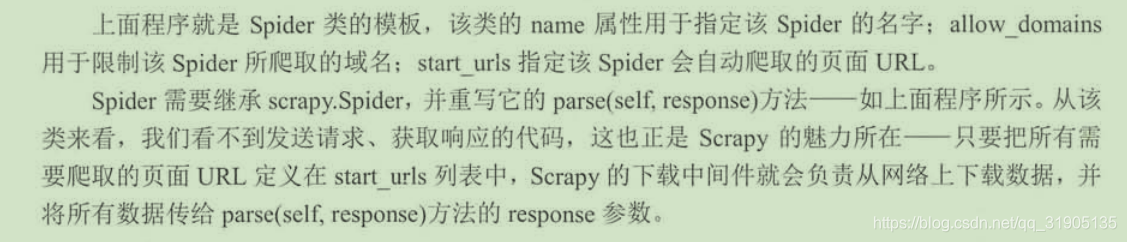
class JobPositionSpider(scrapy.Spider):
-
#定义该spider的名字
-
name = 'job_position'
-
#定义该spider允许爬取的域名
-
allowed_domains = ['zhipin.com']
-
#定义该spider爬取的首页列表
-
start_urls = ['http://zhipin.com/']
-
-
#该方法负责提取response所包含的信息
-
def parse(self, response):
-
pass
-
# -*- coding: utf-8 -*-
-
import scrapy
-
from ZhipinSpider.items import ZhipinspiderItem
-
-
-
class JobPositionSpider(scrapy.Spider):
-
# 定义该spider的名字
-
name = 'job_position'
-
# 定义该spider允许爬取的域名
-
allowed_domains = ['zhipin.com']
-
# 定义该spider爬取的首页列表
-
start_urls = ['https://www.zhipin.com/c101280100/h_101280100/']
-
-
# 该方法负责提取response所包含的信息
-
# response代表下载器从start_urls中的每个url下载得到的响应
-
def parse(self, response):
-
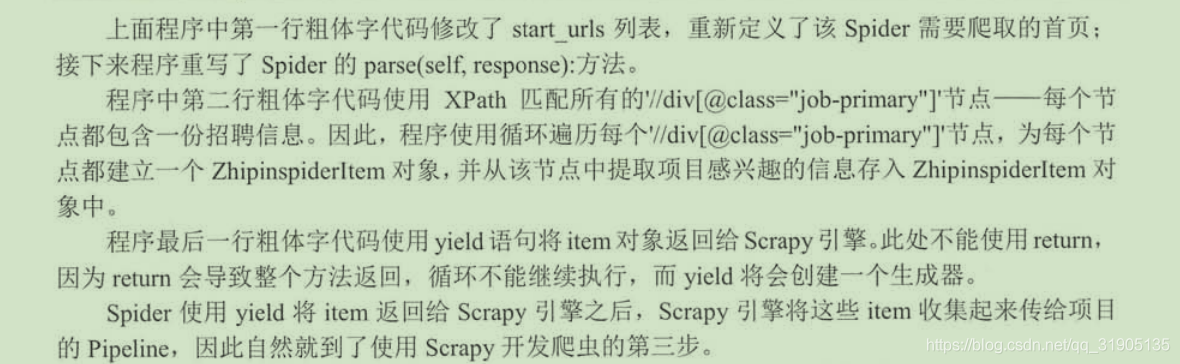
# 遍历页面中的所有的//div[@class="job-primary"]节点
-
for job_primary in response.xpath('//div[@class="job_primary"]'):
-
item = ZhipinspiderItem()
-
# 匹配//div[@class="job-primary"]节点下的/div[@class="info-primary"]节点
-
# 也就是匹配到包含工作信息的<div.../>元素
-
info_primary = job_primary.xpath('./div[@class="info-primary"]')
-
item['title'] = info_primary.xpath('./h3/a/div[@class="job-title"]/text()').extract_first()
-
item['salary'] = info_primary.xpath('./h3/a/span[@class="red"]/text()').extract_first()
-
item['work_addr'] = info_primary.xpath('./p/text()').extract_first()
-
item['url'] = info_primary.xpath('./h3/a/@href').extract_first()
-
# 匹配公司信息<div.../>
-
company_text = job_primary.xpath('./div[@class="info-company"]/div[@class="company-text"]')
-
item['company'] = company_text.xpath('./h3/a/text()').extract_first()
-
company_info = company_text.xpath('./p/text()').extract()
-
if company_info and len(company_info) > 0:
-
item['industry'] = company_text.xpath('./p/text()').extract()[0]
-
if company_info and len(company_info) > 1:
-
item['company_size'] = company_text.xpath('./p/text()').extract()[2]
-
# 匹配发布人信息
-
info_publis = job_primary.xpath('./div[@class="info-publis"]')
-
item['recruiter'] = info_publis.xpath('./h3/text()').extract_first()
-
item['publish_date'] = info_publis.xpath('./p/text()').extract_first()
-
yield item
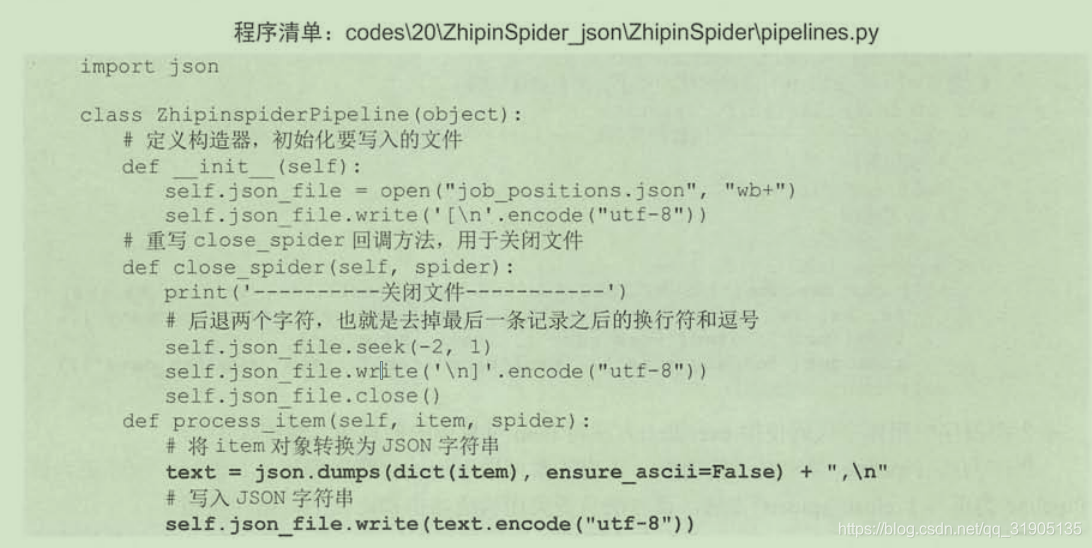
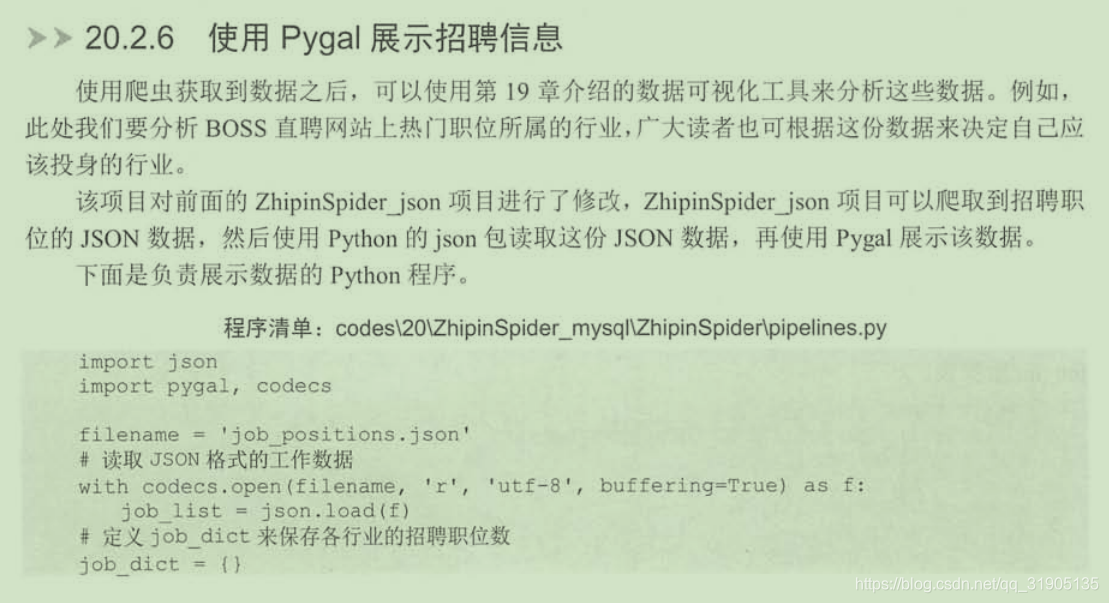
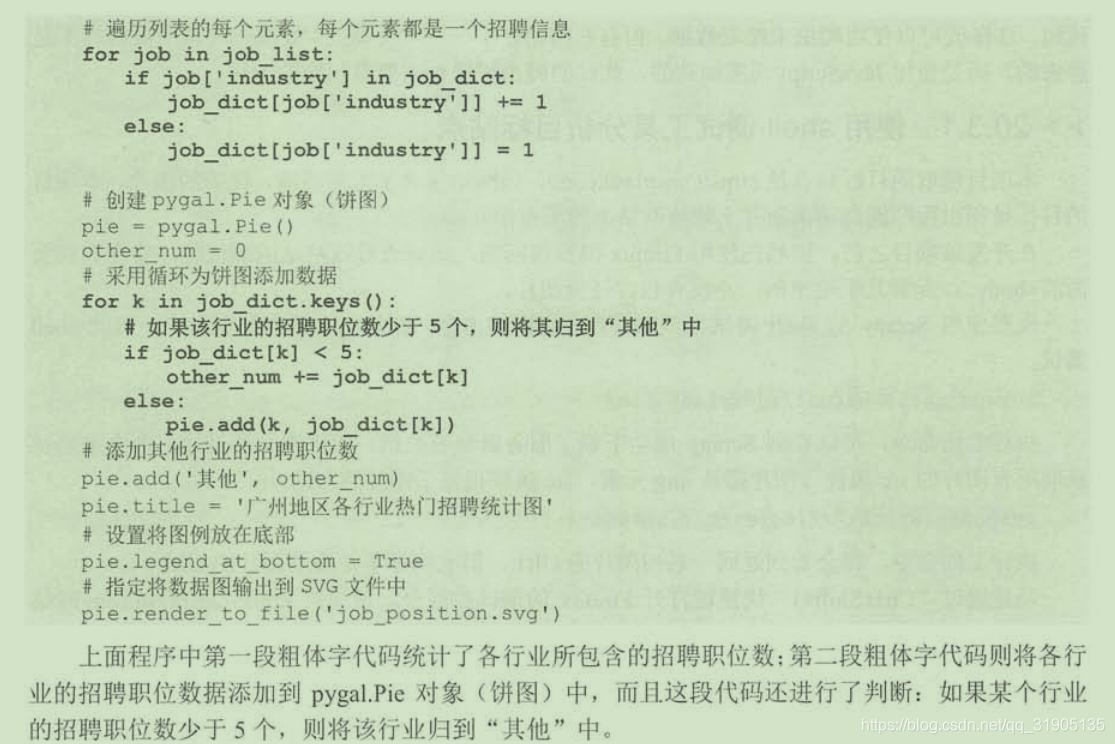
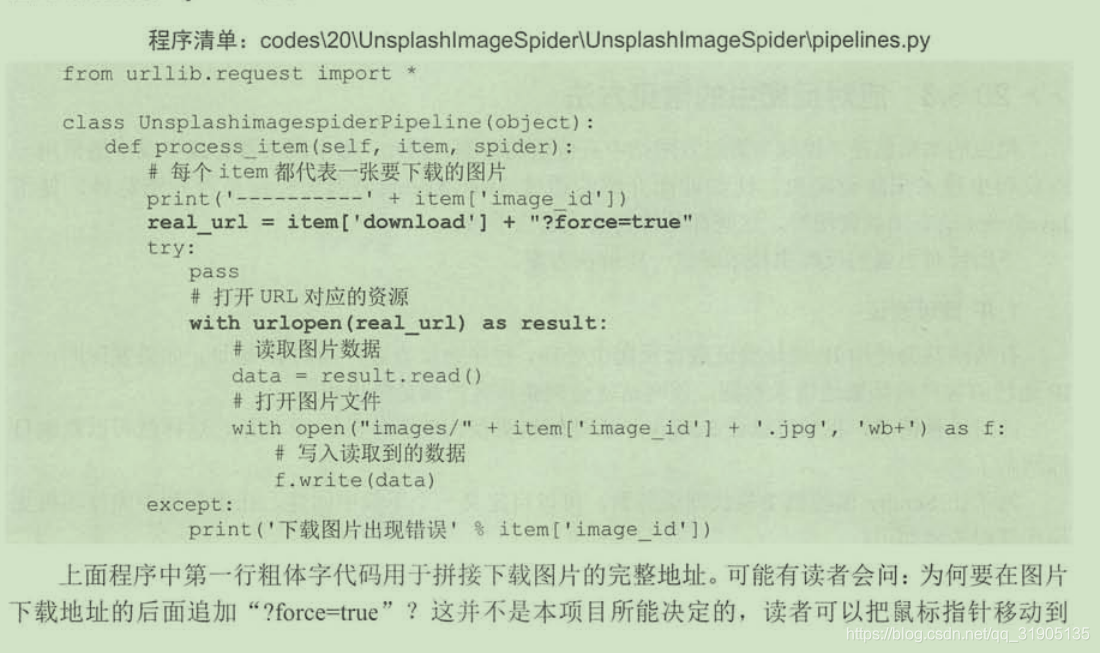
(3)编写piplines.py文件,该文件负责将所爬取的数据写入文件或者数据库中
-
# -*- coding: utf-8 -*-
-
-
# Define your item pipelines here
-
#
-
# Don't forget to add your pipeline to the ITEM_PIPELINES setting
-
# See: https://docs.scrapy.org/en/latest/topics/item-pipeline.html
-
-
-
class ZhipinspiderPipeline(object):
-
def process_item(self, item, spider):
-
print('工作:',item['title'])
-
print('工资:',item['salary'])
-
print('招聘公司:',item['conpany'])
-
print('工作详细链接:',item['url'])
-
print('工作地点:',item['work_addr'])
-
print('行业:',item['industry'])
-
print('公司规模:',item['company_size'])
-
print('招聘人:',item['recruiter'])
-
print('发布时间:',item['publish_date'])
-
return item
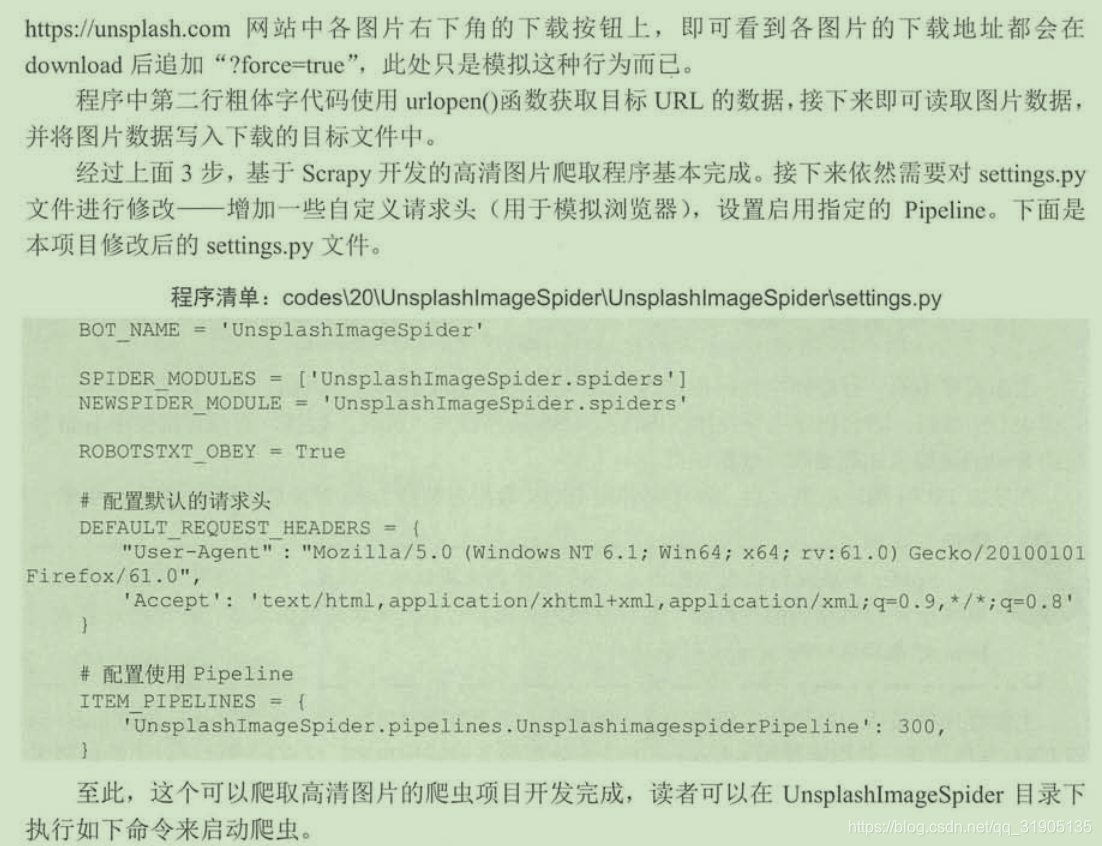
配置settings.py文件
-
# -*- coding: utf-8 -*-
-
-
# Scrapy settings for ZhipinSpider project
-
#
-
# For simplicity, this file contains only settings considered important or
-
# commonly used. You can find more settings consulting the documentation:
-
#
-
# https://docs.scrapy.org/en/latest/topics/settings.html
-
# https://docs.scrapy.org/en/latest/topics/downloader-middleware.html
-
# https://docs.scrapy.org/en/latest/topics/spider-middleware.html
-
-
BOT_NAME = 'ZhipinSpider'
-
-
SPIDER_MODULES = ['ZhipinSpider.spiders']
-
NEWSPIDER_MODULE = 'ZhipinSpider.spiders'
-
-
# Obey robots.txt rules
-
ROBOTSTXT_OBEY = True
-
-
# Override the default request headers:
-
DEFAULT_REQUEST_HEADERS = {
-
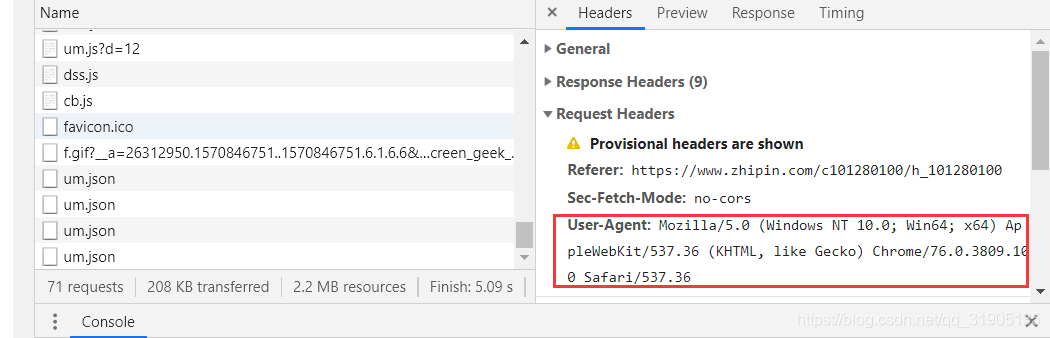
'User-Agent': 'Mozilla/5.0 (Windows NT 10.0; Win64; x64) AppleWebKit/537.36 (KHTML, like Gecko) Chrome/76.0.3809.100 Safari/537.36',
-
'Accept': 'text/html,application/xhtml+xml,application/xml;q=0.9,*/*;q=0.8',
-
'Accept-Language': 'en',
-
}
-
-
# Configure item pipelines
-
# See https://docs.scrapy.org/en/latest/topics/item-pipeline.html
-
ITEM_PIPELINES = {
-
'ZhipinSpider.pipelines.ZhipinspiderPipeline': 300,
-
}
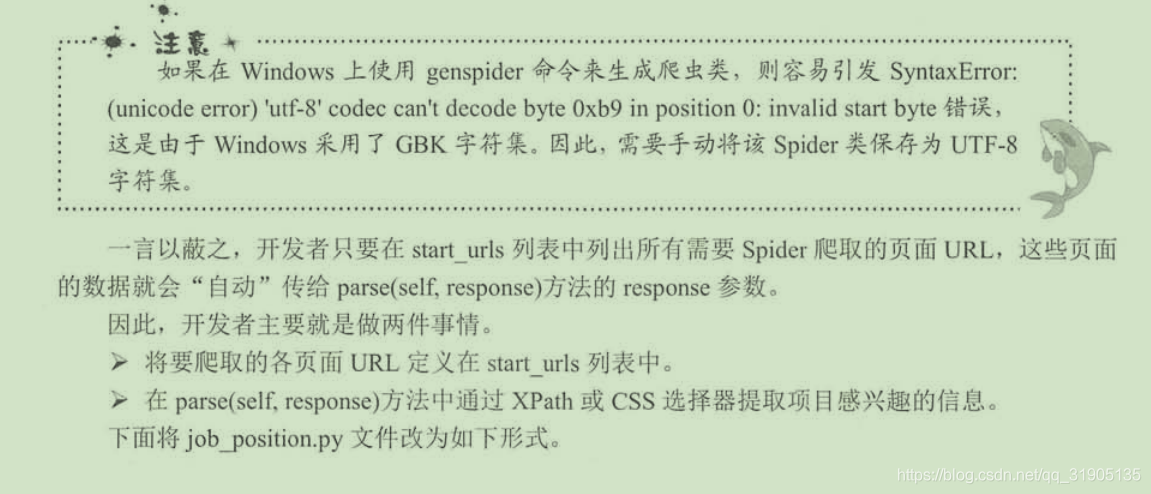
回顾一下上面的开发过程,使用scrapy开发爬虫的核心工作就是三步。
- 定义Item类,由于Item只是一个DTO对象,因此定义Item类很简单
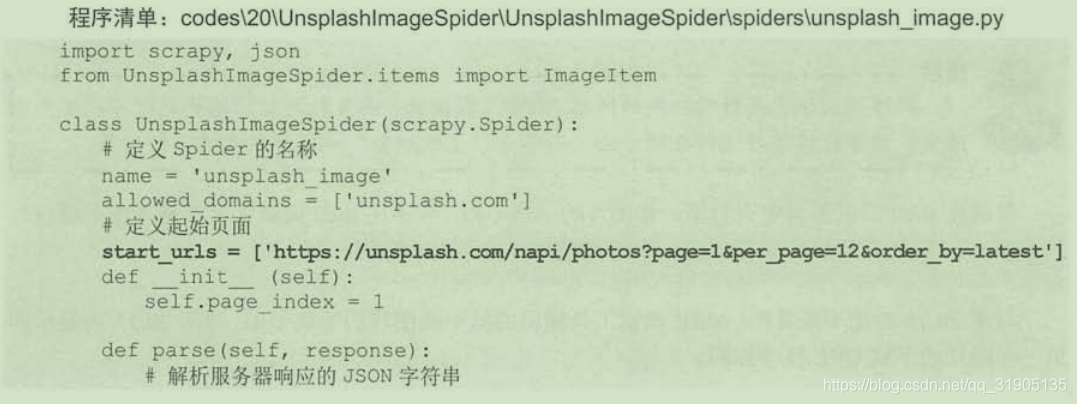
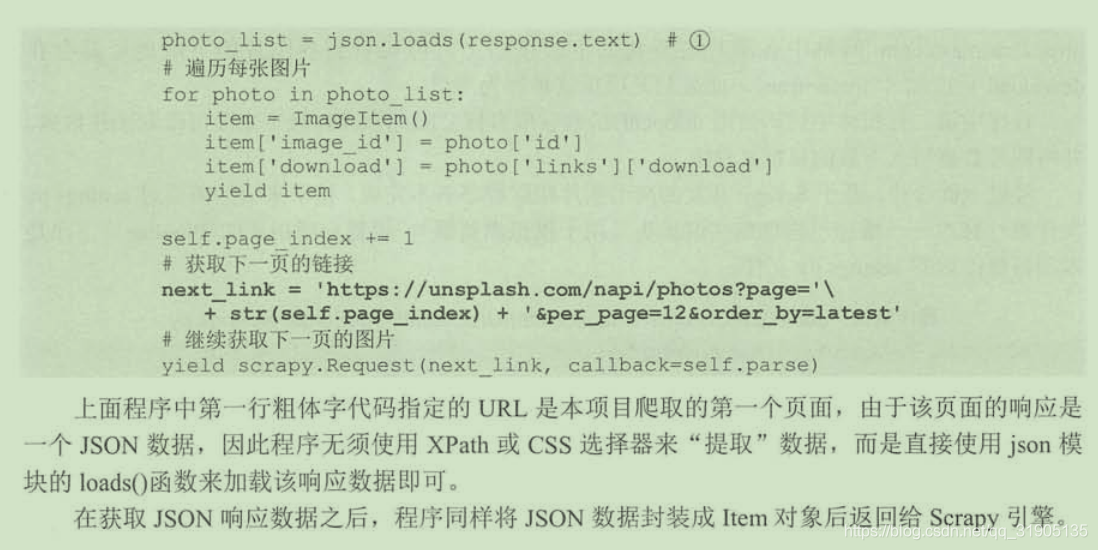
- 开发Spider类。这一步是核心,Spider使用XPath从页面中提取项目所需的信息,并用这些信息来封装Item对象
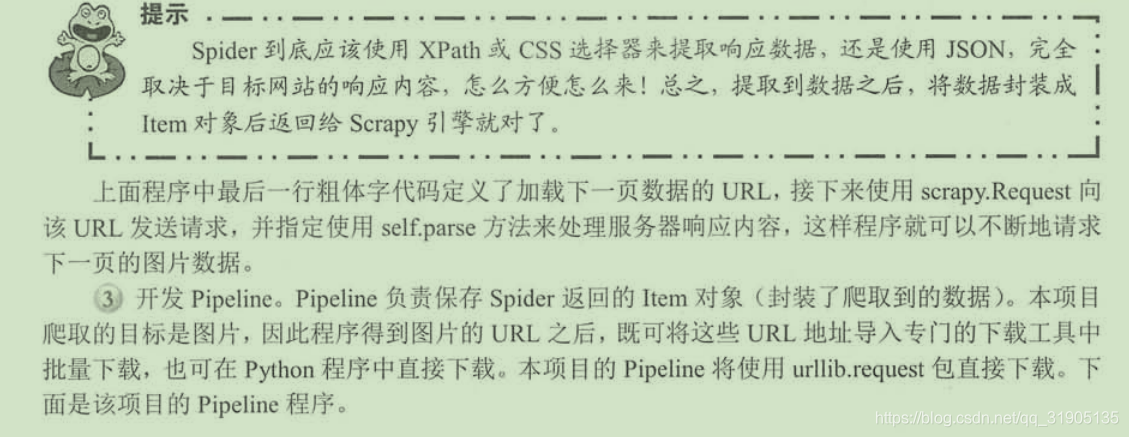
- 开发Pipeline。Pipline负责处理Spider获取的Item对象
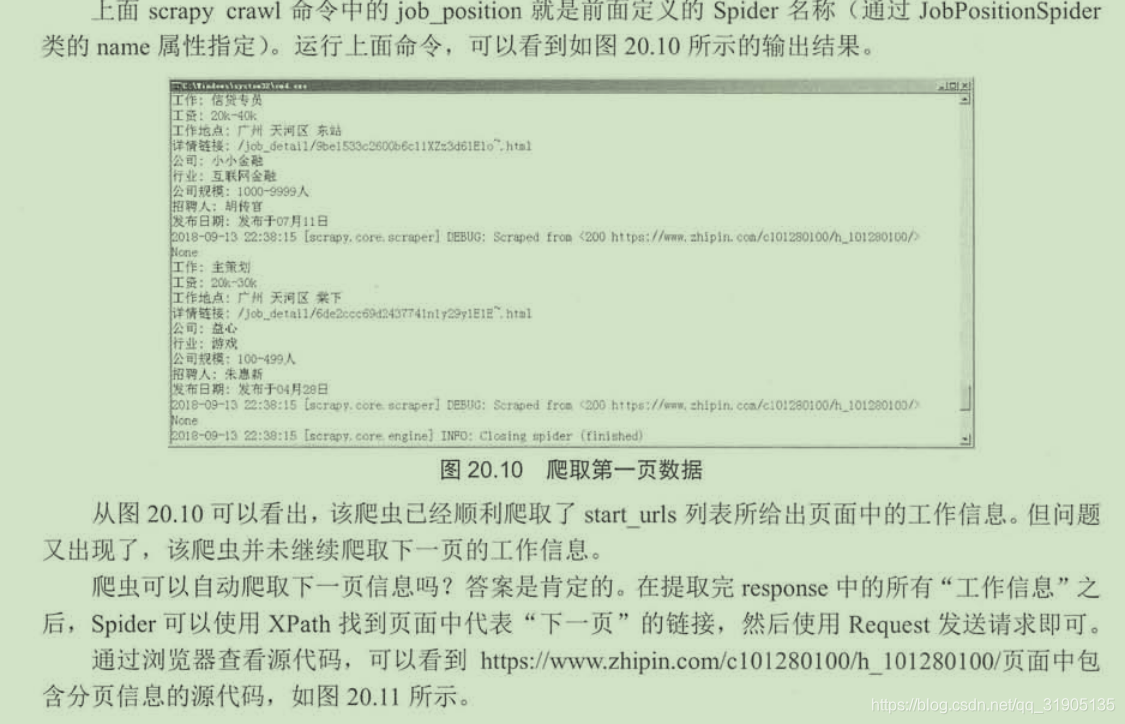
经过上面的步骤,这个基于Scrapy的spider已经开发完成,在命令行窗口中进入ZhipinSpider项目目录下,执行如下命令启动Spider。
scrapy crawl job_position
这里的job_position就是前面定义 的Spider名称
-
#继续请求下一页的数据
-
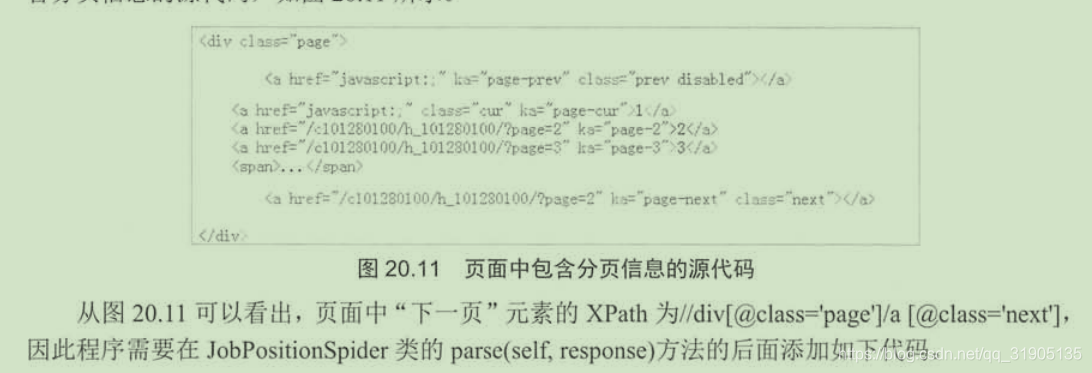
new_links = response.xpath('//div[@class="page"]/a[@class="next"]/@href').extract()
-
if new_links and len(new_links) > 0:
-
# 获取下一页的链接
-
new_link = new_links[0]
-
yield scrapy.Request("https://www.zhipin.com" + new_link, callback=self.parse)

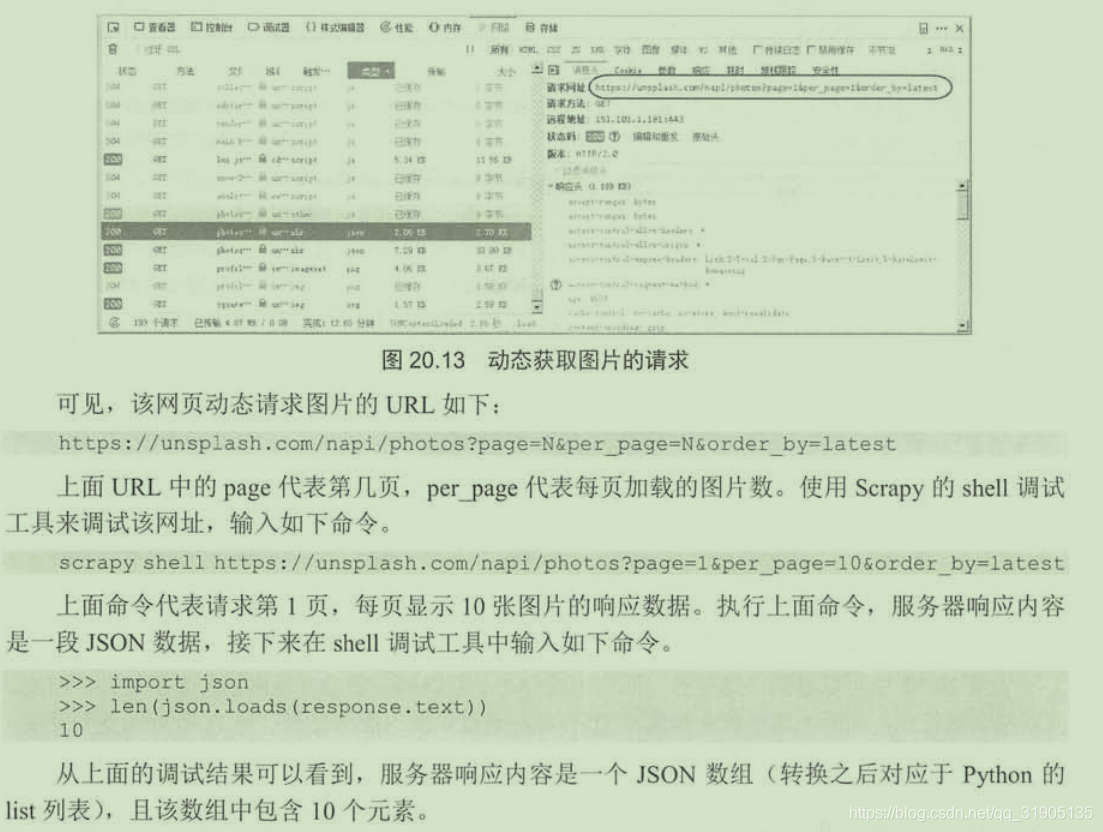
三、处理反爬虫

scrapy shell https://unsplash.com/


 创建项目
创建项目
scrapy startproject UnsplashImageSpider

(2)常用的反爬虫手段
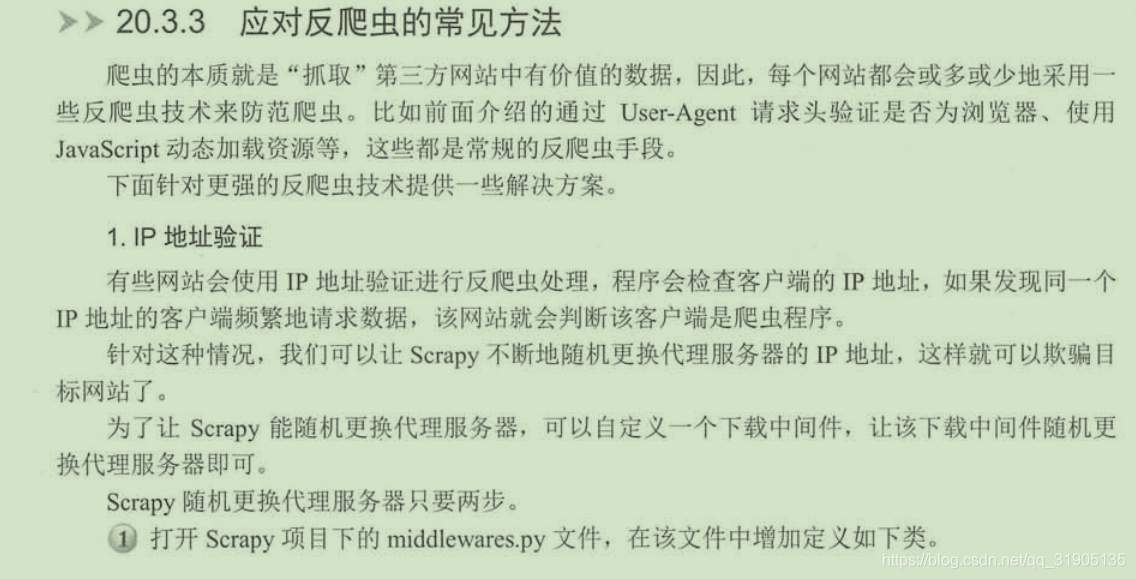
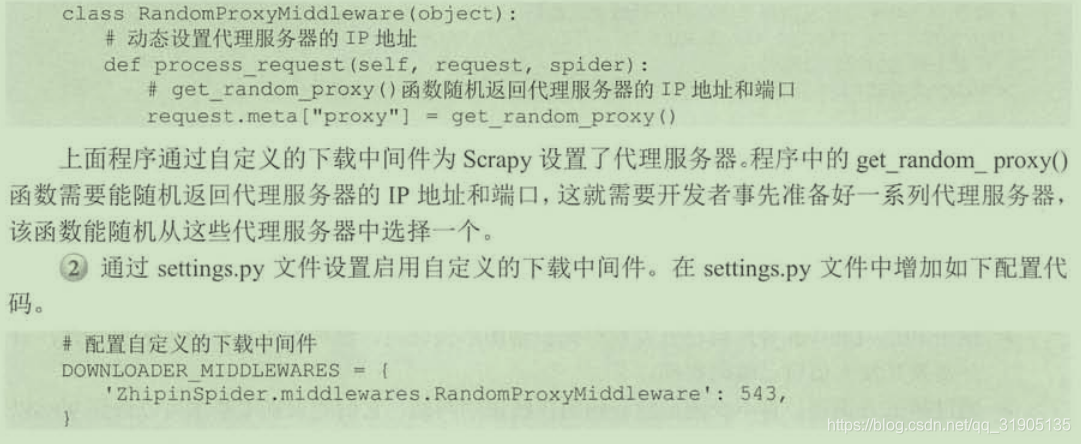
1.IP地址验证
 2.禁用cookie
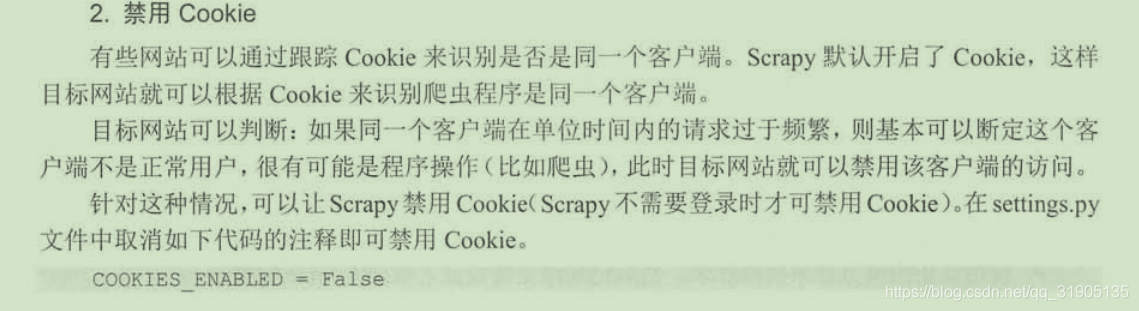
3.违反爬虫规则文件
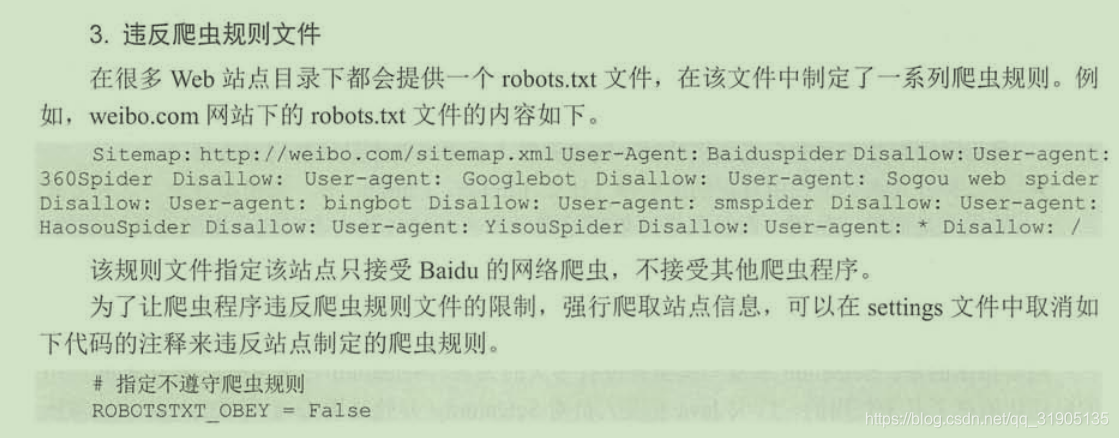
4.限制访问频率
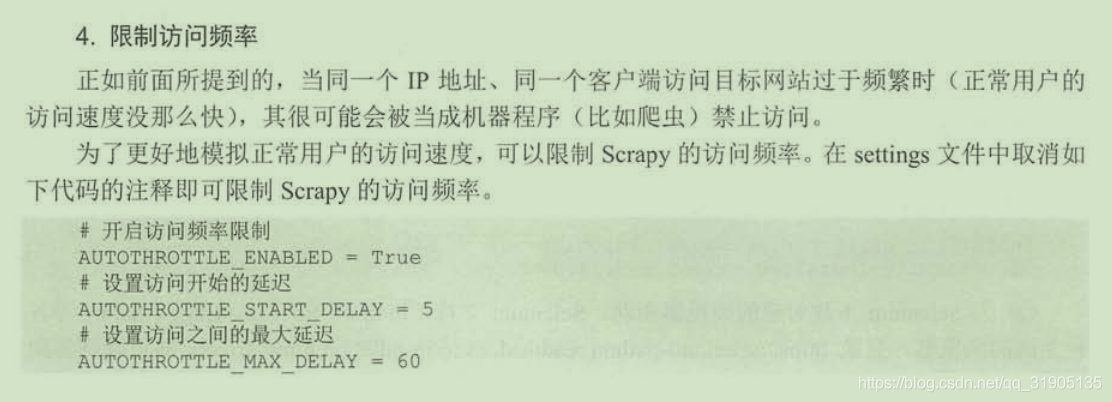

5.图形验证码
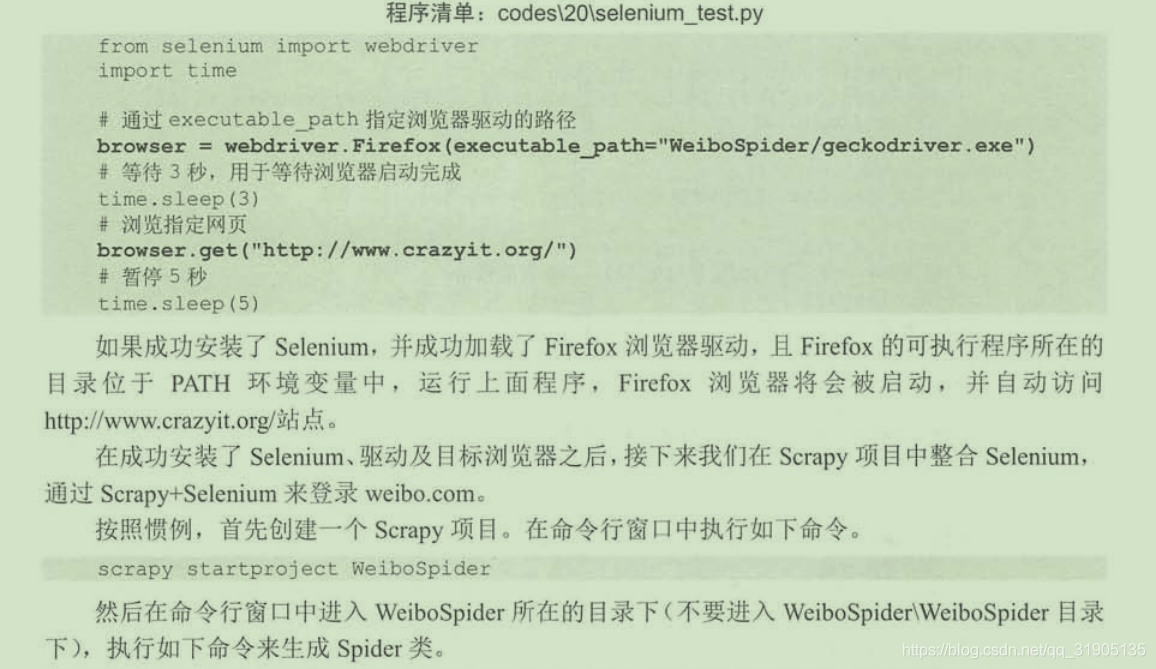
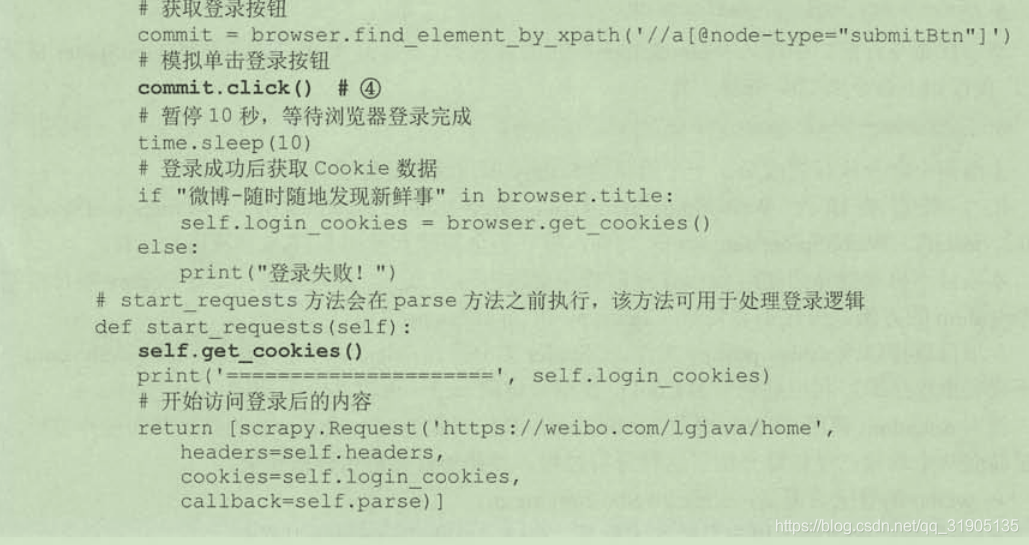
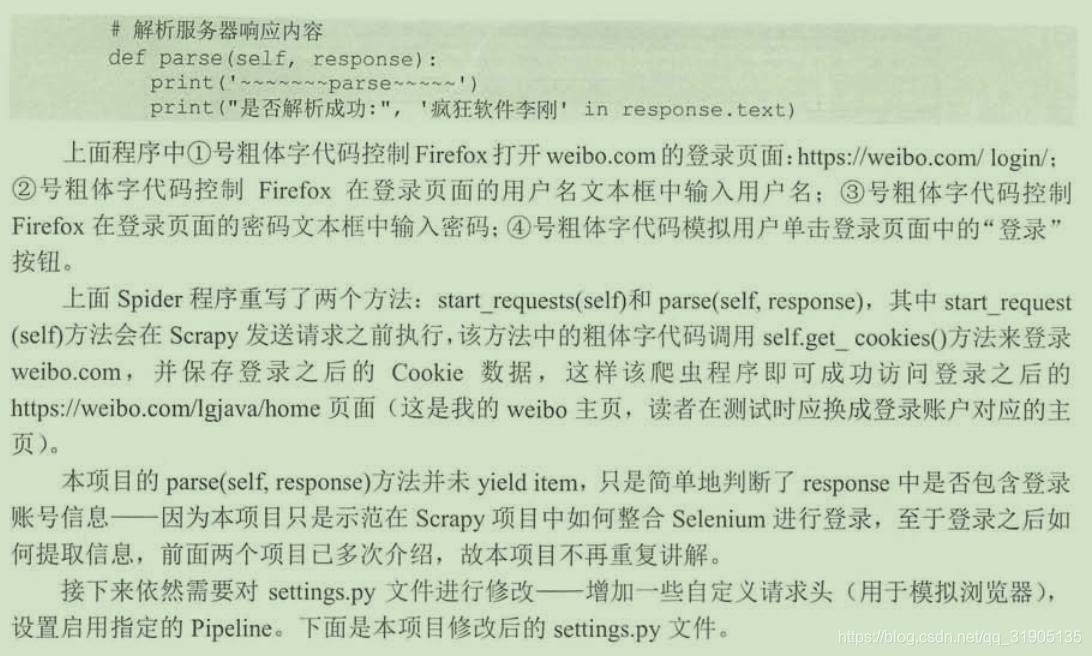
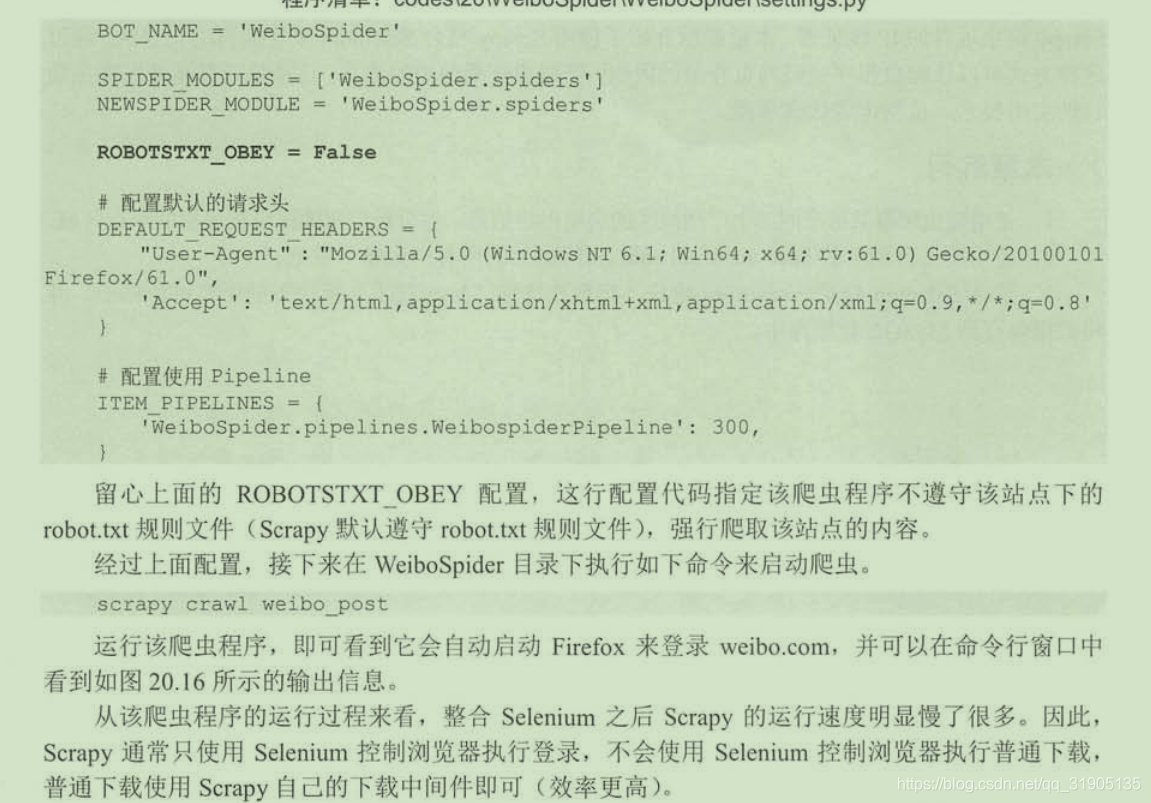
(3)整合Selenium模拟浏览器行为
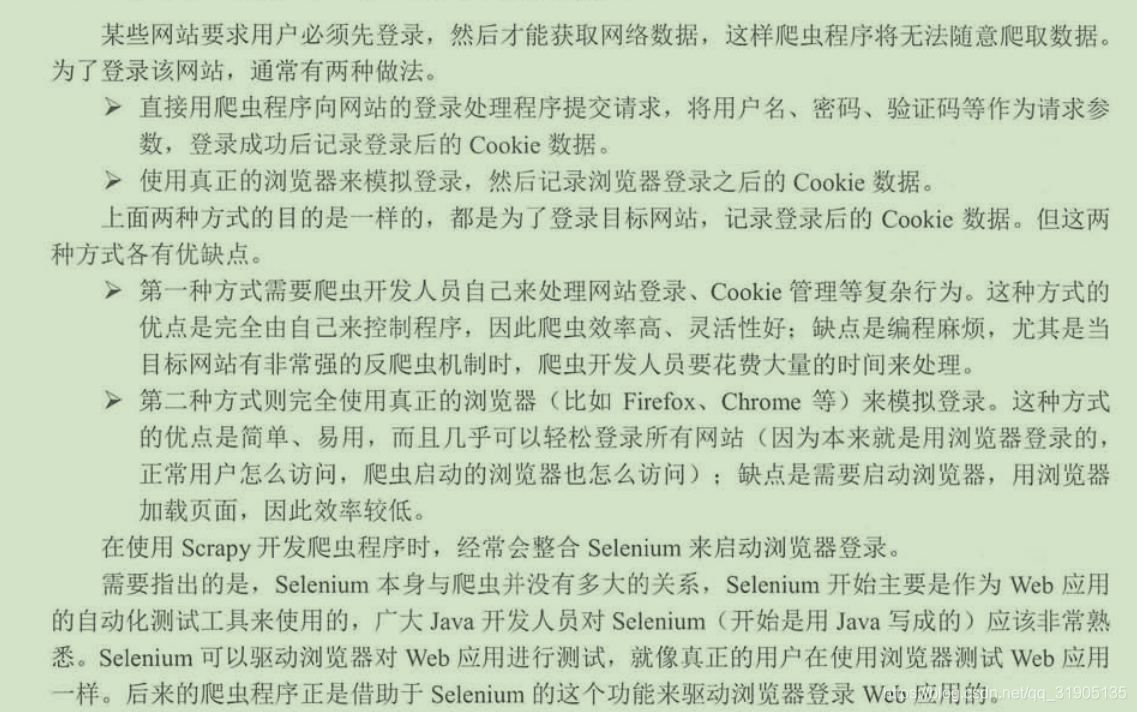 1.为python安装 selenium 库
pip install selenium
2.下载浏览器驱动


3.安装目标浏览器


一句话,只要技术到位,网络上没有爬取不到的数据,当然,如果有些网站的数据属于机密数据,并且这些网站也已经采取种种措施来防止非法访问,但是你非要越过层层限制去访问这些数据,这就涉嫌触犯法律了,因此,爬虫也要适可而止。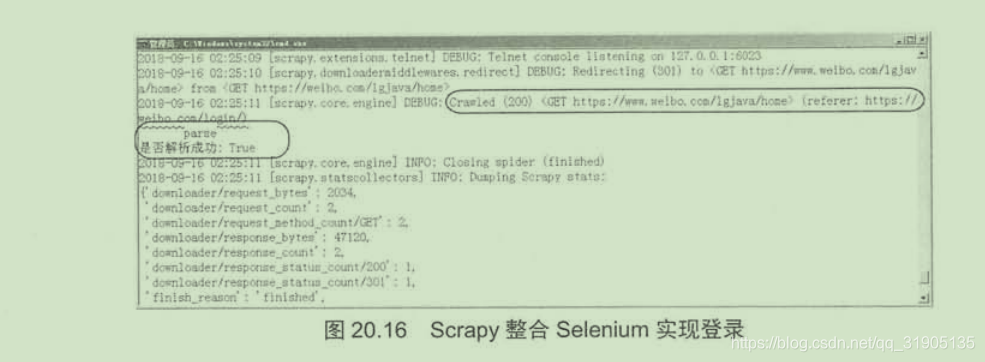
文章来源: blog.csdn.net,作者:血煞风雨城2018,版权归原作者所有,如需转载,请联系作者。
原文链接:blog.csdn.net/qq_31905135/article/details/102504337

- 点赞
- 收藏
- 关注作者
评论(0)