纯 CSS 打造网页版「大白」
一、实验介绍
1.1 实验内容
还记得《超能陆战队》里的 “暖男” -「大白」 么?是不是很想拥有一个?
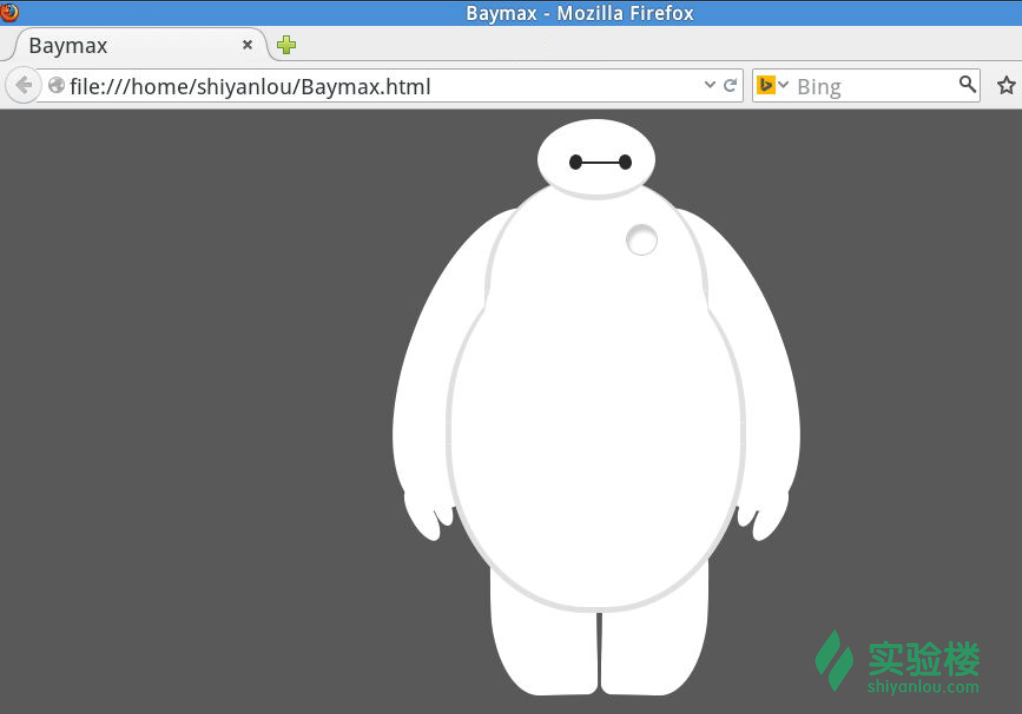
没问题!今天我们就利用 HTML 和 CSS 来打造自己的「大白」! 最终效果:
1.2 实验知识点
div 布局
CSS 相对定位
CSS 各种属性的应用
1.3 实验环境
本实验环境采用带桌面的 Ubuntu Linux 环境,实验中可能会用到桌面上的程序:
Firefox:浏览器,可以用在需要前端界面的课程里,只需要打开环境里写的 HTML/JS 页面即可;
GVim:非常好用的编辑器,最简单的用法可以参考课程 Vim编辑器
1.4 适合人群
本课程难度一般,只要你学过基本的 HTML 和 CSS 就能做出来。
二、开发准备
进入到 /home/shiyanlou/ 目录下,新建空白文档:

命名为 Baymax.html (其它名字也可以,但后缀名必须是 .html):

使用 gedit 打开,准备编辑代码:

三、实验步骤
3.1 编写 HTML
下面通过 div 定义大白身体的各个部位:

3.2 添加 CSS 样式
我们已经使用 HTML 定义好「大白」的各个元素,现在就需要利用到 CSS 来绘制它的样式外表。
由于「大白」是白色的,为了更容易辨识,我们把背景设为深色。然后首先是头部:

效果预览:

赶紧再来添加眼睛和嘴吧!

一个 mini 的「大白」,雏形初现:

接下来是躯干和腹部:

赋予「大白」象征生命的心脏:

现在的「大白」是这个样子的了:
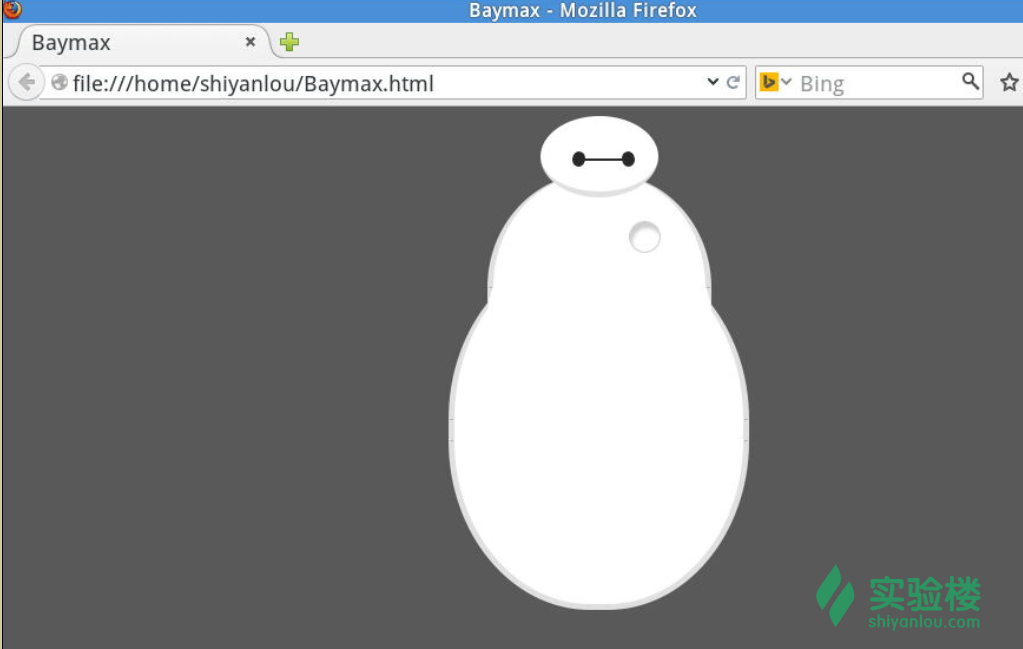
还没有手和脚,怪萌怪萌的...「大白」需要温暖的手臂:

还没有手指头呢:

有点意思了:
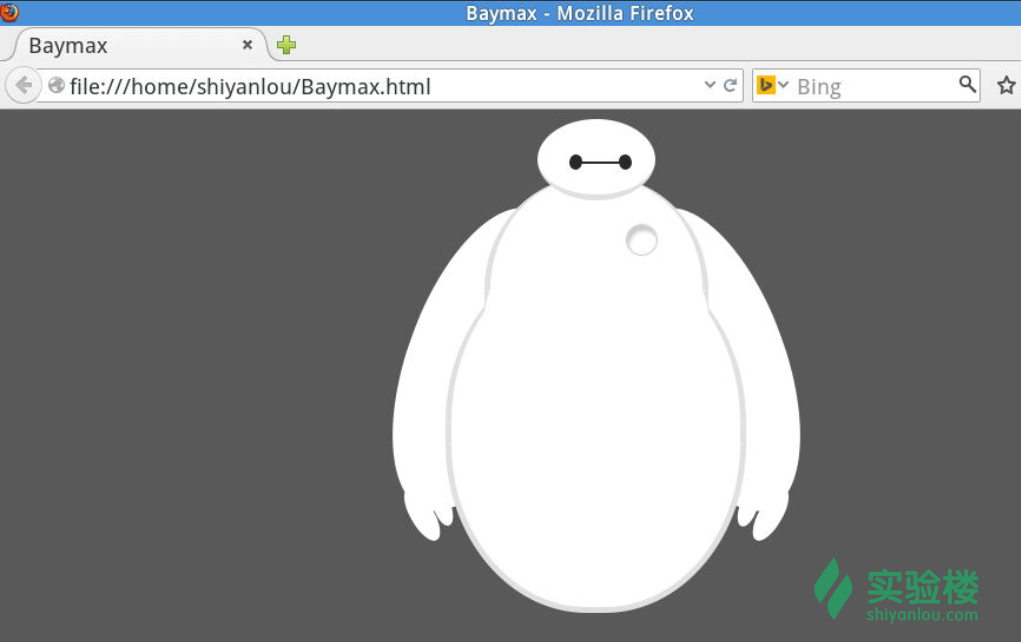
迫不及待要给「大白」加上腿了吧:

duang~ duang~ duang~ 特技完成!

3.3 完整代码
<!doctype html>
<html>
<head>
<meta charset="utf-8">
<title>Baymax</title>
<style> body { background: #595959; }
#baymax { /*设置为 居中*/ margin: 0 auto; /*高度*/ height: 600px; /*隐藏溢出*/ overflow: hidden; }
#head { height: 64px; width: 100px; /*以百分比定义圆角的形状*/ border-radius: 50%; /*背景*/ background: #fff; margin: 0 auto; margin-bottom: -20px; /*设置下边框的样式*/ border-bottom: 5px solid #e0e0e0; /*属性设置元素的堆叠顺序; 拥有更高堆叠顺序的元素总是会处于堆叠顺序较低的元素的前面*/ z-index: 100; /*生成相对定位的元素*/ position: relative; }
#eye, #eye2 { width: 11px; height: 13px; background: #282828; border-radius: 50%; position: relative; top: 30px; left: 27px; /*旋转该元素*/ transform: rotate(8deg); }
#eye2 { /*使其旋转对称*/ transform: rotate(-8deg); left: 69px; top: 17px; }
#mouth { width: 38px; height: 1.5px; background: #282828; position: relative; left: 34px; top: 10px; }
#torso, #belly { margin: 0 auto; height: 200px; width: 180px; background: #fff; border-radius: 47%; /*设置边框*/ border: 5px solid #e0e0e0; border-top: none; z-index: 1; }
#belly { height: 300px; width: 245px; margin-top: -140px; z-index: 5; } #cover { width: 190px; background: #fff; height: 150px; margin: 0 auto; position: relative; top: -20px; border-radius: 50%; }
#heart{ width:25px; height:25px; border-radius:50%; position:relative; /*向边框四周添加阴影效果*/ box-shadow:2px 5px 2px #ccc inset; right:-115px; top:40px; z-index:111; border:1px solid #ccc; }
#left-arm, #right-arm { height: 270px; width: 120px; border-radius: 50%; background: #fff; margin: 0 auto; position: relative; top: -350px; left: -100px; transform: rotate(20deg); z-index: -1; }
#right-arm { transform: rotate(-20deg); left: 100px; top: -620px; }
#l-bigfinger, #r-bigfinger { height: 50px; width: 20px; border-radius: 50%; background: #fff; position: relative; top: 250px; left: 50px; transform: rotate(-50deg); }
#r-bigfinger { left: 50px; transform: rotate(50deg); }
#l-smallfinger, #r-smallfinger { height: 35px; width: 15px; border-radius: 50%; background: #fff; position: relative; top: 195px; left: 66px; transform: rotate(-40deg); }
#r-smallfinger { background: #fff; transform: rotate(40deg); top: 195px; left: 37px; }
#left-leg, #right-leg { height: 170px; width: 90px; border-radius: 40% 30% 10px 45%; background: #fff; position: relative; top: -640px; left: -45px; transform: rotate(-1deg); z-index: -2; margin: 0 auto; }
#right-leg { background: #fff; border-radius:30% 40% 45% 10px; margin: 0 auto; top: -810px; left: 50px; transform: rotate(1deg); }
</style>
</head>
<body>
<div id="baymax">
<!-- 定义头部,包括两个眼睛、嘴 -->
<div id="head">
<div id="eye"></div>
<div id="eye2"></div>
<div id="mouth"></div>
</div>
<!-- 定义躯干,包括心脏 -->
<div id="torso">
<div id="heart"></div>
</div>
<!-- 定义肚子腹部,包括 cover(和躯干的连接处) -->
<div id="belly">
<div id="cover"></div>
</div>
<!-- 定义左臂,包括一大一小两个手指 -->
<div id="left-arm">
<div id="l-bigfinger"></div>
<div id="l-smallfinger"></div>
</div>
<!-- 定义右臂,同样包括一大一小两个手指 -->
<div id="right-arm">
<div id="r-bigfinger"></div>
<div id="r-smallfinger"></div>
</div>
<!-- 定义左腿 -->
<div id="left-leg"></div>
<!-- 定义右腿 -->
<div id="right-leg"></div>
</div>
</body>
</html>
四、总结
本课程使用 div+css 画出了萌萌的大白,相信通过完成本实验能加深你对 div 布局的理解以及提高对 css 各种属性的运用能力。
五、作业
代码中还有不少重复的地方,试着进一步简化代码
运用 CSS 动画让大白的眼睛动起来
本文转载自异步社区。
原文链接:https://www.epubit.com/articleDetails?id=NC7E3EF93B2700001FBD9A4F062101270
- 点赞
- 收藏
- 关注作者


评论(0)