nginx下ssl证书的配置
# nginx下ssl证书的配置
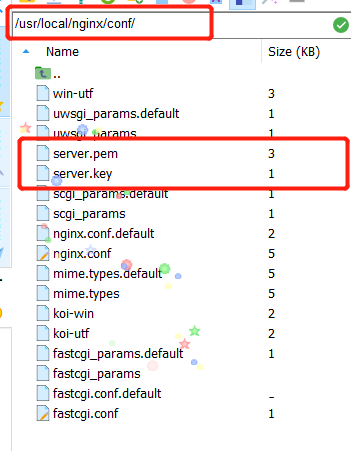
## ①将下载下来的证书重命名,并放到nginx/conf目录下

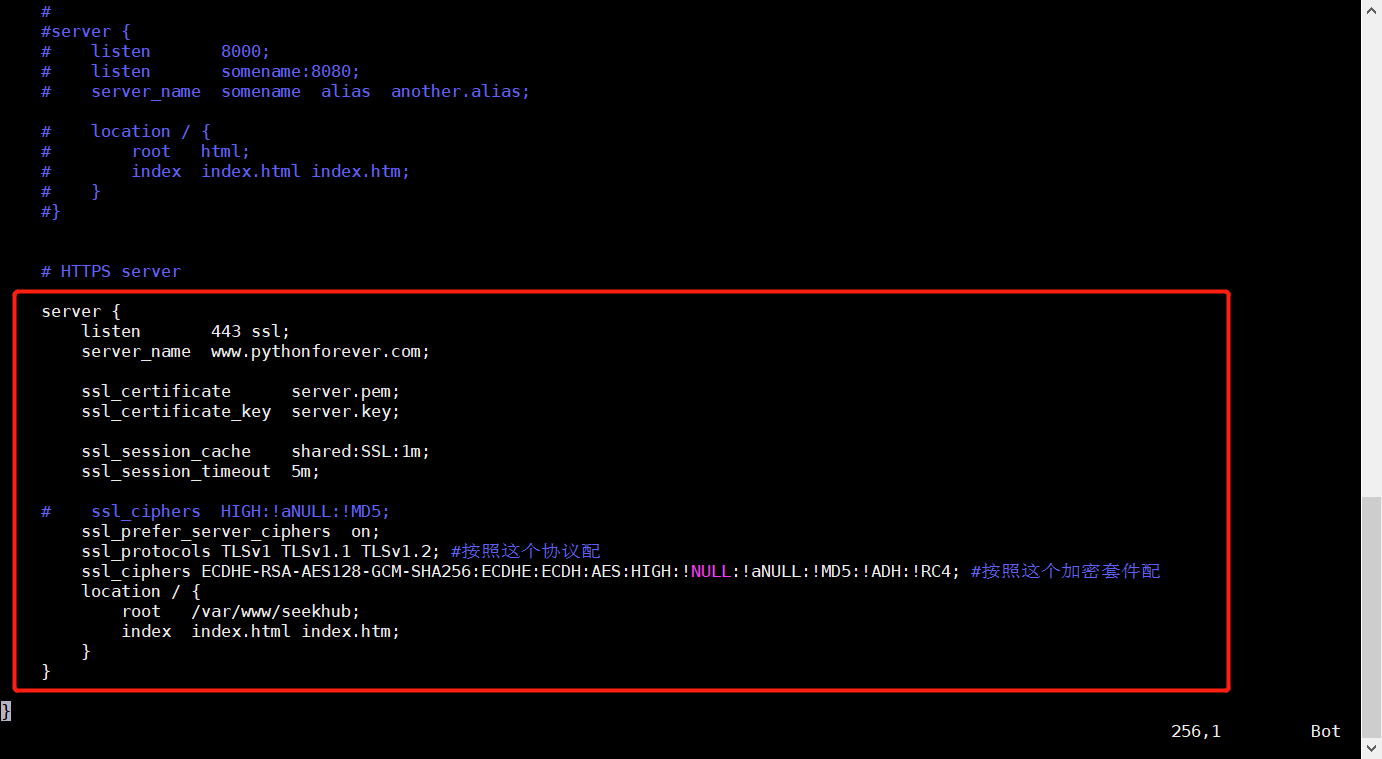
## ②打开nginx.conf 配置
```linux
# HTTPS server
server {
listen 443 ssl;
server_name www.pythonforever.com; //这边是你的
ssl_certificate server.pem;//这边是你的
ssl_certificate_key server.key;//这边也是你的
ssl_session_cache shared:SSL:1m;
ssl_session_timeout 5m;
# ssl_ciphers HIGH:!aNULL:!MD5;
ssl_prefer_server_ciphers on;
ssl_protocols TLSv1 TLSv1.1 TLSv1.2; #按照这个协议配
ssl_ciphers ECDHE-RSA-AES128-GCM-SHA256:ECDHE:ECDH:AES:HIGH:!NULL:!aNULL:!MD5:!ADH:!RC4; #按照这个加密套件配
location / {
root /var/www/seekhub; //这边也是你的
index index.html index.htm;
}
}
```
按照这个配置就ok,把这个直接放在conf最下面

# 对http进行重定向操作
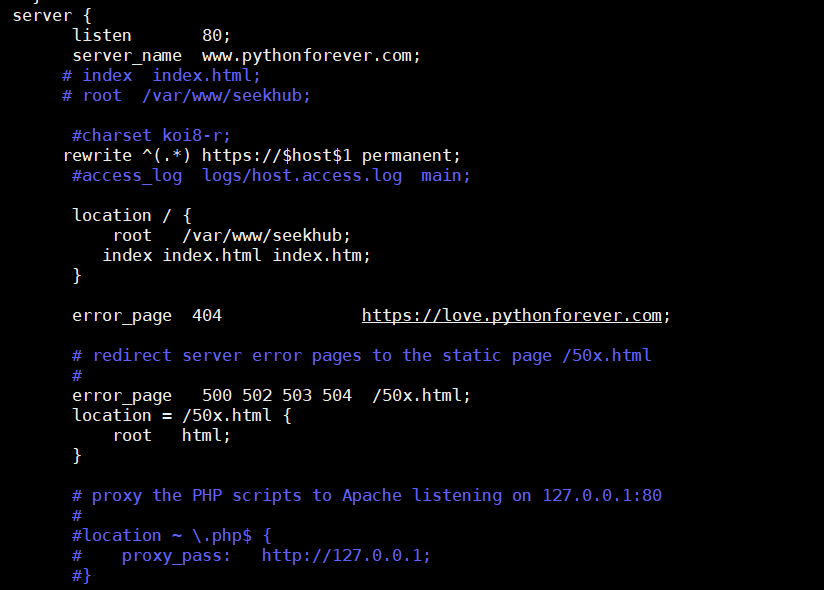
### ①在刚刚的nginx.conf里面找到你之前配置的server

### ②在里面加上一句
```linux
rewrite ^(.*) https://$host$1 permanent;
```
直接复制粘贴过去就ok
### ③保存,重启nginx
在sbin目录下,输入如下命令
```linux
./nginx -s reload
```

- 点赞
- 收藏
- 关注作者


评论(0)